Page 1 of 2
my GD project
Posted: Thu Nov 11, 2010 2:36 pm
by Billy076
Gday, as some of you would have seen from my intro thread im currently in the midst of playing with a GD galant 4 door. my plans for it are to paint it (im thinking black) and lower it, throw some nice wheels on it and cruise. maybe down the track i'll be looking into an astron conversion. As for the car currently, its stripped and being sanded, has a belt drive g32b with pollution gear (installed before i got it) and a number of other suss possibly replaced things. Stay tuned for photos and questions, i basically work on the damn thing every day...
Thanks Billy
Re: my GD project
Posted: Thu Nov 11, 2010 2:38 pm
by Billy076
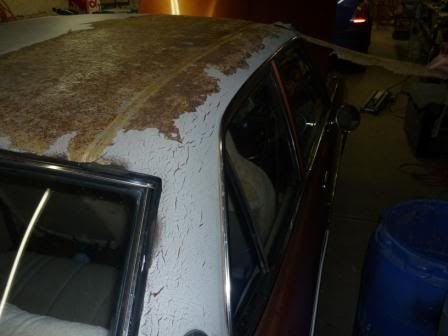
I dont particularly want to do a bare metal respray but some parts of the car need to go back to bare metal, as in the paint is badly damaged or something similar. I've no idea how to go about prepping this thing so what would i need to do? If the car has spots where it is just bare metal can i simply prime just those spots before painting?
Re: my GD project
Posted: Thu Nov 11, 2010 2:42 pm
by 75wagon
Good to hear that your enthusiastic.
How about some update pics? Build pics are one of those things, it's always after you finish that you wish you took them.
Billy076 wrote:I've no idea how to go about prepping this thing so what would i need to do? If the car has spots where it is just bare metal can i simply prime just those spots before painting?
Etch prime the bare parts, then undercoat-primer, then paint as normal. If you are paying someone to paint your car, you may want to ask them what etch primer they prefer you to use. I would suggest not using aerosol spray can. See what your painter suggests you use.
Dave...
Re: my GD project
Posted: Thu Nov 11, 2010 2:44 pm
by ISKA8
sounds like a good project...never seen a gd in black??look good though.best of luck and throw some pics up.

Re: my GD project
Posted: Thu Nov 11, 2010 2:59 pm
by Billy076
gday fellas, i cant say ive ever seen a galant in black but as you said im hoping for the best, the stainless mouldings are all in top condition so they should come up really nicely. and thankyou for the advice, im hoping to have her all done before christmas so yeah im into it haha. i'll take some photos and have them up in about a half hour for all to see!
Thanks, Billy.
Re: my GD project
Posted: Thu Nov 11, 2010 3:07 pm
by Billy076
Re: my GD project
Posted: Thu Nov 11, 2010 6:39 pm
by Billy076
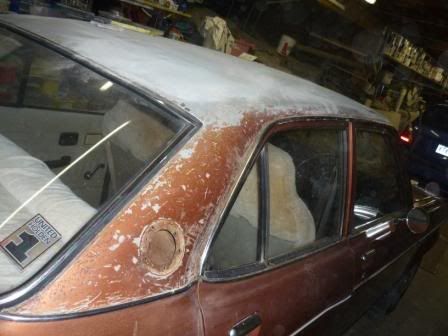
well i had a crack for an hour or so tonight, got half the bonnet done, but in the meantime i uncovered this little bastard...

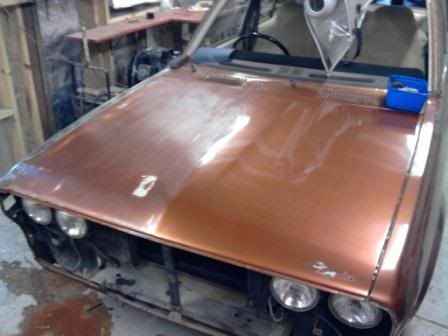
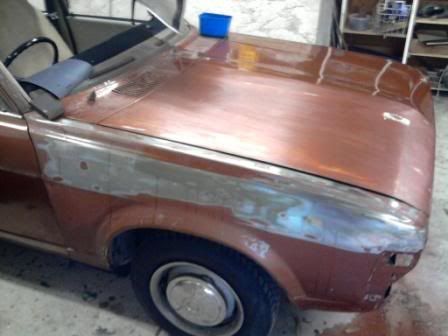
I did that guard a while back, the paint was pretty shitty so i rubbed it right back for the most part. Also you may have noticed that the badge on the front of the bonnet was superglued on.... awesome...
Thanks, Billy.
Re: my GD project
Posted: Fri Nov 12, 2010 3:59 pm
by Billy076
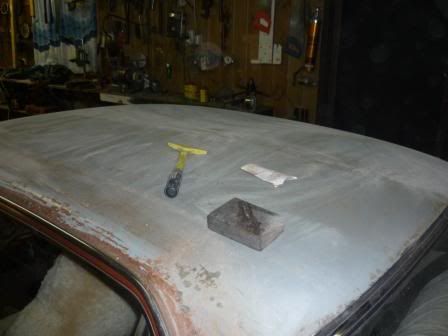
did a bit more sanding today, the bonnet is all done, including the patch which copped the superglue. Another question for someone, i understand its bad to rub paint off the edges of the panels, just wondering whats the easiest way to get close to the edges of panels without rubbing the edges off? and also how should i go about sanding the sill panel just under the windscreen? it appears to be welded in.
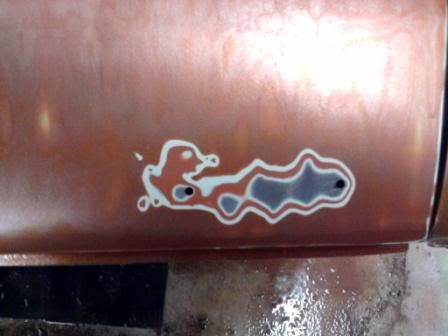
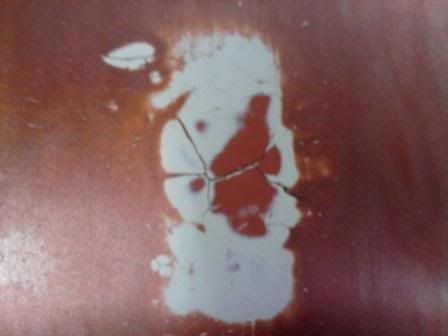
Theres the superglue spot.
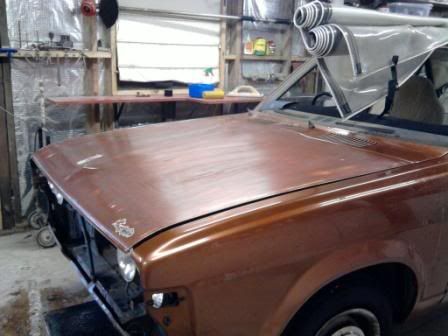
bonnet all done.
Thanks, Billy
Re: my GD project
Posted: Fri Nov 12, 2010 4:51 pm
by Billy076
...
Re: my GD project
Posted: Fri Nov 12, 2010 5:40 pm
by 81GL
Looking good mate.
Can't offer any advice one paint myself... i really need to learn though lol.
Keep the progress pics coming.
Re: my GD project
Posted: Sun Nov 14, 2010 4:03 pm
by Billy076
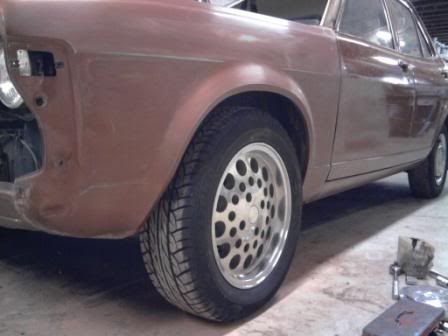
well i found a set of polished pepperpots on gumtree with new tires for cheap so i got around those, and they will now be the end game wheels for the galant. if they dont look good i guess i'll just get something else.
Thanks, Billy.
Re: my GD project
Posted: Mon Nov 15, 2010 5:23 pm
by Billy076
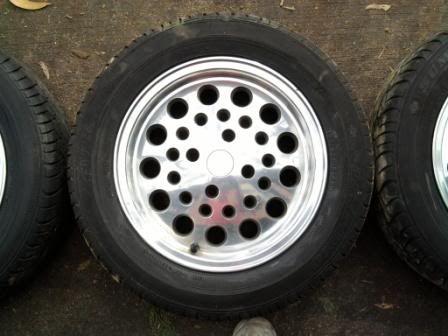
well i picked up my wheels today, tried to put one on but found that i dont have a socket with thin enough walls to fit in the holes on the wheels. What would the best solution to this problem be? i figure a trip to u-pull-it and get some sigma wheelnuts? i need smaller ones basically, or an extremely thin walled socket. surely someone else has had this problem before.
of course pictures, i got 5 wheels, 4 with brand new tires.
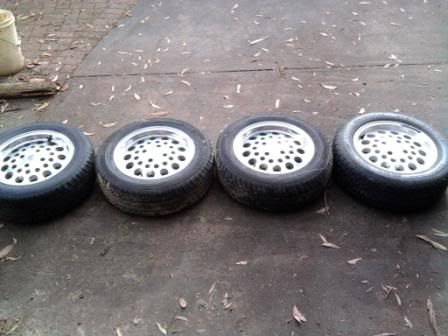
the one at far right is the spare and not polished. the other wheel is on the car haha.
Merry Christmas car
none of the wheels have any gutter rash and as said all the tires are brand new, all in all im a very happy lad today,
Thanks, Billy.
Re: my GD project
Posted: Mon Nov 15, 2010 5:34 pm
by pistorf
Don't panic about rubbing through edges, Prime any rub throughs and if you are worried about rubbing through.go to your paint supplier and get some grey scotchbrite. wet the scotchbrite and put some cutting compound on it and rub the edges with it.
In my 35 years as a spraypainter,I have never been concerned about rub throughs. Primer is your friend.
Re: my GD project
Posted: Mon Nov 15, 2010 5:37 pm
by Billy076
thanks heaps for that advice mate. I've never done anything like this before and im looking for all the help i can get lol. Any ideas about what looks like a cracked shit bog hole on the bonnet?
Thanks, Billy
Re: my GD project
Posted: Mon Nov 15, 2010 5:50 pm
by pistorf
Sand it out and re fill it. If possible,don't put any bog over the paint,because it looks like it's been painted in acrylic. the reason behind this is that Acrylic moves around as the temperature changes and bog doesn't. after a few weeks,you will get an edge appearing around the repairIt's good to see someone having a go.. check your roof around the factory panel joins as when they fitted vinyl roofs,the quality control went out the door.
with the front scuttle panel (the one under the front screen) just sand it like the rest of the car and use your scotchbrite to get down into the seams and down to the rubber under the back of the bonnet.when you mask it for paint,do it so that you can open the bonnet and after you put the last coat of clear on the outside,open the bonnet and spray a coat n the inside edge.
With acrylic jobs,i always use this method on the jambs of all opening panels. It gives a nice continuous smooth finish in and out.
Re: my GD project
Posted: Mon Nov 15, 2010 6:02 pm
by A112H
Billy076 wrote:well i picked up my wheels today, tried to put one on but found that i dont have a socket with thin enough walls to fit in the holes on the wheels. What would the best solution to this problem be?
Thanks, Billy.
Get a set of the anodised wheel nuts off eBay, the ones that come with their own skinny socket, they fit perfectly in my PP's
These are the same as mine
http://cgi.ebay.com.au/RED-Tuner-Wheel- ... 255de853f9
Or these will do
http://cgi.ebay.com.au/BLACK-RED-ALLAN- ... 35add6b147
Re: my GD project
Posted: Mon Nov 15, 2010 7:02 pm
by Billy076
thanks guys, all good advice and its all being filed away believe me. im getting super keen to get this thing back on the road and getting these wheels today has only made me want it more haha.
Thanks, Billy.
Re: my GD project
Posted: Mon Nov 15, 2010 7:25 pm
by woops
I'll direct you to a thread that was started a while ago.
http://www.sigma-galant.com/viewtopic.p ... uts#p38704
Just keep in mind that the ones on ebay may not conform to Australian standards and the last thing you want is to have wheel nuts made of inferior materials. The last thing you want is a wheel coming off while driving and potentially having you insurance voided. For the sake of 12 bucks difference I would personally go for the NICE brand ones. They also have the lock nut adapter for a bit of added security.
Re: my GD project
Posted: Mon Nov 15, 2010 7:44 pm
by Billy076
cheers mate thats helpful
Re: my GD project
Posted: Thu Jan 02, 2014 11:01 am
by Billy076
Wow, it's been a long time since I've been on here... Well the car sat untouched for a good 2 years but its finally happening and will more than likely be finished within the week. I'll put some updated pictures up when I get around to it. I decided to ditch the idea of going black with it due to paint/panel issues and originality to a lesser extent. I ordered the original colour (CC- Sierra metallic) for it today and will be shooting it later this week!
Cheers, Billy.
Re: my GD project
Posted: Thu Jan 02, 2014 7:09 pm
by geezer101
Whoa, thread from the dead! What else has been going on with this build during the last 3(?) years Billy076? It's great to see you didn't drop the ball on this after all this time
Re: my GD project
Posted: Thu Jan 02, 2014 7:47 pm
by Gormzz
yeah looks like it was progressing quite well! keen to see where it goes now. So the original colour is the one shown in the earlier photos i'm assuming? Should look nice with a fresh lick of paint! Love new paint..
Re: my GD project
Posted: Fri Jan 17, 2014 7:40 pm
by Billy076
Ok so it's all painted up. The colour is amazing, though I think is a few shades lighter than the original. I put down 3 primer coats, followed by 4 colour coats (total approx. 2 litres of paint) and 5 clear coats. Doing the final hit with 1200 followed by 2000 wet and dry after work tomorrow. I got over excited and put the rear back together today so I'll get a few pics up tonight. As for the last 2 years, well she sat in the shed being neglected (thankfully under cover out of the elements) until I decided to get off my arse

Cheers Billy.
Re: my GD project
Posted: Fri Jan 17, 2014 9:07 pm
by Billy076
Here's a few pictures from the last 2 weeks..
Primer done
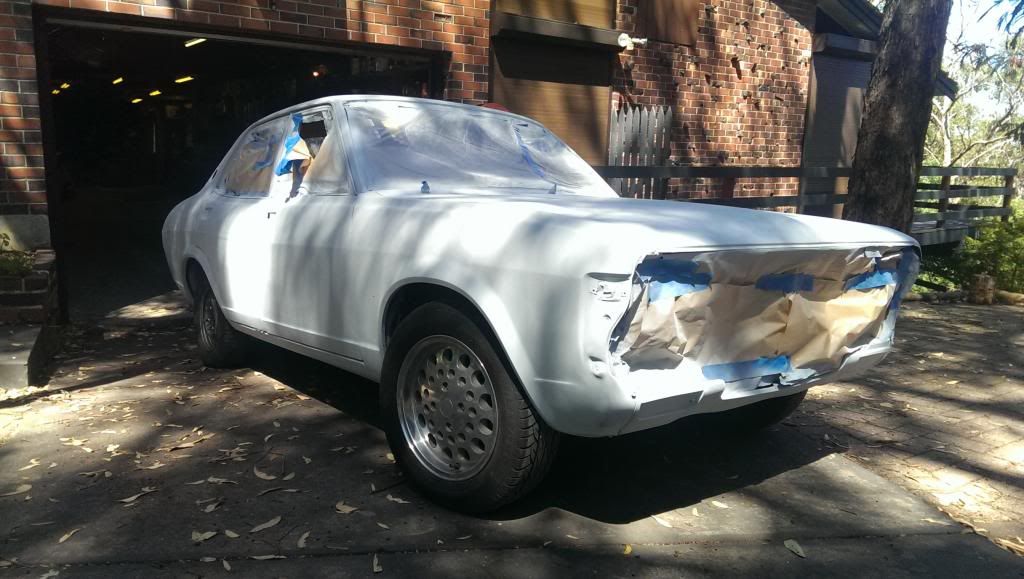
Paint done
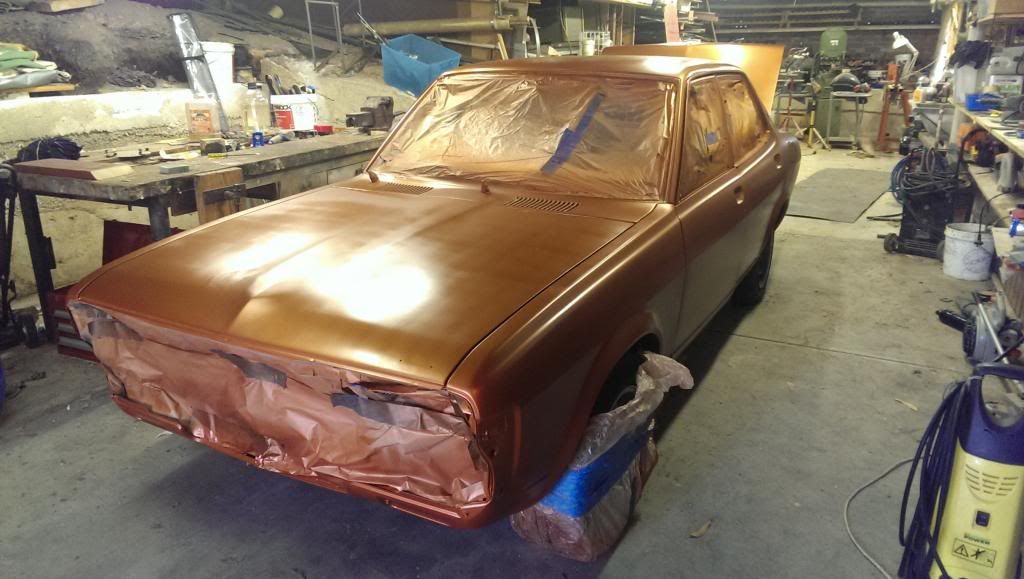
Clear done
Clear under lights (straight from the gun)
Arse

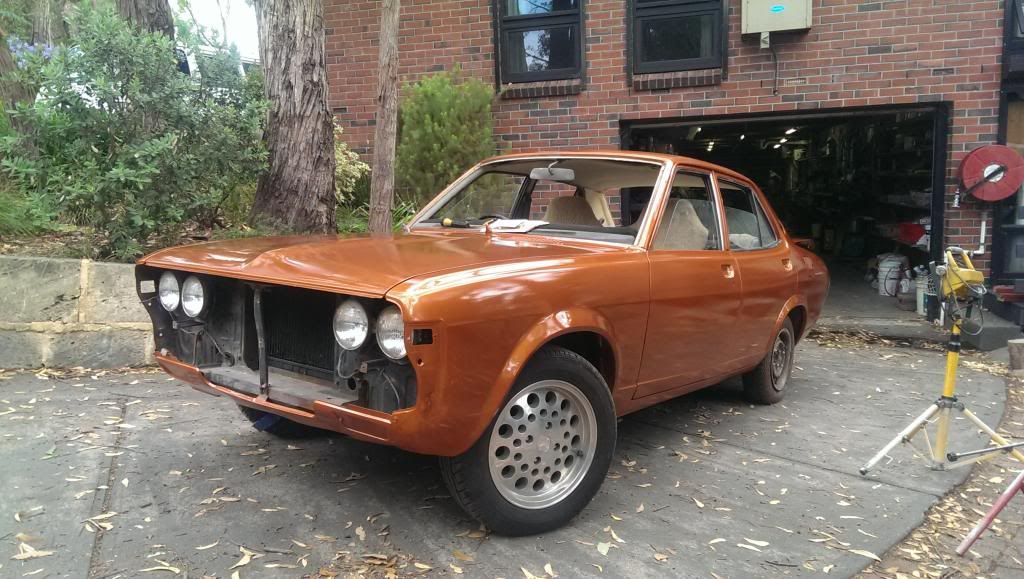
Face patiently awaiting remaining parts
I'll finish putting all together once the final rub down/polish is done.
Cheers, Billy
Re: my GD project
Posted: Fri Jan 17, 2014 10:21 pm
by 75glnt
Good job mate!
Re: my GD project
Posted: Fri Jan 17, 2014 10:54 pm
by geezer101
^what he said.
Re: my GD project
Posted: Mon Jan 20, 2014 7:08 pm
by Billy076
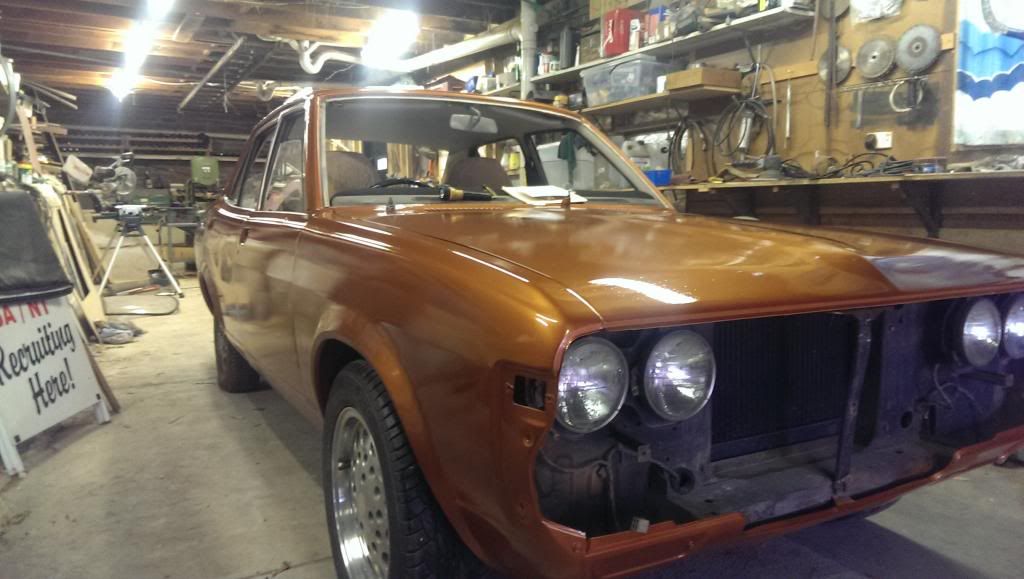
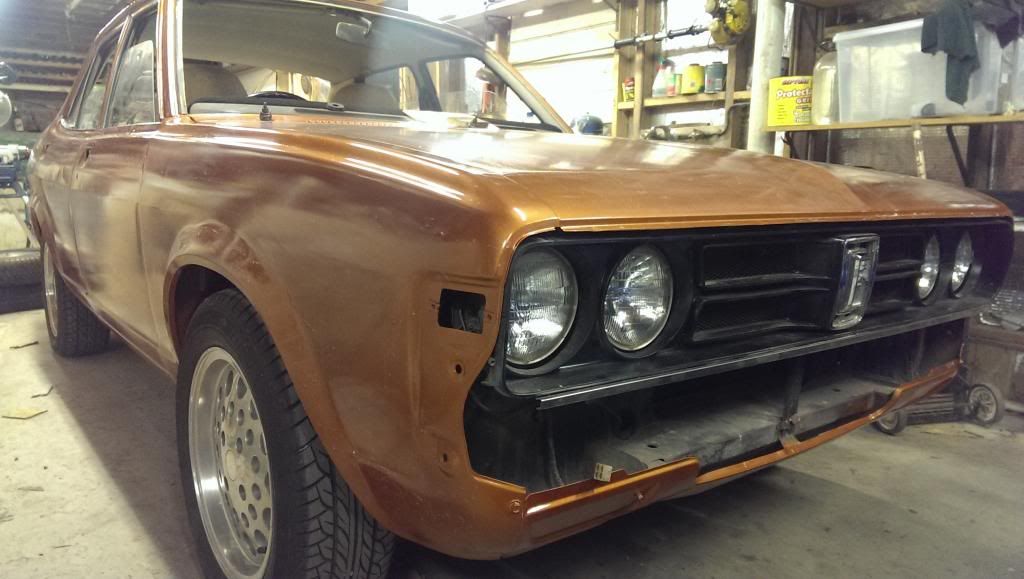
Got all the polishing done today and re fitted most of the bits and pieces. Doorhandles/locks and door trims to be fitted later (more than likely tonight).. Then glass in and she's done! Finally! Im probably going to pay someone to put the glass in unless anyone has any shortcuts..
Re: my GD project
Posted: Mon Jan 20, 2014 8:03 pm
by Gormzz
looks good mate! got to love the do it yourself approach haha.
Re: my GD project
Posted: Tue Jan 21, 2014 11:38 am
by Billy076
Ok so the guy I was going to get to do the windscreens is away for a month and I'll be damned if I'm going to wait that long.. anyone know a shortcut to getting the moulds back into the seals? Damn near impossible

also, to glue or bot to glue? Seems like these window seals are adhesive free but it seems strange to me..
Re: my GD project
Posted: Tue Jan 21, 2014 1:41 pm
by 79_lancer
There is a certain technique to putting in windows with rubber seals. Don't use any glue or silicon. The way to do it is to run string ( something like the chord used for vertical blinds) inside the rubber on the edge that fits to the body.
Put the rubber onto the glass
Feed string into other side ( car side ) be sure to leave enough string hanging out to pull on ( both sides )
Sit rubber and glass in place on car
Carefully, on inside of the car, pull the string to roll the rubber over the lip. You may need a seccond person to gently push on the glass as you do this to help feed it on to the car and stop glass from popping back out.
Do that till the window is in place, taking extra care in the corners not to rip the rubber.
Once it's all in, use a sealant called 'mastic' it's what's used with rubbers to make it water tight etc. it doesn't set hard and stays kind of soft and sticky. Just push the nozzle under the outside lip around the window and body. Clean up with turps and a clean rag.
Then put your locking strip in
Done.
Hope this helps and makes some kind of sense
Cheers,
Dave