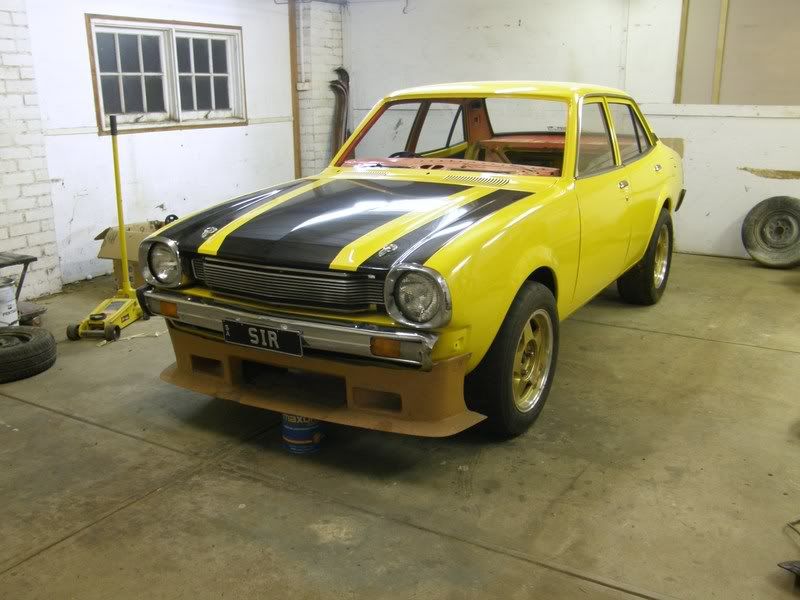
Plans are to do it up for a Improved production racing, running a VR4 engine. Here are the build pictures there are a lot of them I will try to add more details as I go.
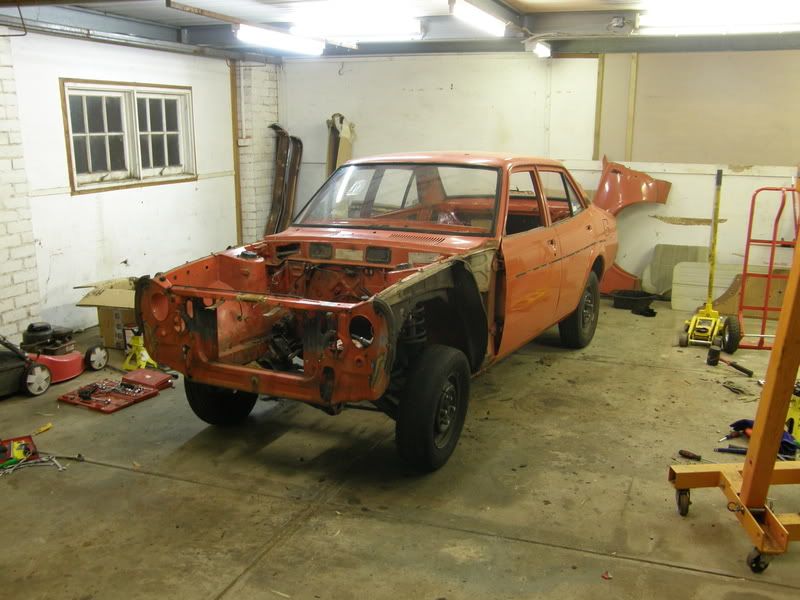
Engine and box out, interior stripped
![Image](http://i5.photobucket.com/albums/y190/SIR383/Race%20Car/P4280169.jpg)
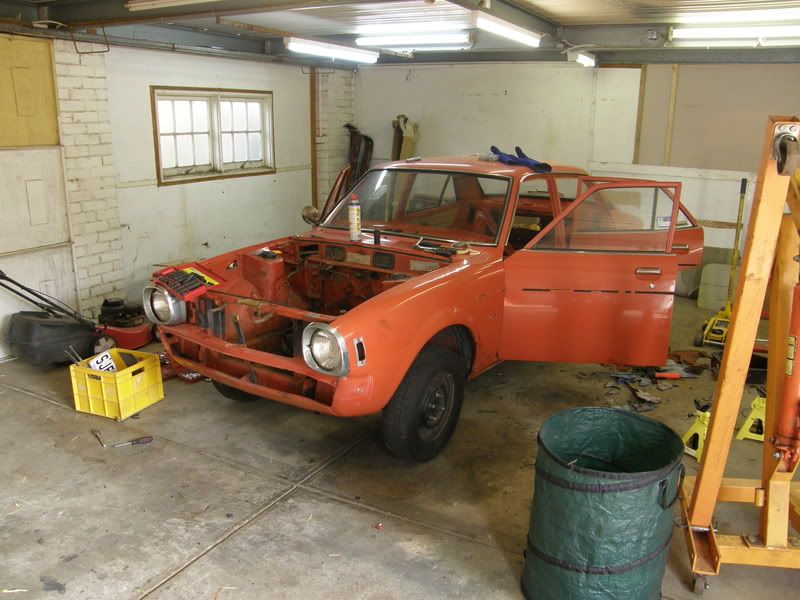
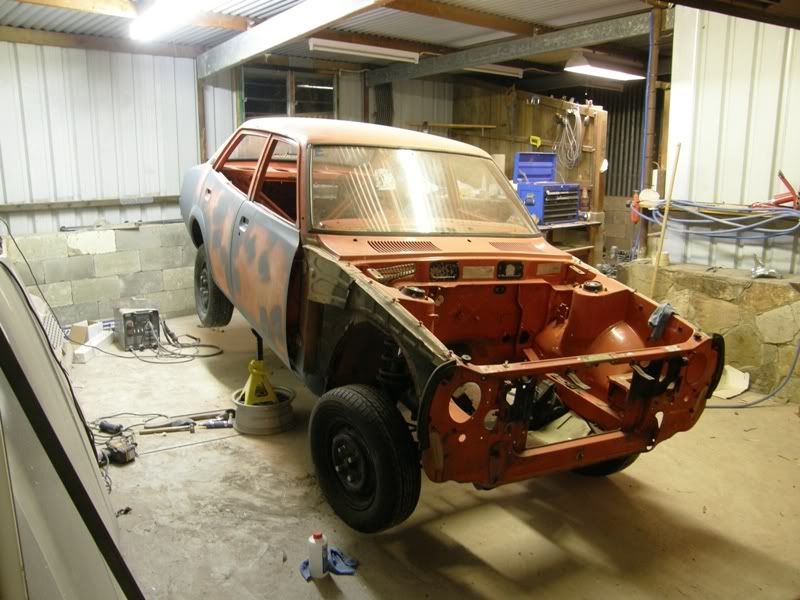
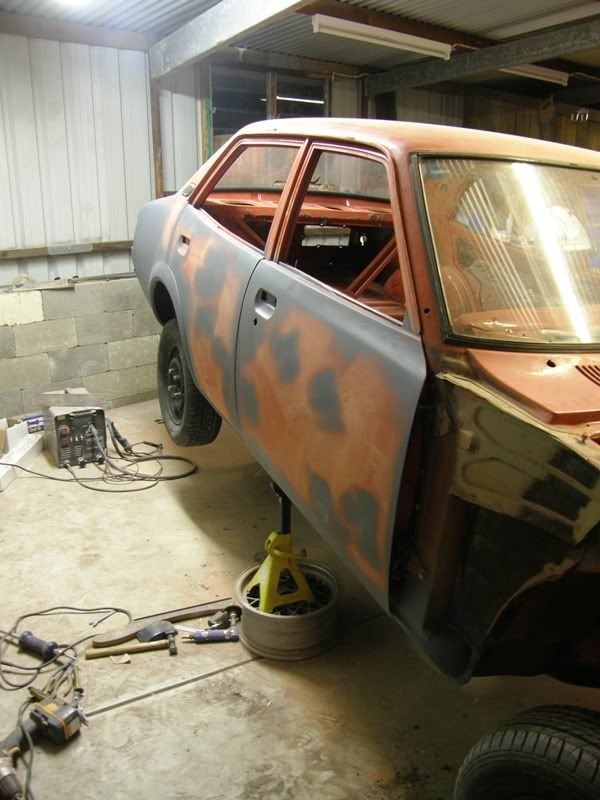
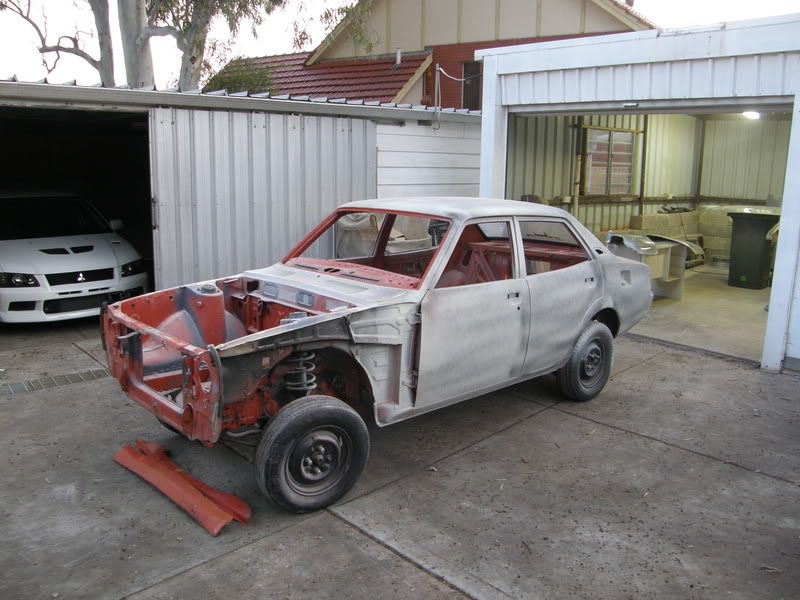
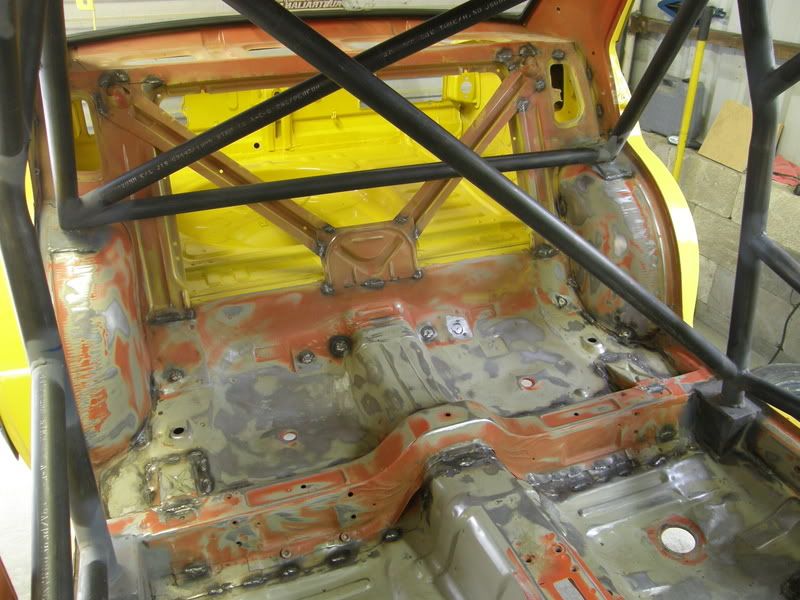
Stripped as it is now
![Image](http://i5.photobucket.com/albums/y190/SIR383/Race%20Car/P4280176.jpg)
Dry Ice on the sound deadener, worked well just little bits left to clean up.
![Image](http://i5.photobucket.com/albums/y190/SIR383/Race%20Car/P4280170.jpg)
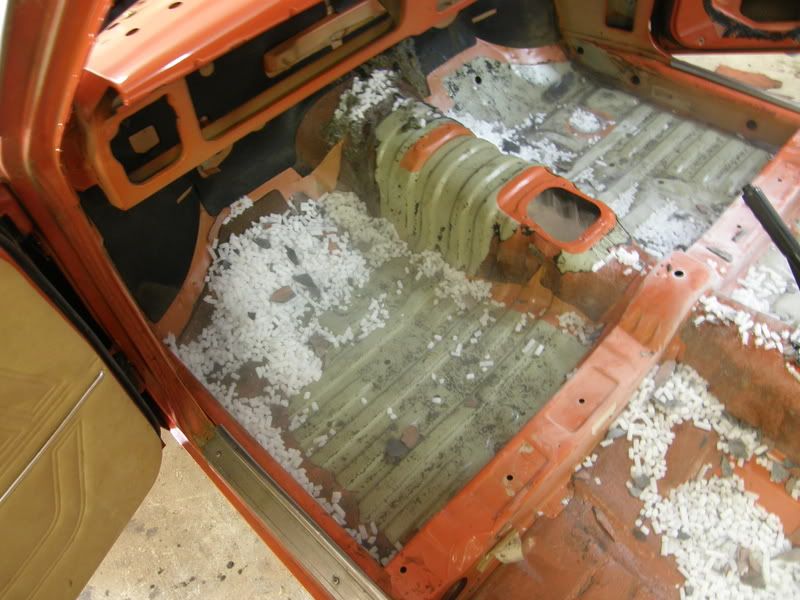
All the deadener removed, at I guess I would say around 20+kgs
![Image](http://i5.photobucket.com/albums/y190/SIR383/Race%20Car/P4280177.jpg)
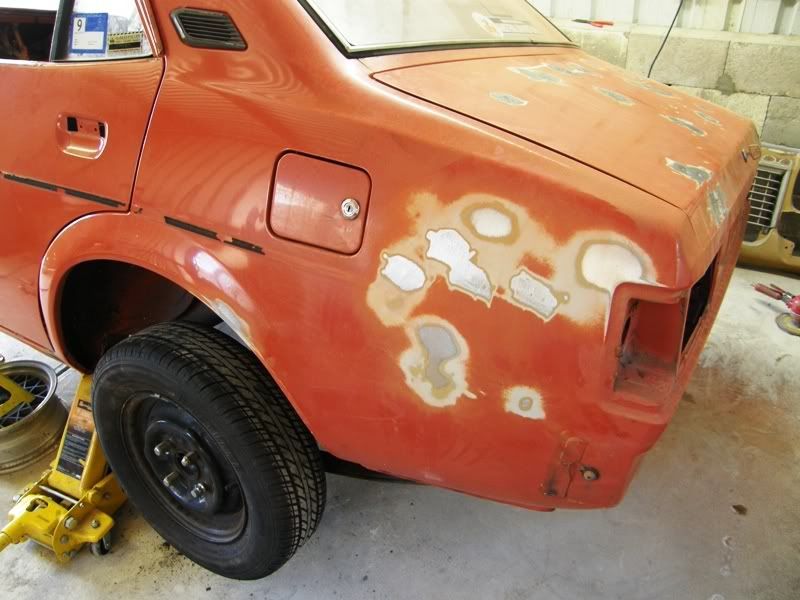
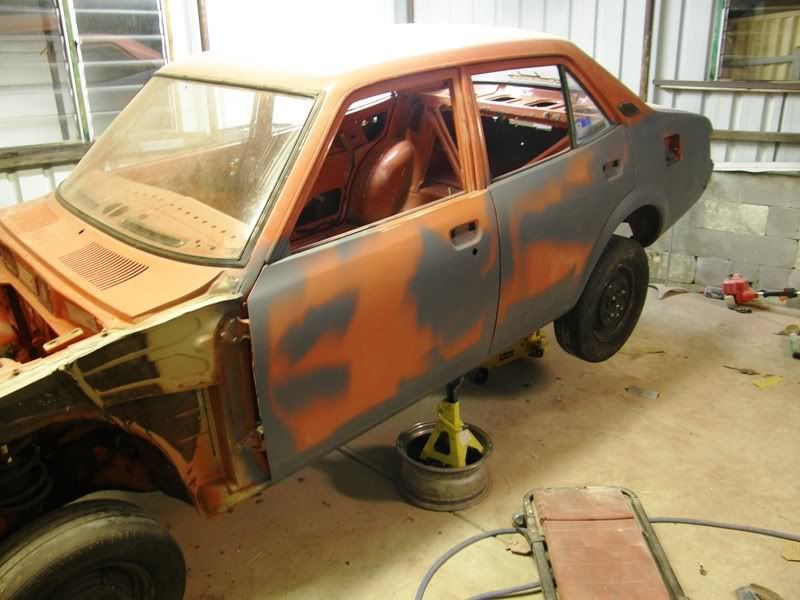
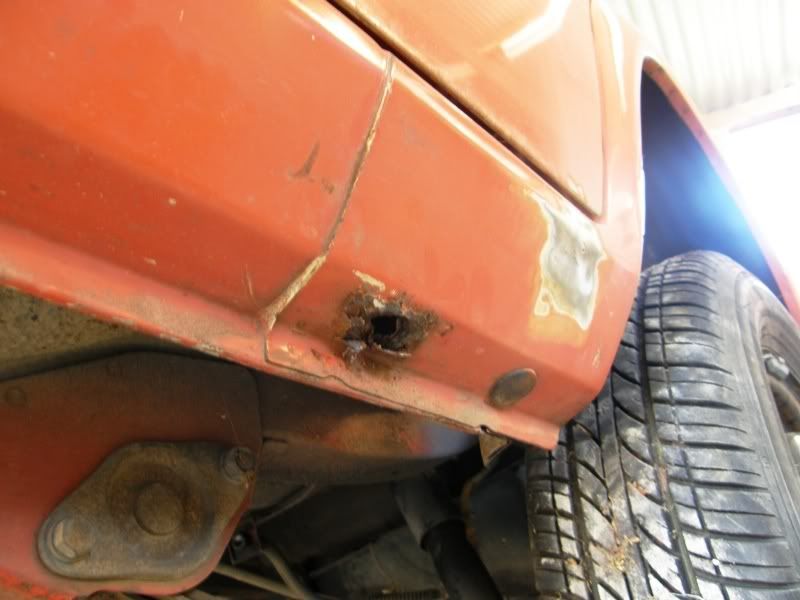
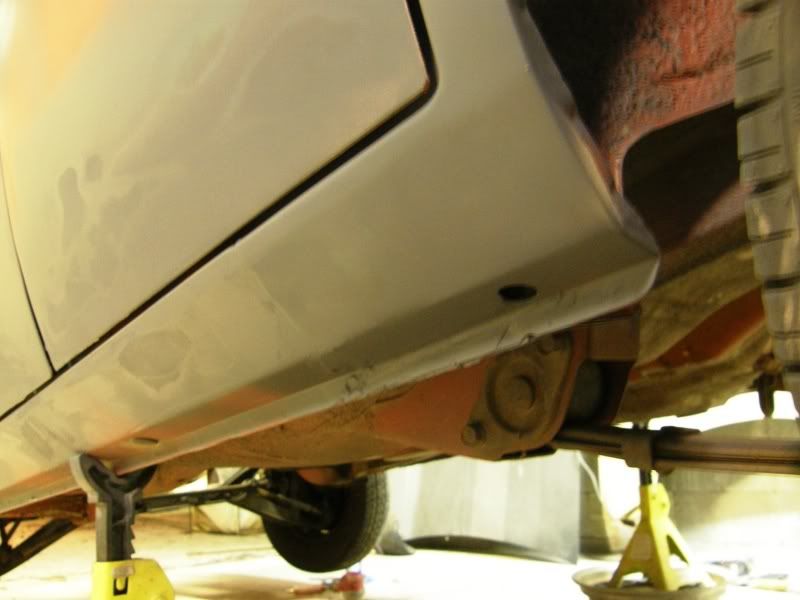
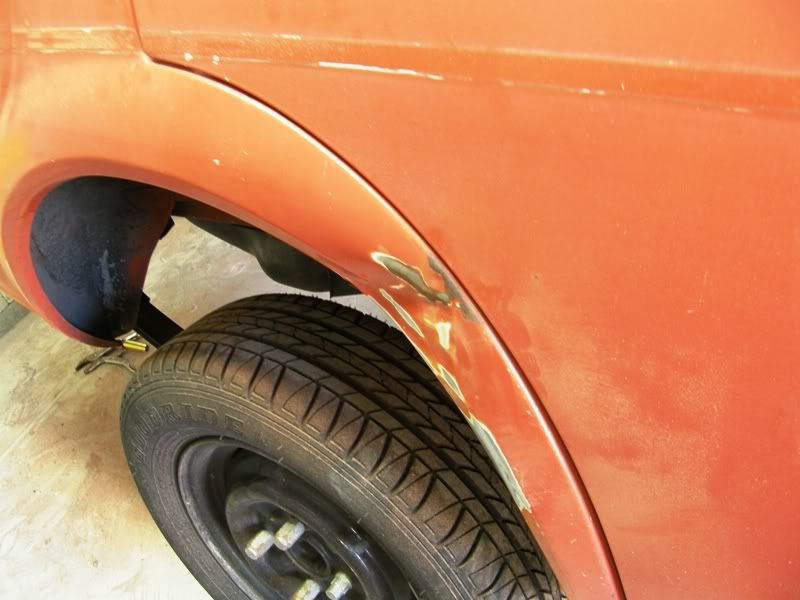
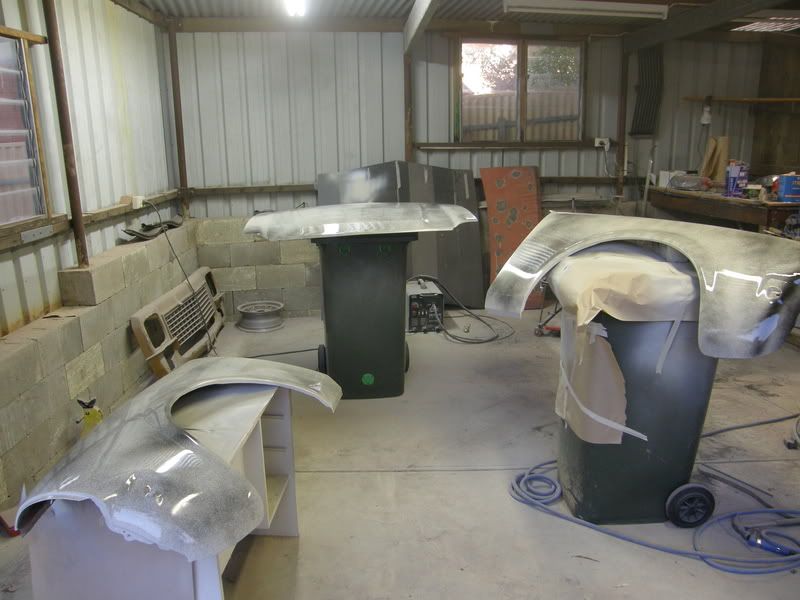
Body Work being done
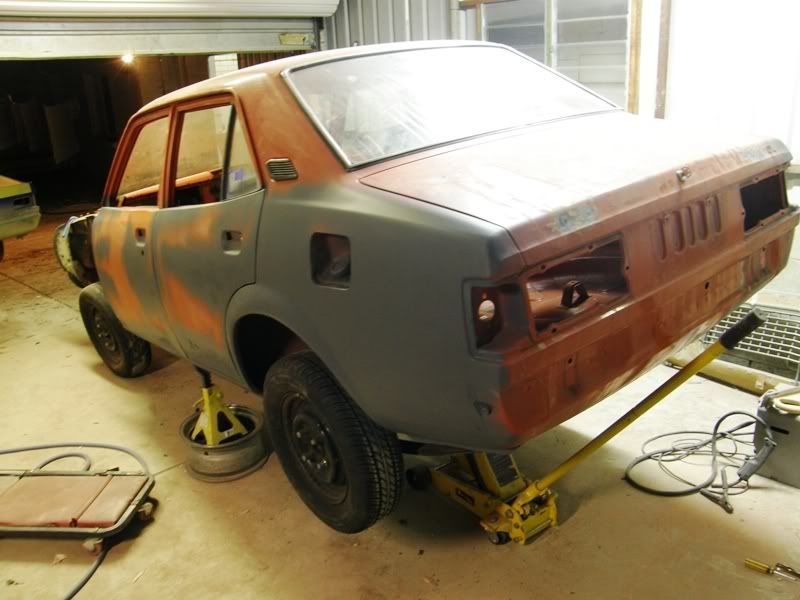
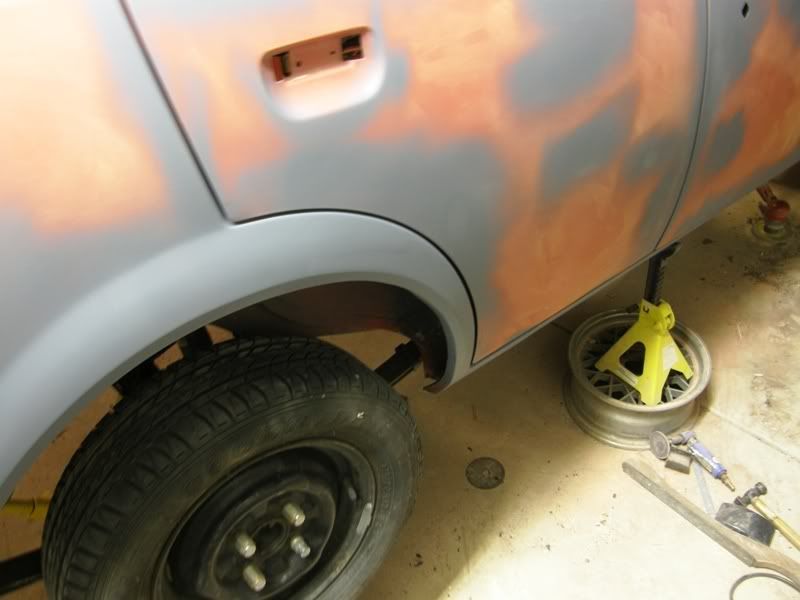
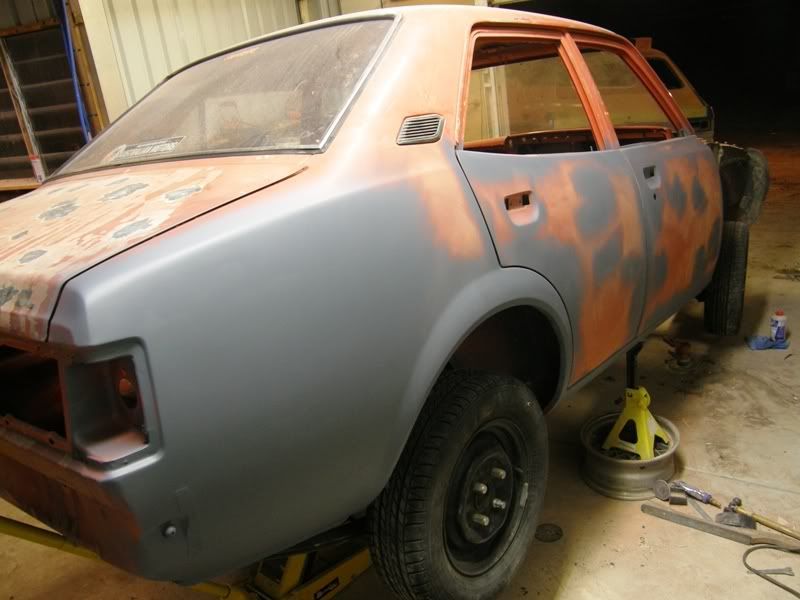
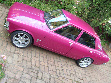
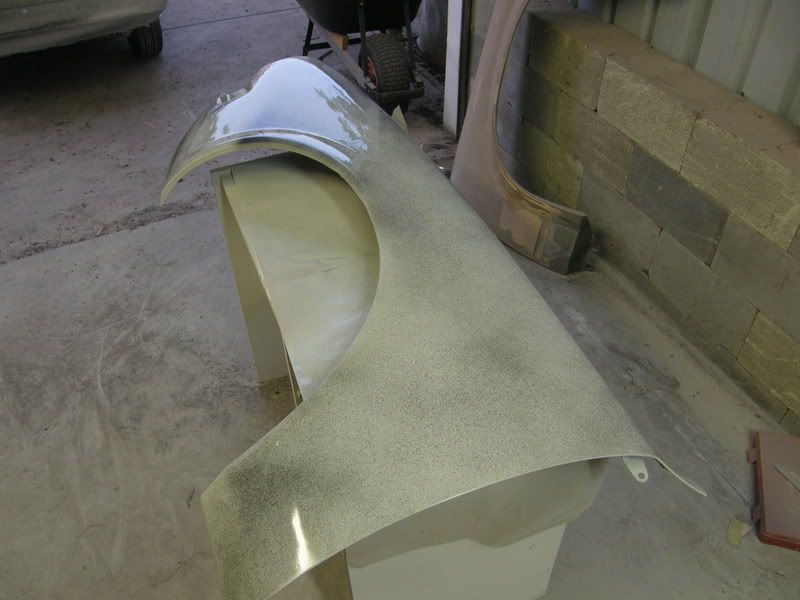
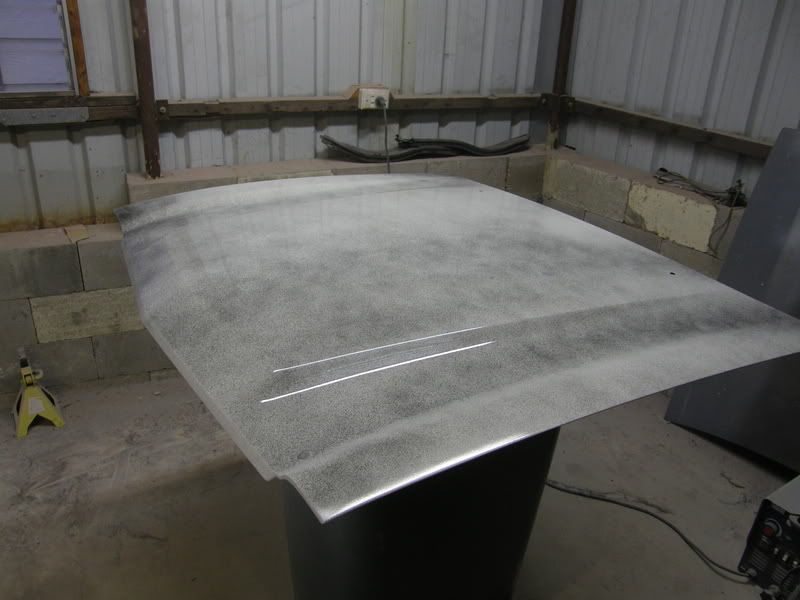
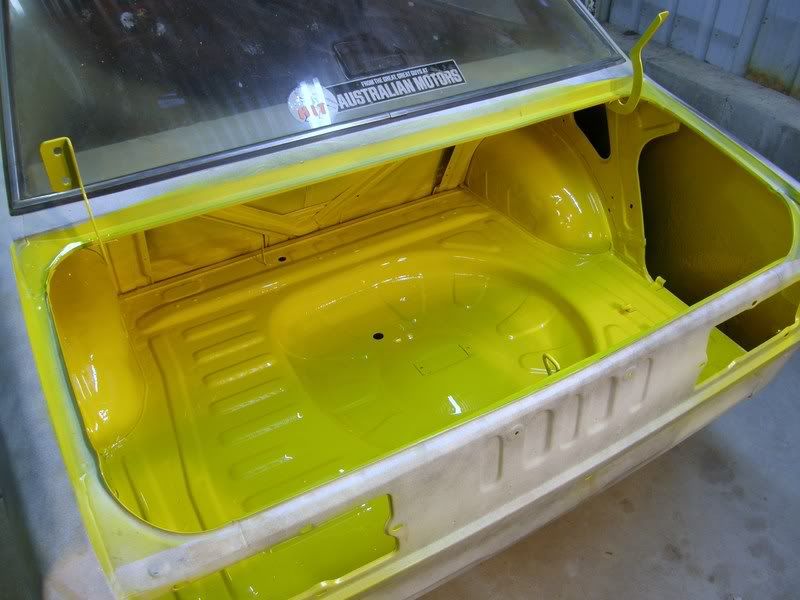
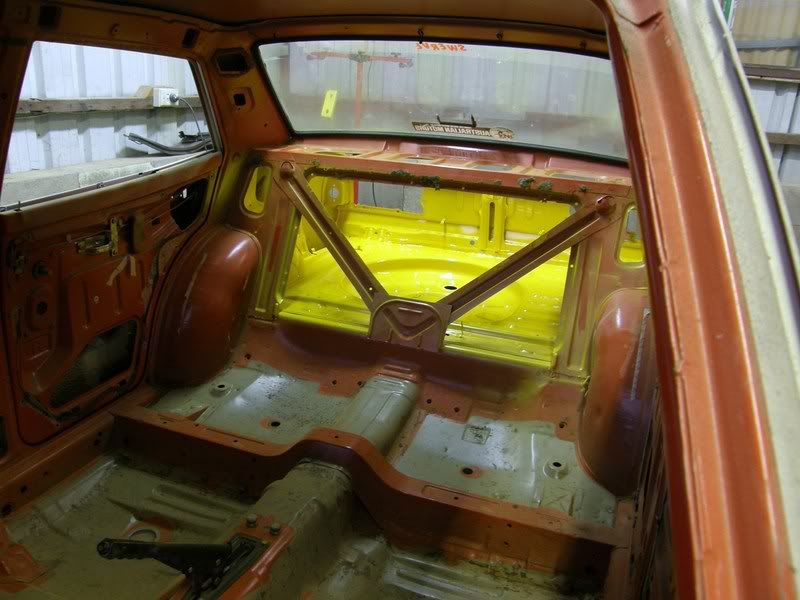
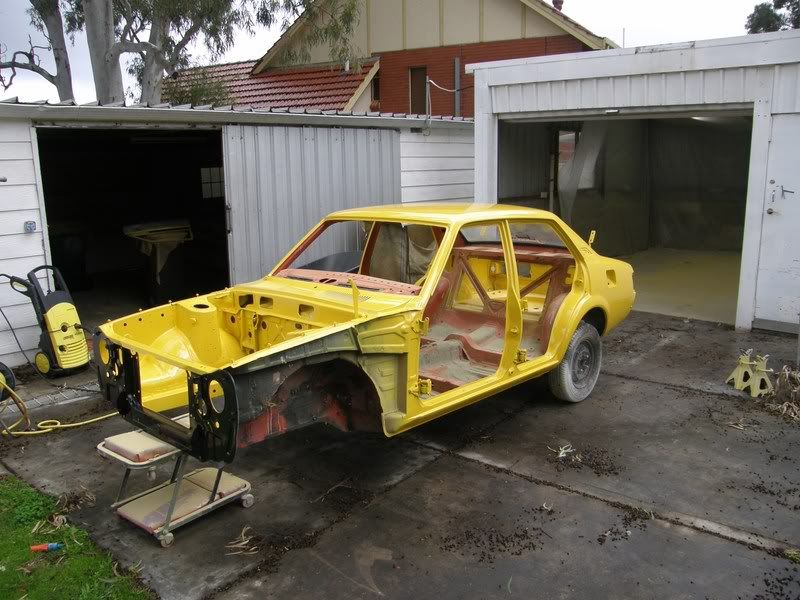
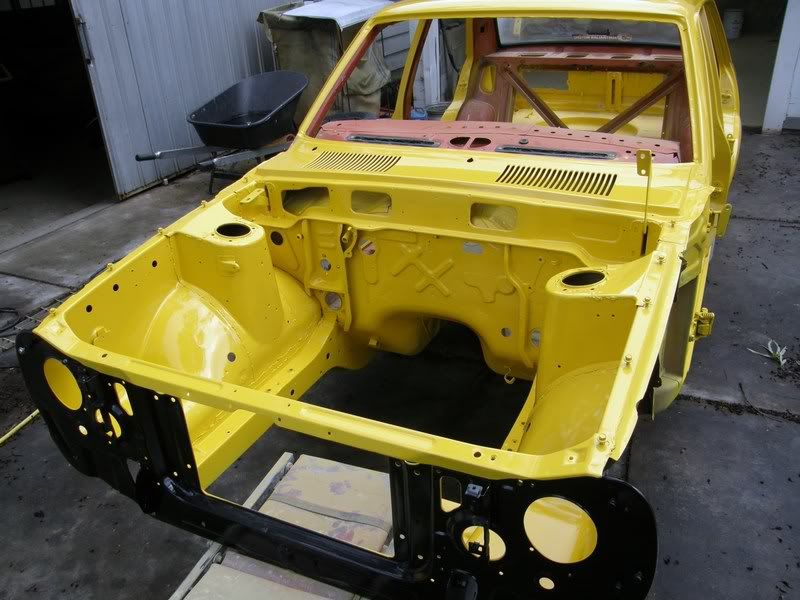
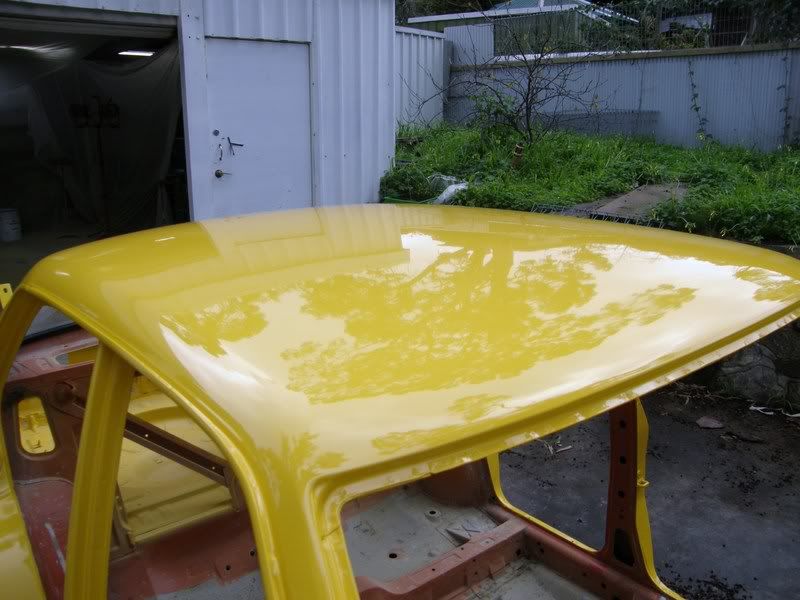
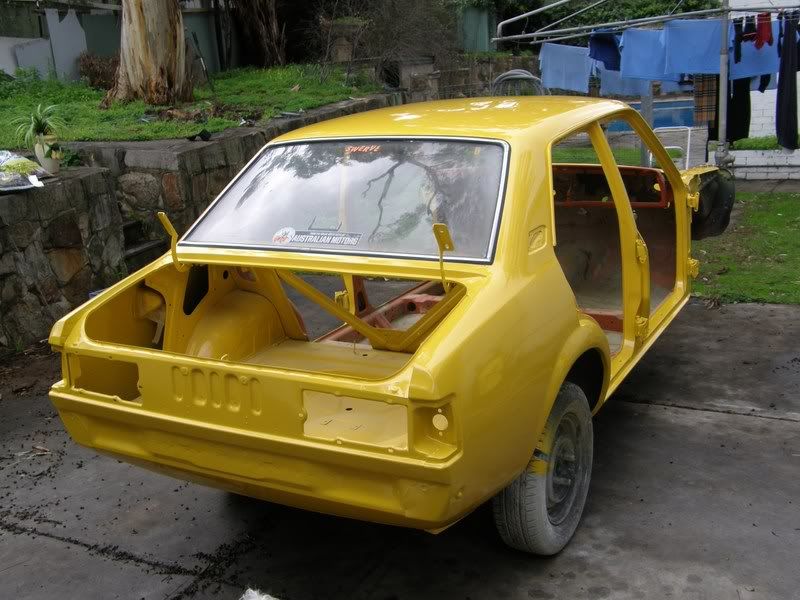
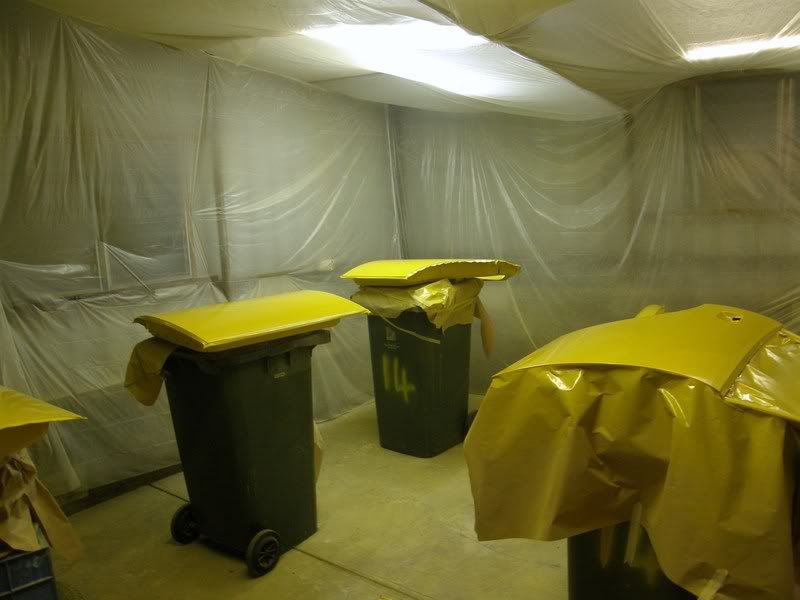
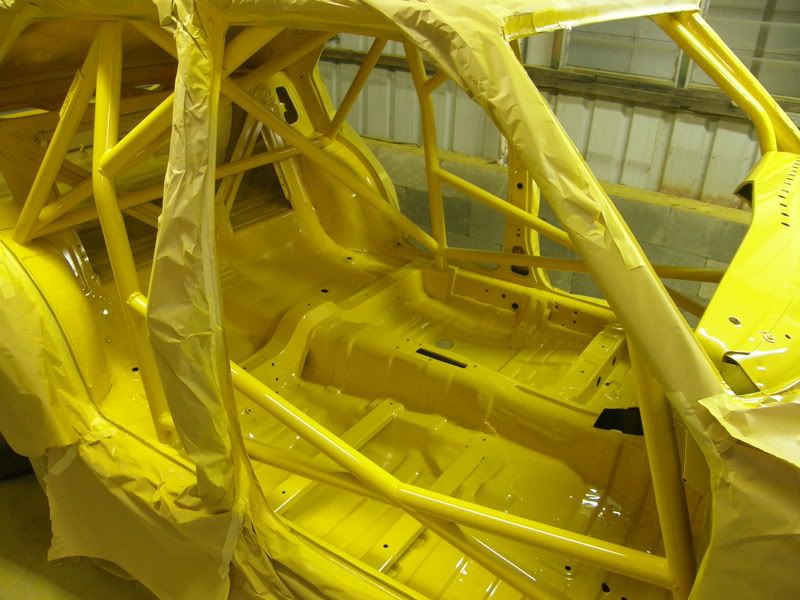
![Image](http://i5.photobucket.com/albums/y190/SIR383/Race%20Car/1BadgeHolesWeldedNodents.jpg)
![Image](http://i5.photobucket.com/albums/y190/SIR383/Race%20Car/2PassengersSideFinished2.jpg)
![Image](http://i5.photobucket.com/albums/y190/SIR383/Race%20Car/3PassengersSideFInished.jpg)
![Image](http://i5.photobucket.com/albums/y190/SIR383/Race%20Car/4PassengersSill.jpg)
![Image](http://i5.photobucket.com/albums/y190/SIR383/Race%20Car/5DriversSillFinished.jpg)
![Image](http://i5.photobucket.com/albums/y190/SIR383/Race%20Car/6DriversWheelArch.jpg)
![Image](http://i5.photobucket.com/albums/y190/SIR383/Race%20Car/7PassengersWheelArchFixed.jpg)
![Image](http://i5.photobucket.com/albums/y190/SIR383/Race%20Car/8Passengersz.jpg)
![Image](http://i5.photobucket.com/albums/y190/SIR383/Race%20Car/9DriversSideFinished.jpg)
![Image](http://i5.photobucket.com/albums/y190/SIR383/Race%20Car/10DriversSideFinished2.jpg)
![Image](http://i5.photobucket.com/albums/y190/SIR383/Race%20Car/11BootLidRust.jpg)
![Image](http://i5.photobucket.com/albums/y190/SIR383/Race%20Car/12EngineBayCleaned.jpg)
Paint Job
![Image](http://i5.photobucket.com/albums/y190/SIR383/Race%20Car/P5310208.jpg)
![Image](http://i5.photobucket.com/albums/y190/SIR383/Race%20Car/P5310210.jpg)
![Image](http://i5.photobucket.com/albums/y190/SIR383/Race%20Car/P5310213.jpg)
![Image](http://i5.photobucket.com/albums/y190/SIR383/Race%20Car/P5310212.jpg)
![Image](http://i5.photobucket.com/albums/y190/SIR383/Race%20Car/P6150235.jpg)
![Image](http://i5.photobucket.com/albums/y190/SIR383/Race%20Car/P6150238.jpg)
![Image](http://i5.photobucket.com/albums/y190/SIR383/Race%20Car/P6150240.jpg)
![Image](http://i5.photobucket.com/albums/y190/SIR383/Race%20Car/P7140241.jpg)
![Image](http://i5.photobucket.com/albums/y190/SIR383/Race%20Car/P7140242.jpg)
![Image](http://i5.photobucket.com/albums/y190/SIR383/Race%20Car/P7140244.jpg)
![Image](http://i5.photobucket.com/albums/y190/SIR383/Race%20Car/P7140245.jpg)
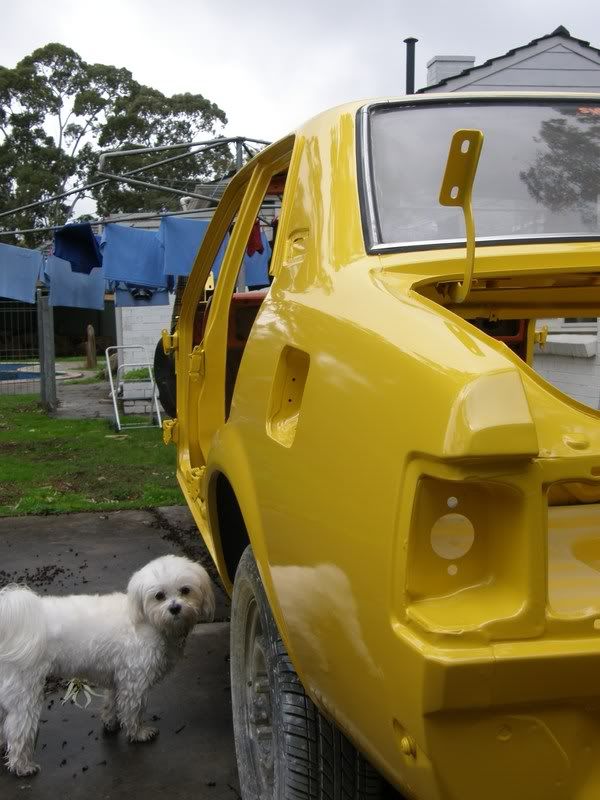
The Quality Inspector checking the finish out
![Image](http://i5.photobucket.com/albums/y190/SIR383/Race%20Car/P7140246.jpg)
![Image](http://i5.photobucket.com/albums/y190/SIR383/Race%20Car/P7140252.jpg)
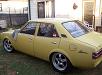
This me playing around with different front splitters and wheels.
![Image](http://i5.photobucket.com/albums/y190/SIR383/Race%20Car/Sirlancer.jpg)
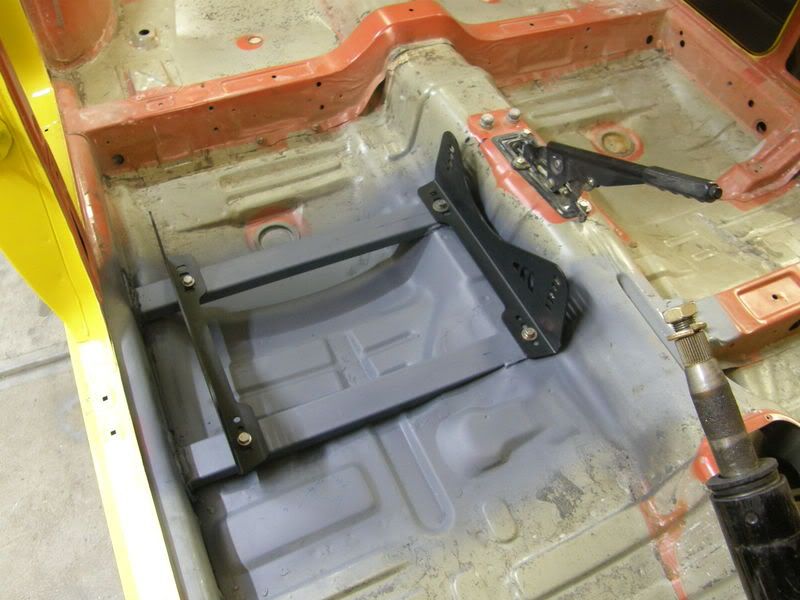
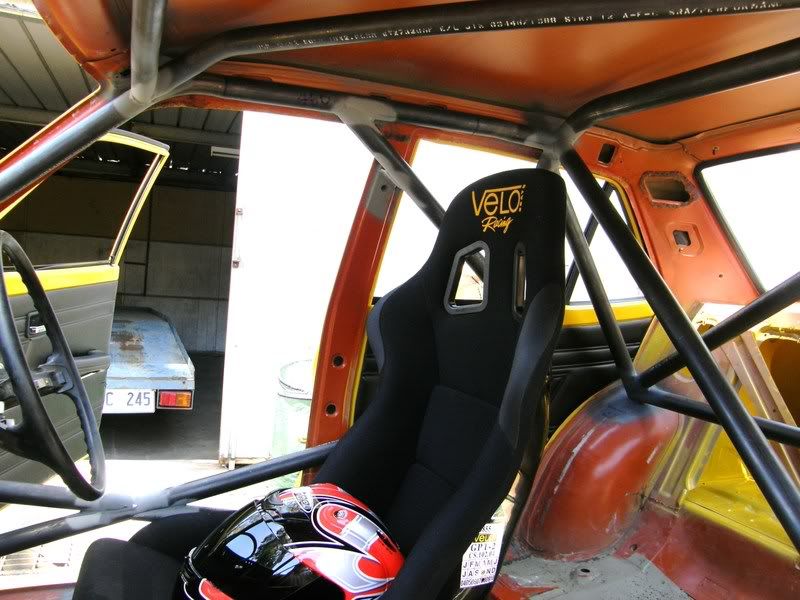
I modified the seat rails so I could bolt in a fixed bucket seat and get the seat really low.
![Image](http://i5.photobucket.com/albums/y190/SIR383/Race%20Car/PA240335.jpg)
![Image](http://i5.photobucket.com/albums/y190/SIR383/Race%20Car/PA310340.jpg)
![Image](http://i5.photobucket.com/albums/y190/SIR383/Race%20Car/P2060352.jpg)
![Image](http://i5.photobucket.com/albums/y190/SIR383/Race%20Car/P2060348.jpg)
![Image](http://i5.photobucket.com/albums/y190/SIR383/Race%20Car/P2230362.jpg)
![Image](http://i5.photobucket.com/albums/y190/SIR383/Race%20Car/P3040393.jpg)
![Image](http://i5.photobucket.com/albums/y190/SIR383/Race%20Car/P3100434.jpg)
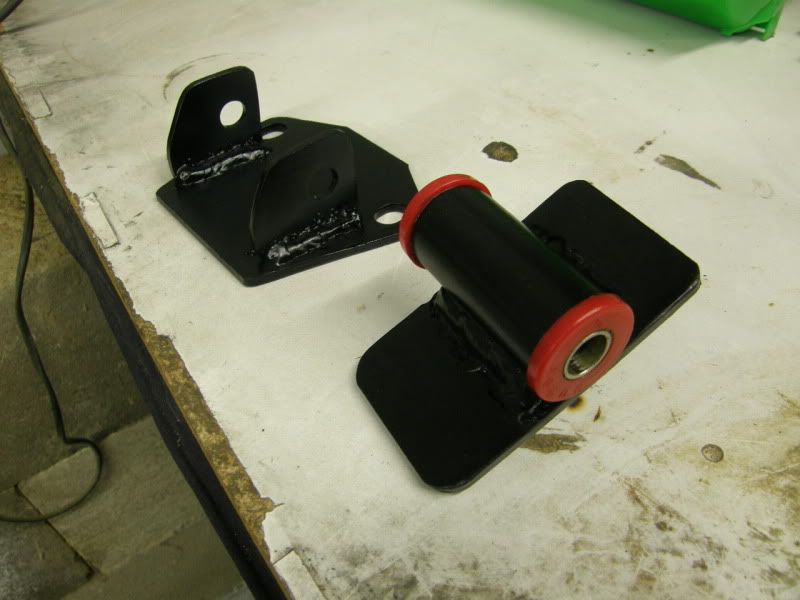
I made up this jig to help fabricate the mounts, it is built up around the stock mount, I was then able to cut the rubber out of the stock mount reinstall the top and bottom metal plates from the mounts back into the jig and still retain the correct dimentional relationship between the two plates. It was just then a matter of building up the guts of the mount using nolathane leaf spring mounts a steel tube and a few pieces of metal.
![Image](http://i5.photobucket.com/albums/y190/SIR383/Race%20Car/P8100797.jpg)
The finished mounts out of the jig
![Image](http://i5.photobucket.com/albums/y190/SIR383/Race%20Car/P8100796.jpg)
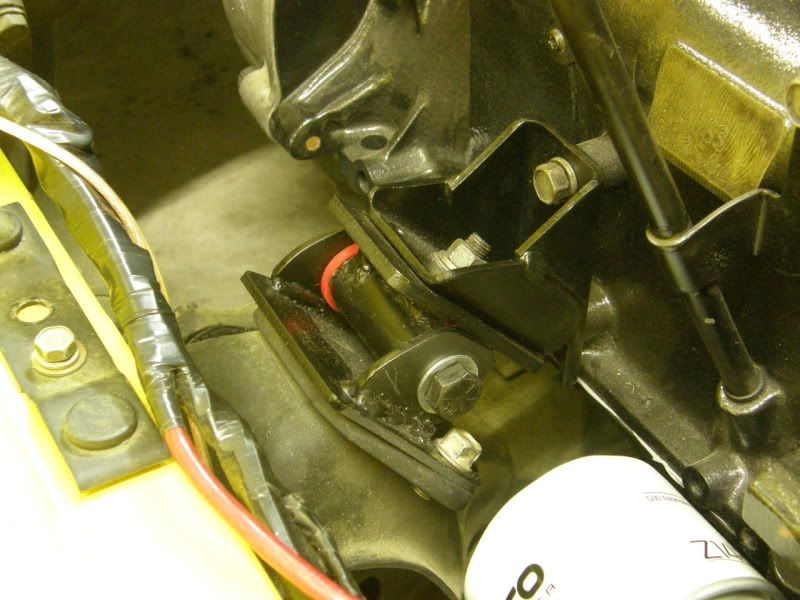
And installed into the car, they dropped in perfect and there is no play in the engine movement. It will shake the car a lot but hopefully eliminate the really bad vibrations I would have had with solid mounts.
![Image](http://i5.photobucket.com/albums/y190/SIR383/Race%20Car/P8230813.jpg)
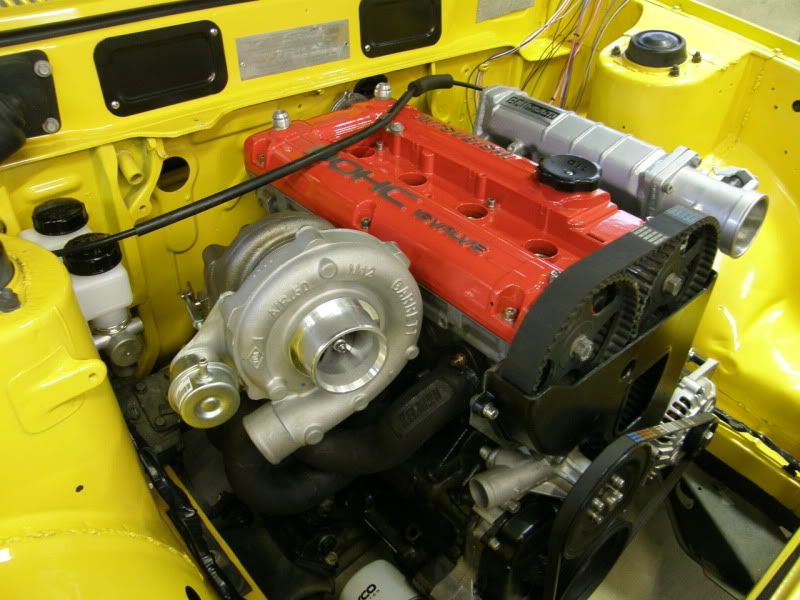
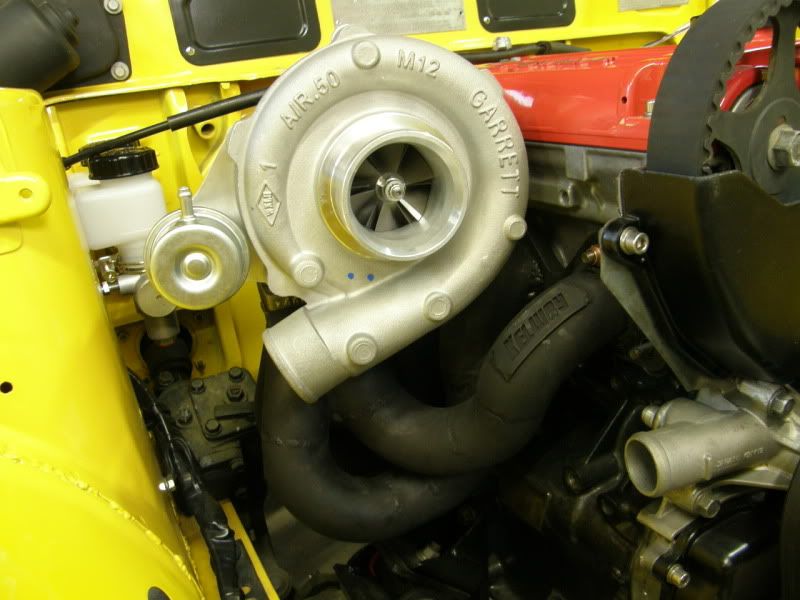
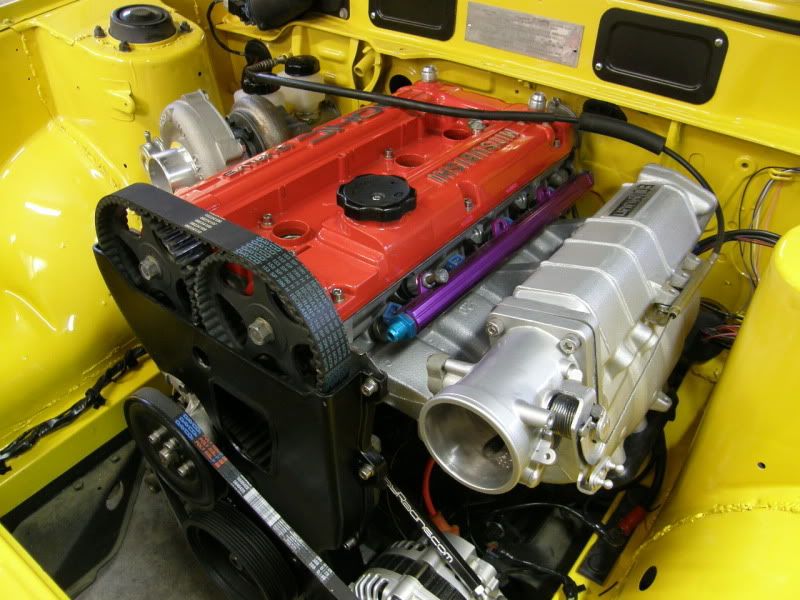
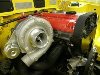
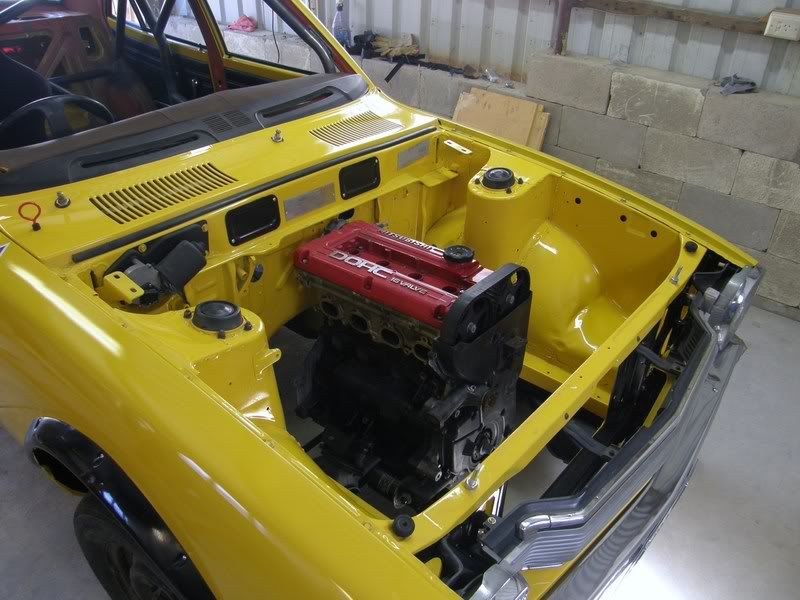
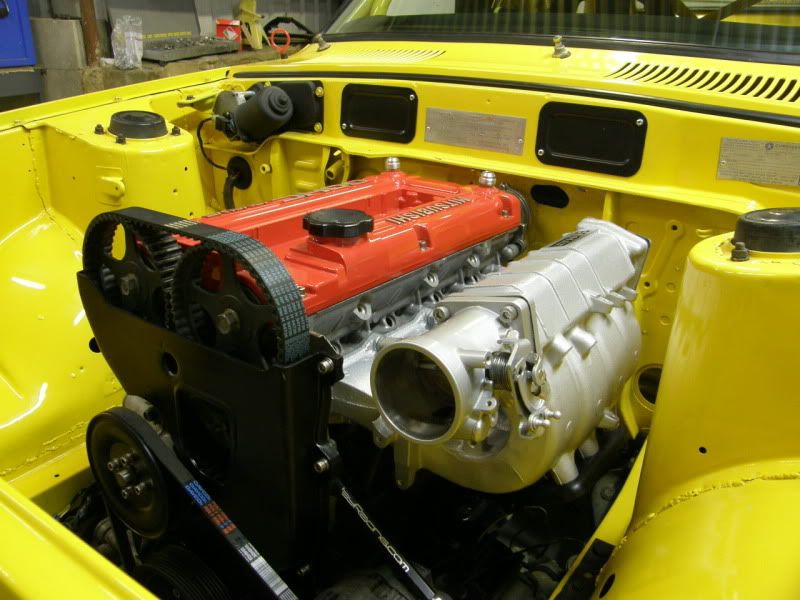
Engine all cleaned up and new timing gear installed. I have modded a NA inlet manifold the to suit rwd and an xf throttle body. I have also finished off all of the water plumbing to make the engine work in the RWD orientation.
![Image](http://i5.photobucket.com/albums/y190/SIR383/Race%20Car/P8230823.jpg)
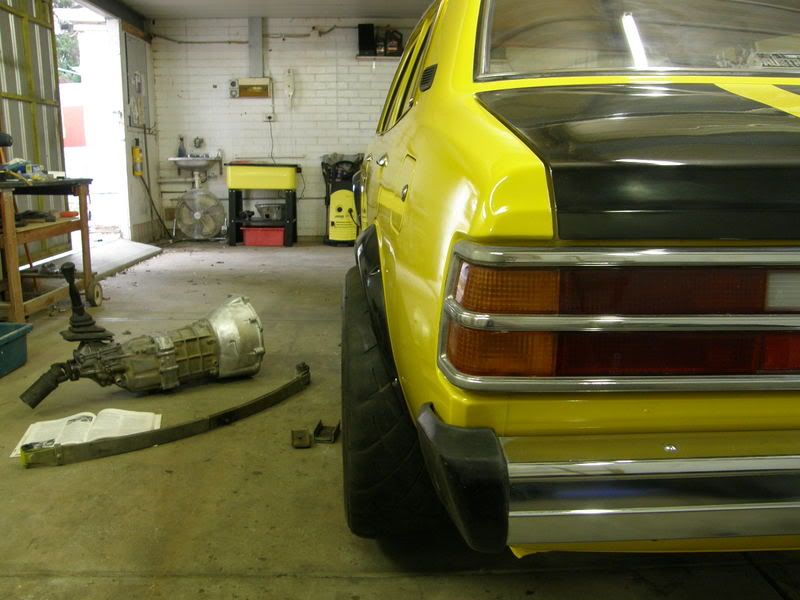
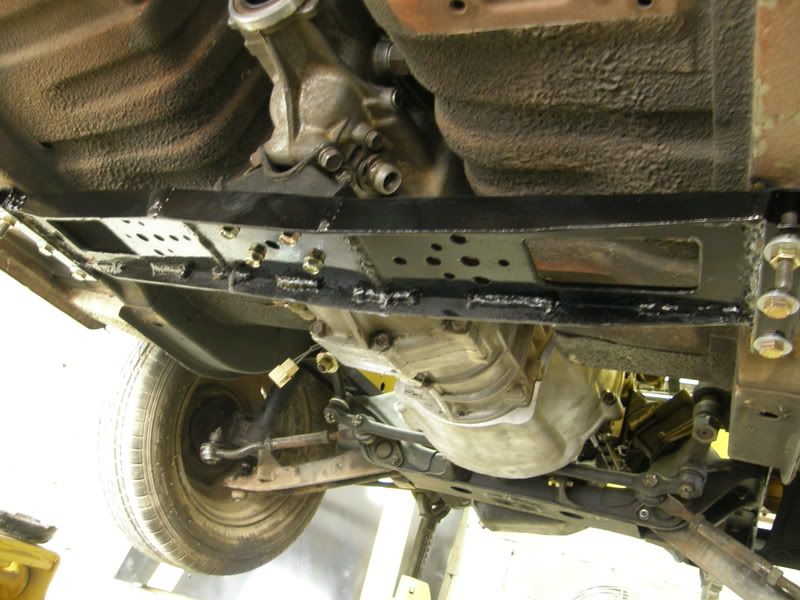
I am running a supra W58 gearbox mounted to the engine via dellow bellhousing. Here is the trans cross member I made to suit, it is lighter then the stock unit I might make one out of alloy one day to get the weight down more.
![Image](http://i5.photobucket.com/albums/y190/SIR383/Race%20Car/P2260369.jpg)
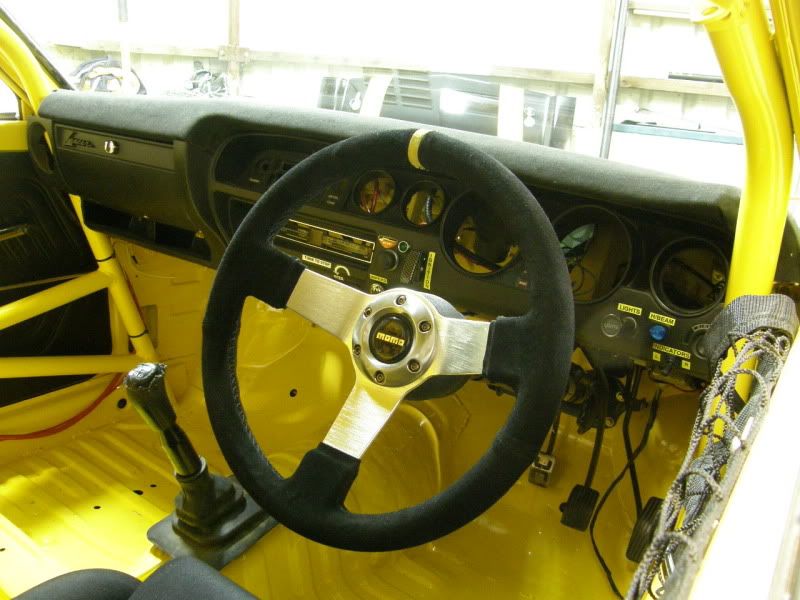
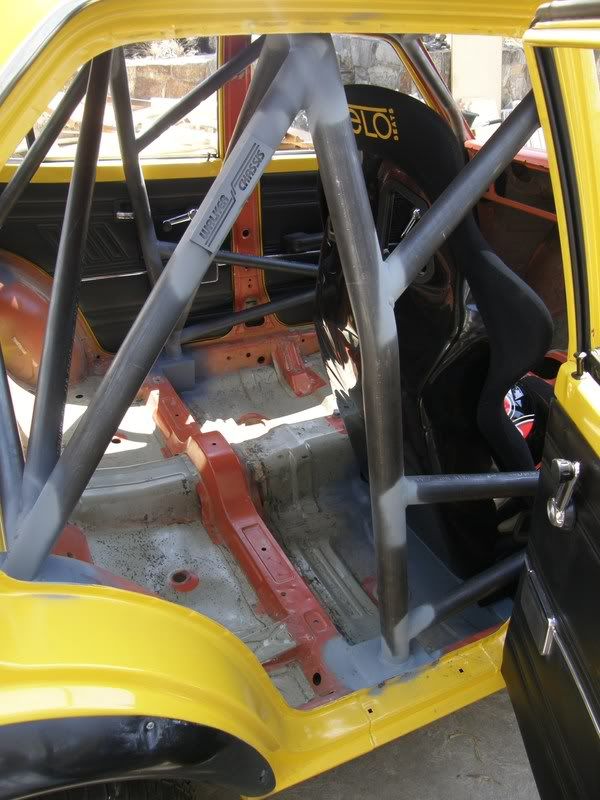
Interior nearly there just needs gauges.
![Image](http://i5.photobucket.com/albums/y190/SIR383/Race%20Car/P8230819.jpg)