Marty's GA Build

Post your build topics here! This is for restorations only.
Post Reply
71GA
Posts: 84
Joined: Tue Jun 14, 2011 8:35 pm
Location: Lyndoch, SA

Marty's GA Build

Post by 71GA »

I have owned this car for many years and whether i like it or not it has become a build/ project car. I purchased the 1971 GA Galant of a lady owner who bought it ex demo in Broken Hill and at some point moved to Adelaide. The car is pretty honest and a part from some minor front end damage (which had been repaired reasonably well) and a smallish amount of rust in the usual spots is not bad a for a 1971 car. The car was originally a 1300, drum brake, 4 speed car. After purchasing the car i swapped out the front drums for discs and installed new lowered suspension, lancer hatch steering wheel, venetian blind and Hayashi wheels. Even though it was a bit rough around the edges i really enjoyed using the car.

Image
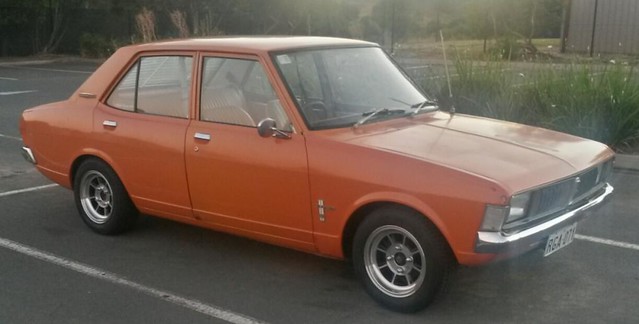
2015-01-25104241_zps5d690e4e by martin sharpe, on Flickr

The next few post's will be a bit of a catch up to get me up to date.

Cheers,

Marty.
71GA
Posts: 84
Joined: Tue Jun 14, 2011 8:35 pm
Location: Lyndoch, SA

Re: Marty's GA Build

Post by 71GA »

The plan for the car was to keep it what i would call relatively original. So freshen up a 4g32, fit Jap 5 speed, repair the rust to the best of my abilities, body work and paint. Sounds easy when you condense it into one sentence :think:

One of the first few things i started looking at was sourcing an engine. I ended up getting a bottom end from one of the guys off the forum and a cylinder head from a bloke in Tassie which had been ported and polished. A part from a few extra galleries in the block(can you spot them?) the motor went together pretty well.
Image4g32 identification by martin sharpe, on Flickr

Image20180713_142646 by martin sharpe, on Flickr

The motor has new rings, bearings, timing chain over sized pistons and has been balanced. It currently has a standard cam, 32/36 Weber and i'm in the process of modding some RPW headers to suit the large flange.
Image
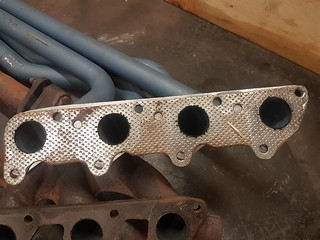
20170623_210015 by martin sharpe, on FlickrImage20180410_172745 by martin sharpe, on FlickrImage
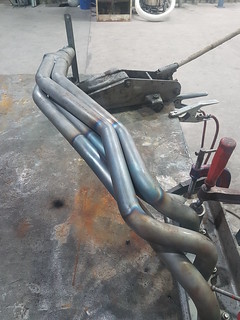
20180617_013121 by martin sharpe, on Flickr

Cheers,

Marty.
User avatar
75wagon
Admin
Posts: 5886
Joined: Sun Apr 12, 2009 5:16 pm
Location: Newcastle/Lake Macquarie

Re: Marty's GA Build

Post by 75wagon »

Very nice Marty,

Loving the look of this, just a simple lowering job and nice set of wheels is all these need to make them look good :thumpsup:

How far do you think you'll go with paint? Whole car, or just try to patch up and blend any repair areas?
If you want any sigma-galant.com stickers, then look here for how to get them sigma-galant.com stickers
71GA
Posts: 84
Joined: Tue Jun 14, 2011 8:35 pm
Location: Lyndoch, SA

Re: Marty's GA Build

Post by 71GA »

Thanks mate i appreciate it. I'm not really sure how far i'm going to go with the paint, i haven't had a lot of experience with painting but i'm definitely keen to learn so we will see how i go.
The next thing i started looking at was the various rust spots around the car. I did a bit of research on rust repairs and i think the most spots have come out reasonably well.
Image
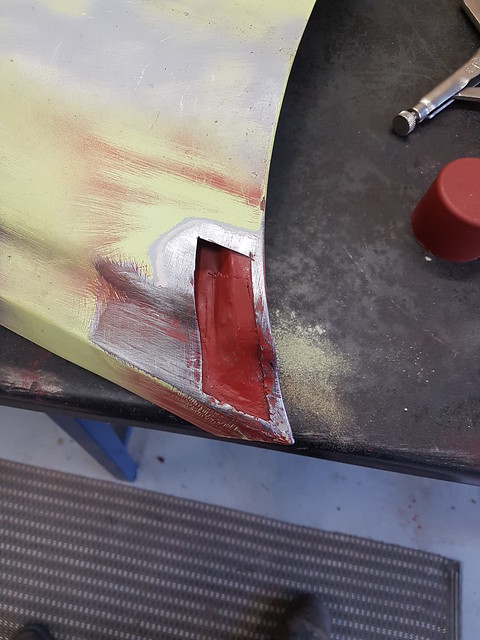
20170219_174358 by martin sharpe, on FlickrImage20170219_182351 by martin sharpe, on Flickr
Image20170404_182002 by martin sharpe, on FlickrImage20180522_140710 by martin sharpe, on Flickr
Image20180522_165301 by martin sharpe, on FlickrImage20180531_125545 by martin sharpe, on Flickr

Both side heater channels have also been done but i don't have many photos of that.

Cheers,

Marty.
yno26galant
Posts: 217
Joined: Fri Feb 17, 2012 9:39 pm

Re: Marty's GA Build

Post by yno26galant »

Good work marty. Check up near the battery tray i had some surface rust up near mine when i removed the tray from the engine bay
71GA
Posts: 84
Joined: Tue Jun 14, 2011 8:35 pm
Location: Lyndoch, SA

Re: Marty's GA Build

Post by 71GA »

Thanks for that. I have noticed a bit of surface rust around the battery tray but it doesn't look like it should be anything too major.

Also i found a couple of pics of the heater vent channel repair.
ImageSnapchat-448182047 by martin sharpe, on FlickrImage2018-08-15_09-42-23 by martin sharpe, on Flickr

I would definitely recommend checking your heater channels as both of mine were bad.

Cheers,

Marty.
71GA
Posts: 84
Joined: Tue Jun 14, 2011 8:35 pm
Location: Lyndoch, SA

Re: Marty's GA Build

Post by 71GA »

After the rust had been taken care of i stripped and painted all the inner guards and behind the grill will POR15. If you're not aware of POR15 it's an anti rust paint and claims to create a mechanical barrier to rust versus a chemical system most other brands use. It's pretty expensive but does go on pretty nice and sets very hard so we will see how it goes.
Image2018-05-07_10-40-33 by martin sharpe, on Flickr
Image20180602_163453 by martin sharpe, on Flickr
Image
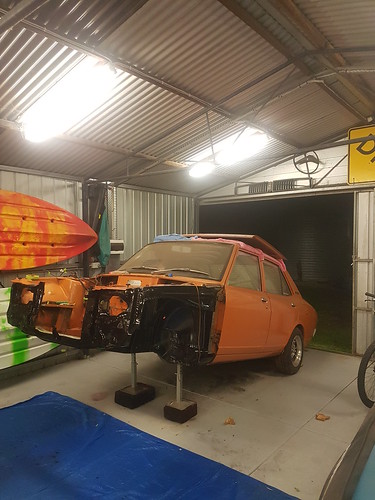
20180724_181751 by martin sharpe, on Flickr
I used a brush to apply it and think it came out reasonable.

Cheers,

Marty.
yno26galant
Posts: 217
Joined: Fri Feb 17, 2012 9:39 pm

Re: Marty's GA Build

Post by yno26galant »

Looks awesome mate. the shine on the black is painted with a brush??? What brand is it ? 8-) 8-)
Scorpma82
Sigma-Galant Police (Global Mod)
Posts: 2119
Joined: Sat Oct 22, 2011 6:48 am
Location: melbourne

Re: Marty's GA Build

Post by Scorpma82 »

Yeah I've seen reviews of por15, none of them are -ve
Built with pride, Driven in anger
User avatar
75wagon
Admin
Posts: 5886
Joined: Sun Apr 12, 2009 5:16 pm
Location: Newcastle/Lake Macquarie

Re: Marty's GA Build

Post by 75wagon »

There's some pretty decent rust repairs you've done there. Nice job :thumpsup:
If you want any sigma-galant.com stickers, then look here for how to get them sigma-galant.com stickers
71GA
Posts: 84
Joined: Tue Jun 14, 2011 8:35 pm
Location: Lyndoch, SA

Re: Marty's GA Build

Post by 71GA »

Cheers guys.

Next on the list of things to address is cleaning and painting the long list of bits and pieces.

GS/ GTO mirrors
Before
Image2018-10-01_12-26-00 by martin sharpe, on Flickr
After
Image20180723_145205 by martin sharpe, on Flickr

Other random bits
Image20180809_182900 by martin sharpe, on Flickr

There is still heaps of stuff to clean up and paint. Also one patch of rust in the chassis rail I've started to investigate.
Image20180810_142003 by martin sharpe, on Flickr
Image20180810_145633 by martin sharpe, on Flickr

Cheers,

Marty.
tandanus
Posts: 606
Joined: Sun Mar 22, 2009 7:36 am
Location: NSW Central Coast

Re: Marty's GA Build

Post by tandanus »

:P
This is commendable work.
Great to see another GA being loved :)
Wish I had your welding abilities :$
How are you going with relocating the gearbox cross-mount?
Have you had to shift it rearward?
Look forward to updates :P
T.
The highest reward for a man's toil is not what he gets for it but who he becomes by it.
John Ruskin
71GA
Posts: 84
Joined: Tue Jun 14, 2011 8:35 pm
Location: Lyndoch, SA

Re: Marty's GA Build

Post by 71GA »

Thanks Tandanas, appreciate all the kind words.
As for the cross member i can't tell you, i don't actually have a 5 speed or cross member as of yet. I have read a few of the threads on here and lots of people have mentioned it as an issue so we will see. I'll keep you posted.

Cheers,

Marty
tandanus
Posts: 606
Joined: Sun Mar 22, 2009 7:36 am
Location: NSW Central Coast

Re: Marty's GA Build

Post by tandanus »

The issue with the GAs is that their g/box cross member bolts inboard of the chassis rails.
The GBs bolt up through the rails.
So if you can find a GB cross member, you can drill through the rails, add crush tubes and bolt up :)
Welding to rails is forbidden where I'm from, so you cant just extend the GA inboard mounts rearward :(
Also you may have to move the gear-stick hole rearward a bit.
Just cut away from the back of the hole and weld it to the front :)
Some 5 speeds have shorter extension housings than others - short is good.
Others here have more experience than me in this, so I'm happy to be corrected on any of this.
Cheers
T.
The highest reward for a man's toil is not what he gets for it but who he becomes by it.
John Ruskin
71GA
Posts: 84
Joined: Tue Jun 14, 2011 8:35 pm
Location: Lyndoch, SA

Re: Marty's GA Build

Post by 71GA »

Well i didn't know there was a difference from GA to GB, thanks for that it's certainly something to think about.
I was aware of the extension housing variations, from my understanding i need a GE GH Sigma or any lancer narrow block box.

Image
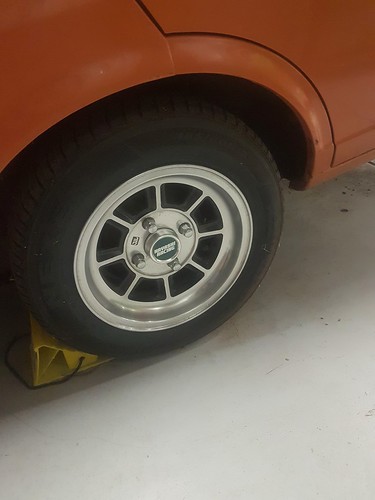
2018-10-05_07-53-39 by martin sharpe, on Flickr
Some center caps for my wheels arrived in the mail this week, pretty happy with them.
Cheers,

Marty.
71GA
Posts: 84
Joined: Tue Jun 14, 2011 8:35 pm
Location: Lyndoch, SA

Re: Marty's GA Build

Post by 71GA »

Started to peel back the layers of rust in the chassis rail.
Image2018-10-15_11-06-28 by martin sharpe, on Flickr
As per usual i had to take out more metal/rust than planned.
Image2018-10-15_11-07-02 by martin sharpe, on Flickr
The two layers made things a little interesting
Image2018-10-15_11-07-50 by martin sharpe, on Flickr
Image20181015_183722 by martin sharpe, on Flickr

All in all it doesn't look too bad.

Cheers,

Marty.
71GA
Posts: 84
Joined: Tue Jun 14, 2011 8:35 pm
Location: Lyndoch, SA

Re: Marty's GA Build

Post by 71GA »

Inner skin fabbed up.
Image2018-10-22_05-20-41 by martin sharpe, on Flickr
Then tacked in.
Image2018-10-22_05-15-13 by martin sharpe, on Flickr
Image2018-10-22_05-15-42 by martin sharpe, on Flickr
It will be fully welded and ground down before the outer skin goes on.

Cheers,

Marty.
71GA
Posts: 84
Joined: Tue Jun 14, 2011 8:35 pm
Location: Lyndoch, SA

Re: Marty's GA Build

Post by 71GA »

Inner skin fully welded and ground down.
Image2018-10-24_08-39-49 by martin sharpe, on Flickr
Image2018-10-24_08-40-56 by martin sharpe, on Flickr

Cheers,

Marty.
71GA
Posts: 84
Joined: Tue Jun 14, 2011 8:35 pm
Location: Lyndoch, SA

Re: Marty's GA Build

Post by 71GA »

Finished off the chassis rail over the weekend.
Image2019-01-21_04-14-18 by martin sharpe, on Flickr
This time i made the side curved piece first.
Image2019-01-21_04-14-51 by martin sharpe, on Flickr
Then welded to inner rail.
Image2019-01-21_04-15-15 by martin sharpe, on Flickr
Then attached the bottom piece and ground down.
Image2019-01-21_04-16-34 by martin sharpe, on Flickr
Happy with the results.

Cheers,

Marty.
Superscan811
Posts: 1689
Joined: Sun Mar 22, 2009 4:12 pm
Location: Sydney

Re: Marty's GA Build

Post by Superscan811 »

Great work..
71GA
Posts: 84
Joined: Tue Jun 14, 2011 8:35 pm
Location: Lyndoch, SA

Re: Marty's GA Build

Post by 71GA »

Thanks Superscan.

The engine bay is mostly stripped.
Image
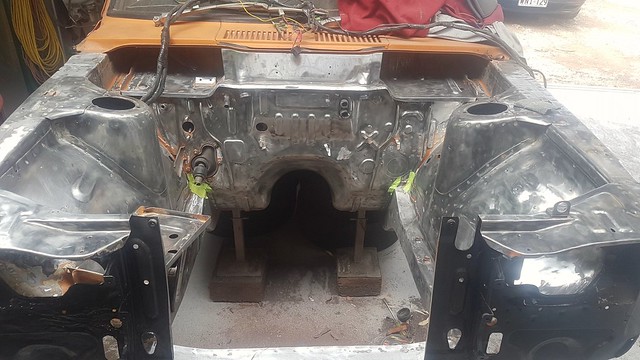
2019-02-15_07-58-00 by martin sharpe, on Flickr
Layed some etch primer down to protect the bare steal.
Image
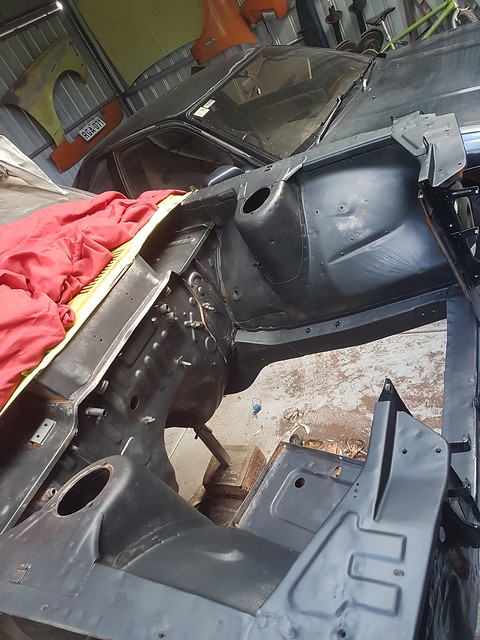
2019-02-15_07-58-20 by martin sharpe, on Flickr
Still needs a bit more prep but not too far of spraying some hi build primer.

Cheers,

Marty.
User avatar
75wagon
Admin
Posts: 5886
Joined: Sun Apr 12, 2009 5:16 pm
Location: Newcastle/Lake Macquarie

Re: Marty's GA Build

Post by 75wagon »

Good to see you're still plugging away at this Marty.
Any updates since the last?

Dave
If you want any sigma-galant.com stickers, then look here for how to get them sigma-galant.com stickers
Post Reply