Cottees' 1987 Sigma GN GSR Super Edition

Post your build topics here! This is for restorations only.
Post Reply
Cottees
Admin
Posts: 2424
Joined: Sun Mar 22, 2009 1:40 pm
Location: South Australia

Re: Cottees' Sigma GN Build

Post by Cottees »

Billsy wrote:the rollers have a specific cam profile
Would a stock Sigma cam + rollers be ok?

The reason I ask is my engine had that combo at the moment
Image

I found the bolt that snapped on the bottom of the sump. I couldn't find the washer though. I turned the engine a little, and it dropped out of nowhere.
Image

This is where the bolt snapped
Image

And the bolt that snapped
Image

I also ended up going to Motoquip and getting a brown dash mat for $15
Image
GB_BB4C
Posts: 932
Joined: Fri Mar 20, 2009 9:37 am
Location: Adelaide, SA

Re: Cottees' Sigma GN Build

Post by GB_BB4C »

That's a big NO on the stock cam and roller rocker's, unless ya planning on smashing (i have seen this done) the rocker's and the rocker cover....
Here is a pic of the difference between a Sigma (top) and a Magna roller (bottom) cam. Beside's them looking different they have a different profile. Basically go a full roller setup (recomended) or put the CrowCam in with adjustable rocker's. Mind you when i had a Crow 107701 with a TR/TS computer it never ran right.
Image
2* 73 A53 16L Dodge Colt (Plymouth Cricket), 2* 73 GB Galant Sedan's, 1* 74 GB Galant Sedan, 1* 76 VK Valiant Regal,
1* 79 GE SE Sigma Sedan, 1* 81 GH Sigma PWS, 1* 84 GK Sigma SE, 1* 85 GK Sigma GL - Replacing the 84 GK SE, 1* 91 GTO - FOR SALE

Image
Cottees
Admin
Posts: 2424
Joined: Sun Mar 22, 2009 1:40 pm
Location: South Australia

Re: Cottees' Sigma GN Build

Post by Cottees »

Thanks for the help. I might go to U-Pull-It and pick up a roller cam next week some time. Apart from that and a couple other small things, it is starting to come together. It shouldn't be long till I am finished. One problem I had today was I got another AC bracket that doesn't had to be removed to get the dizzy out. It didn't clear the TR/TS intake. I'll be grinding a bit off it to make it fit in the next couple days.
Cottees
Admin
Posts: 2424
Joined: Sun Mar 22, 2009 1:40 pm
Location: South Australia

Re: Cottees' Sigma GN Build

Post by Cottees »

I cut out a bit of the new AC bracket to clear the TR/TS intake. It SHOULD fit now.

Before
Image

After
Image
Cottees
Admin
Posts: 2424
Joined: Sun Mar 22, 2009 1:40 pm
Location: South Australia

Re: Cottees' Sigma GN Build

Post by Cottees »

Test fit the trimmed AC bracket, and fits ok.
Image
Cottees
Admin
Posts: 2424
Joined: Sun Mar 22, 2009 1:40 pm
Location: South Australia

Re: Cottees' Sigma GN Build

Post by Cottees »

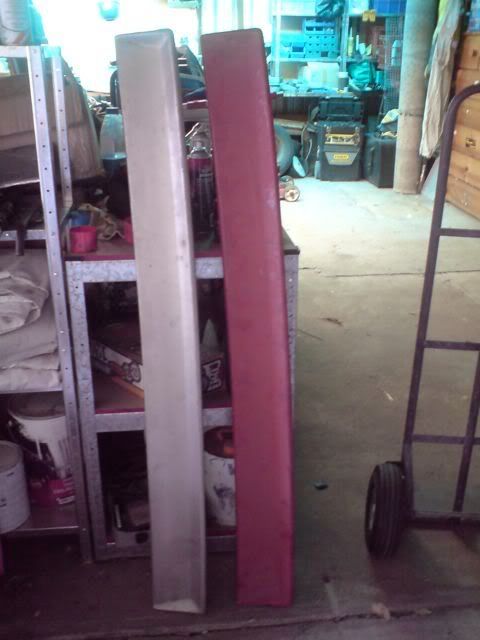
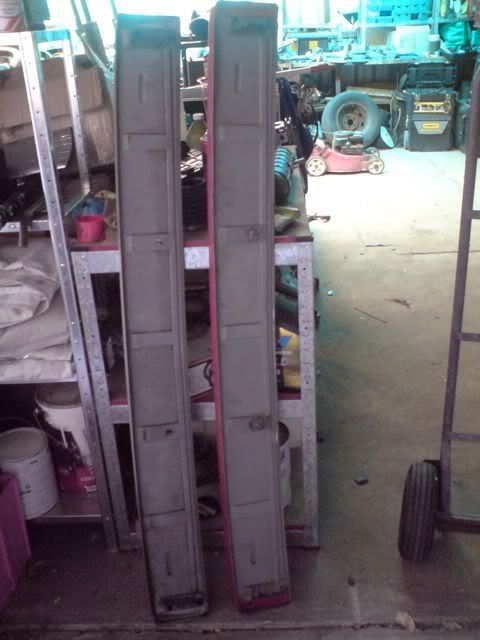
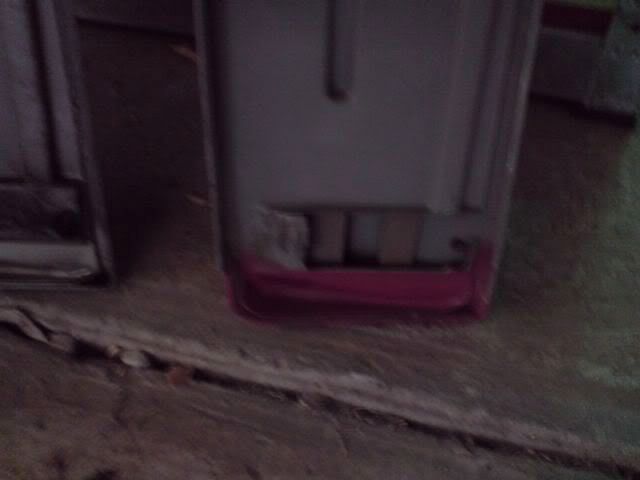
Yet another trip to U-Pull-It is over. Ended up getting most of the parts I needed. I found 2x GSR rear spoilers, a red and silver ones. The red one is broken, so I'll use it as a template to make another one in fibre glass, and the silver one just needs a sanding and a paint. Since I wont need the spoiler for a while, I'll be selling the silver spoiler.
Image
Image
Image

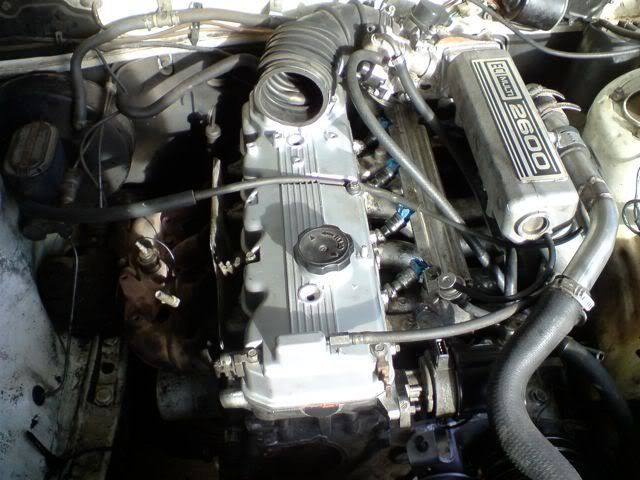
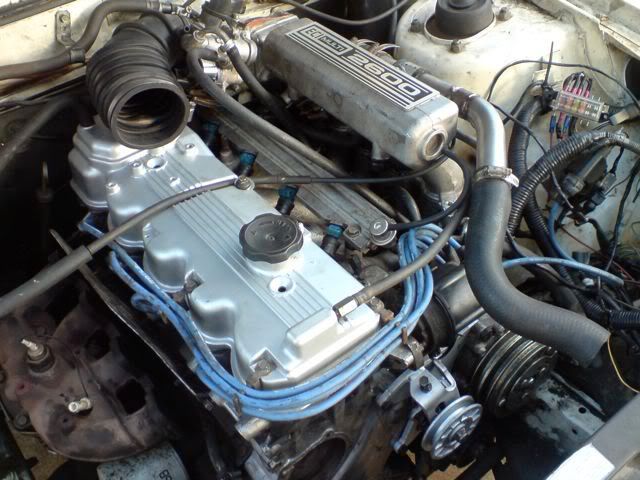
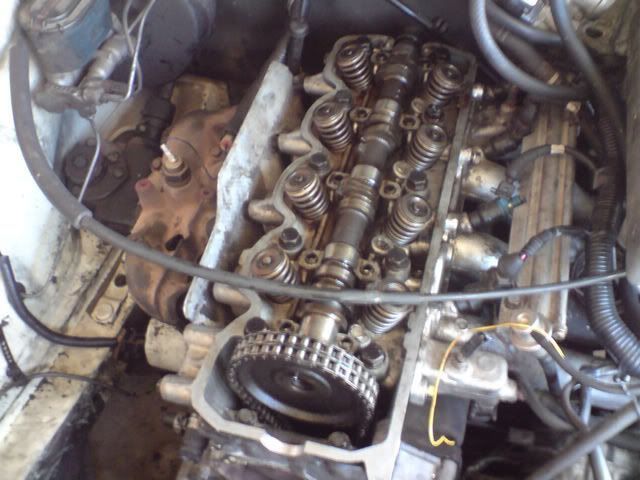
I got the proper cam this time, and that is all installed ready to go.
Image

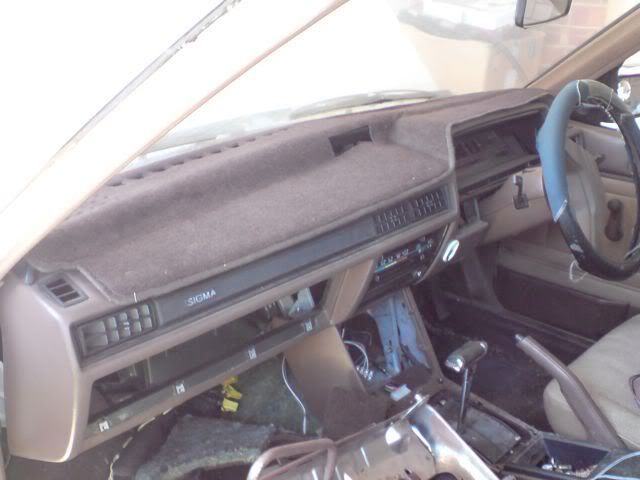
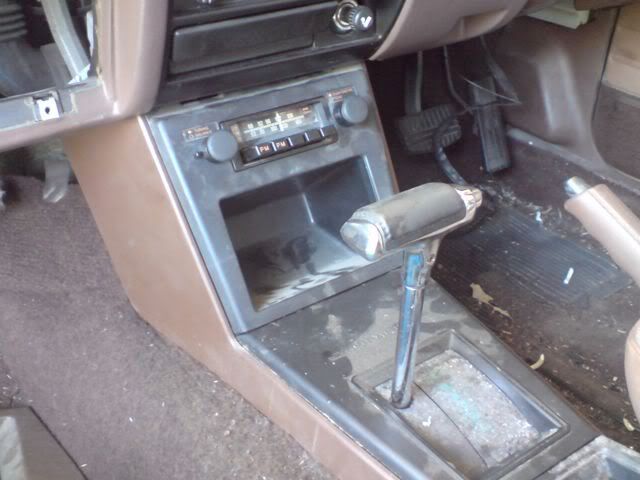
I also got some unbroken centre console parts, including a stock radio. Don't think the radio will work though. Definitely will have to give the interior a really good clean.
Image

Things left to do:
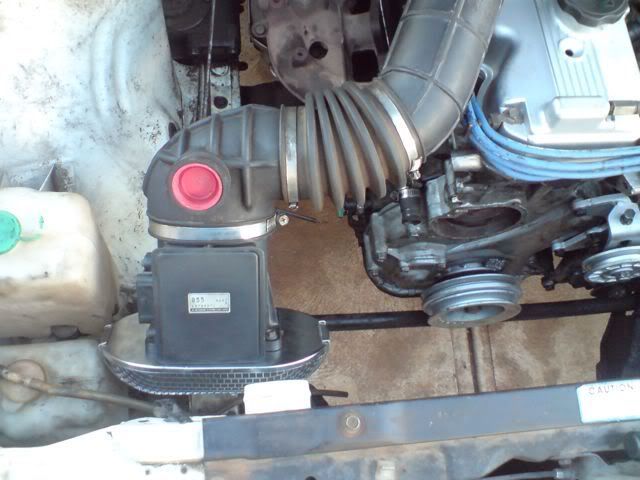
- Make mounting brackets for the intake piping
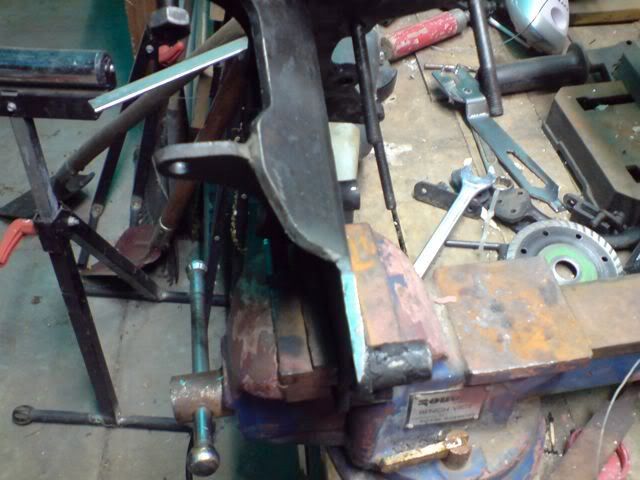
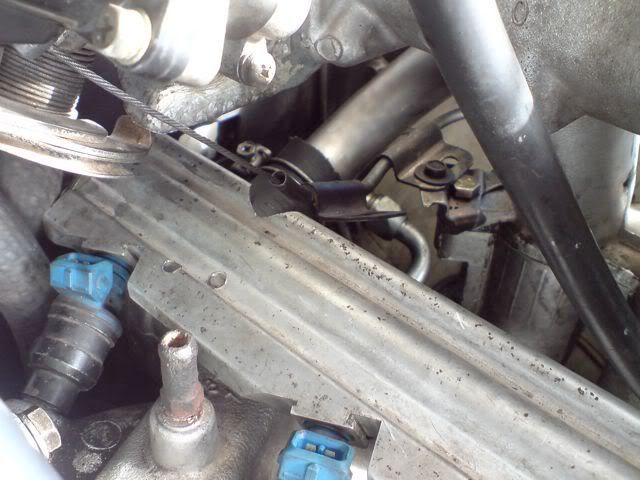
- Finish accelerator cable mounting bracket
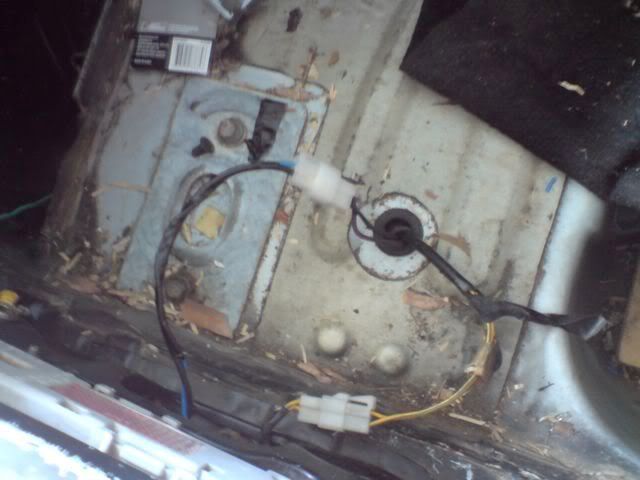
- Solder 2 wires to the connect the Magna loom with the Sigma loom
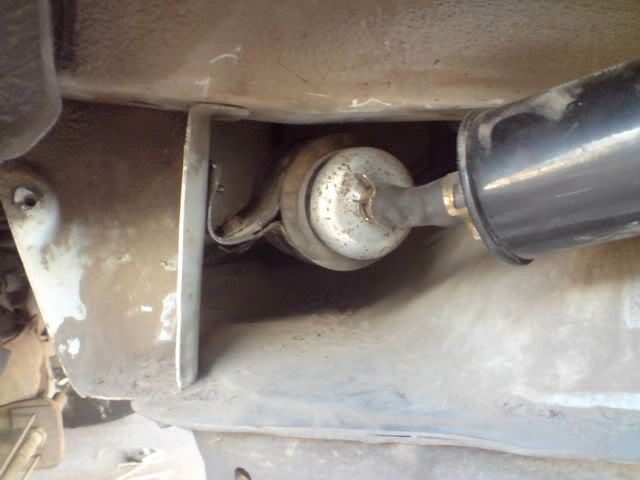
- Get a hose from the tank to the charcoal canister
- Get a hose for between the brake booster and intake
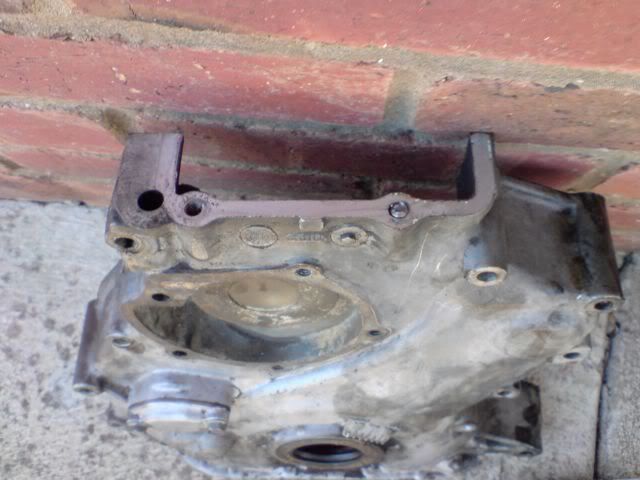
- Mount the AC bracket and remount the AC and Alternator
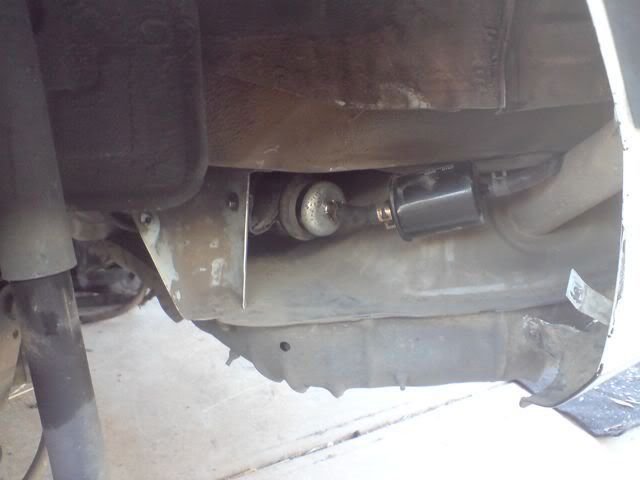
- Mount the electric fuel pump
- Put everything back together with gaskets
- Final testing of the loom with the battery in the car
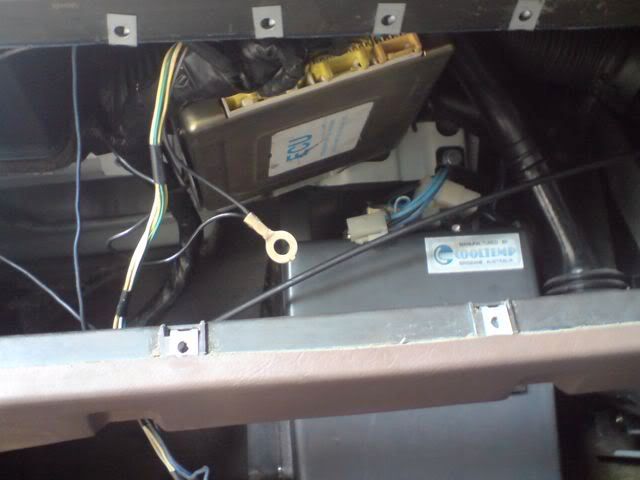
- Plug in and mount the ECU
- Test run of the engine and hope it doesn't explode
Cottees
Admin
Posts: 2424
Joined: Sun Mar 22, 2009 1:40 pm
Location: South Australia

Re: Cottees' Sigma GN Build

Post by Cottees »

Drum brakes. Will have to fix that eventually.
Image

Hooked up the Bosch 050 fuel pump to the car and tested it out.
http://www.youtube.com/watch?v=vhfUntBVFWQ

I used a cut down VL fuel pump bracket to mount the fuel pump to the rear of the car.
Image
Image

I ended up using a Magna TR/TS accelerator cable to fix the issue I was having with the Sigma cable being too short.
Image
Image

The Sigma is looking pretty dirty.
Image

Hooked up the spark plug leads to make sure everything was fitting. The cable between the coil and the dizzy is a little long now though.
Image

I made a bracket to hold part of the intake. Yes I know there is a hole in it, I'll be fixing that soon.
Image

With the bracket in place, the air filter has to be pointed down to fit properly.
Image
Cottees
Admin
Posts: 2424
Joined: Sun Mar 22, 2009 1:40 pm
Location: South Australia

Re: Cottees' Sigma GN Build

Post by Cottees »

I went to U-Pull-It again to get some of the final nuts and bolts to get the Sigma all back together again.
Image

Everything was coming together nicely, then I slid under the car to put the sump bolts back in. CRAP!
Image
Image

I forgot the timing chain cover was different in the narrow and wide blocks. I ended up pulling most of the front of the engine apart to get the wide timing cover off and put on my old narrow one. Everything is now there ready to plug in, bolt on, etc., just have to get it together. It should have been mostly done, if it wasn't for the timing chain cover. Hopefully I can get most of it done tomorrow, and find a decent length of wire to wire up the petrol pump and start testing.
Cottees
Admin
Posts: 2424
Joined: Sun Mar 22, 2009 1:40 pm
Location: South Australia

Re: Cottees' Sigma GN Build

Post by Cottees »

I now have most of the car back together. I just need to do some minor things like wiring, tighten some bolts, and find where the hell I put my ECU. :banh: I have put it somewhere safe, and I can't remember where that is.

Image
Image
Undies91
Posts: 171
Joined: Sun Jul 12, 2009 8:21 pm
Location: Gawler S.A.

Re: Cottees' Sigma GN Build

Post by Undies91 »

Cottees wrote:I forgot the timing chain cover was different in the narrow and wide blocks. I ended up pulling most of the front of the engine apart to get the wide timing cover off and put on my old narrow one. Everything is now there ready to plug in, bolt on, etc., just have to get it together. It should have been mostly done, if it wasn't for the timing chain cover. Hopefully I can get most of it done tomorrow, and find a decent length of wire to wire up the petrol pump and start testing.

that sucks :ban: but hopefully next cruise we will see wat she has got :P
Own A GN Sigma
rebuild on the way!!!
oh and fuel injected turbo
Cottees
Admin
Posts: 2424
Joined: Sun Mar 22, 2009 1:40 pm
Location: South Australia

Re: Cottees' Sigma GN Build

Post by Cottees »

I found the ECU, and decided to mount it above the glove box. I will have to extend the earth wire though.
Image

Not long now till I'll be able to do final electrical testing, and give it a test run.
A112H
Posts: 7681
Joined: Tue Mar 24, 2009 5:01 am

Re: Cottees' Sigma GN Build

Post by A112H »

WOOHOO :thumpsup: :thumpsup:
Cottees
Admin
Posts: 2424
Joined: Sun Mar 22, 2009 1:40 pm
Location: South Australia

Re: Cottees' Sigma GN Build

Post by Cottees »

I have now finished off the wiring. The fuel pump is now wired up.
Image

Only 2 major issues left. The battery for the car is flat, and there is a coolant leak at the thermostat housing. After that, I can test out the loom. I did have the Sigma powered on earlier. All the Sigma stuff still works, like interior lighting, horn, indicators, etc. While trying that out, I had the Magna Control Relay attached, and could hear that clicking as it should do as I turn the key.

Cottees' tip of the day : If you are under a really greasy car, keep your mouth SHUT! Choking on a piece of grease isn't too pleasant.
astronturbo77
Sigma-Galant Police (Global Mod)
Posts: 1356
Joined: Thu Mar 26, 2009 8:09 pm
Location: Hobart Tasmania

Re: Cottees' Sigma GN Build

Post by astronturbo77 »

does it go yet
BUILT NOT BROUGHT BY ALGIE.
Cottees
Admin
Posts: 2424
Joined: Sun Mar 22, 2009 1:40 pm
Location: South Australia

Re: Cottees' Sigma GN Build

Post by Cottees »

I should be able to start it for the first time tomorrow.

Edit: might have to delay it for a day or so, I have come down sick.
webby
Posts: 1644
Joined: Thu Apr 02, 2009 10:38 am
Location: Parkes, NSW

Re: Cottees' Sigma GN Build

Post by webby »

That's what happens when you suck on bits of grease :P
-Josh.
Image
Daily: 7/96 EF Falcon, 4.0 SOHC, BTR95LE, 3.45:1 LSD/Lukey extractors, full 2.5” exhaust, EL intake, Tickford snorkel, 87DA cam, AU injectors, shiftkits.com.au single stage kit. PB 14.93@91mph.
Project: Red '81 Scorpion-http://www.sigma-galant.com/viewtopic.php?f=46&t=11889
Cottees
Admin
Posts: 2424
Joined: Sun Mar 22, 2009 1:40 pm
Location: South Australia

Re: Cottees' Sigma GN Build

Post by Cottees »

I felt well enough to work on the Sigma today, and I have some good, bad and even worse news.

The (some what) good news:
The car actually starts and runs. It sounds like a lawn mower, but it actually runs.
http://www.youtube.com/watch?v=qLVOXM3qqc0

I thought it could be the timing or how the dizzy was put in. I decided to take the dizzy out and reposition it properly. It still didn't run any better. By taking out the dizzy, I discovered what is the even worse news.

The bad news:
I also forgot I had a Soviet Russian Auto in my car, so 'P' is actualy 'R', and 'R' is 'R'.
Image

The even worse news:
I think there is water in the oil. :banh:
Image
shuggy
Posts: 2269
Joined: Tue Mar 24, 2009 12:35 am
Location: Perth, WA

Re: Cottees' Sigma GN Build

Post by shuggy »

dudeee....
square one i guess :\
:banh:
GB_BB4C
Posts: 932
Joined: Fri Mar 20, 2009 9:37 am
Location: Adelaide, SA

Re: Cottees' Sigma GN Build

Post by GB_BB4C »

Just like undies91 car, i see your's make's cappuccino’s too.
Did you have the head tested and faced before installing it??
2* 73 A53 16L Dodge Colt (Plymouth Cricket), 2* 73 GB Galant Sedan's, 1* 74 GB Galant Sedan, 1* 76 VK Valiant Regal,
1* 79 GE SE Sigma Sedan, 1* 81 GH Sigma PWS, 1* 84 GK Sigma SE, 1* 85 GK Sigma GL - Replacing the 84 GK SE, 1* 91 GTO - FOR SALE

Image
A112H
Posts: 7681
Joined: Tue Mar 24, 2009 5:01 am

Re: Cottees' Sigma GN Build

Post by A112H »

Bummer dude, you are sure the container said Mobil not Farmers Union aren't you???
Cottees
Admin
Posts: 2424
Joined: Sun Mar 22, 2009 1:40 pm
Location: South Australia

Re: Cottees' Sigma GN Build

Post by Cottees »

GB_BB4C wrote:Just like undies91 car, i see your's make's cappuccino’s too.
I'd say more like a Orange Mocha Frappuccino.
GB_BB4C wrote:Did you have the head tested and faced before installing it??
It was off Billsy's old EFI setup, so I assume it was ok.
Galant_GT0 wrote:Bummer dude, you are sure the container said Mobil not Farmers Union aren't you???
It said "Castrol GTX3". Not unless Farmers Union have taken my requests for a 5.5L bottle of Iced Coffee seriously.

For the water issue, I can think of 2 places that it could of come from. The head or the timing chain cover. The head was using a brand new head gasket, and I am sure I sealed up the water part of the timing chain cover properly. I have a feeling it was the timing chain cover at fault more than the head. I should be able to test that out when I check out the car again. I'll go back and look at it once I don't feel like taking it to get scrapped.

As for the engine running like crap, I have a feeling it is the computer at fault. A couple times I can hear the injectors ticking when the car is 'on' but not running and also after I turn the car to 'off'. I will also have to check out the control relay too, and test that out properly. One problem with the computer is that I couldn't get it to return error codes, if there was any. At least, it should be complaining that there is no knock sensor, or speedo sensor.

Edit: After doing some research at the Aussie Magna website, the ticking that I am hearing could be the TSC calibrating.
Cottees
Admin
Posts: 2424
Joined: Sun Mar 22, 2009 1:40 pm
Location: South Australia

Re: Cottees' Sigma GN Build

Post by Cottees »

I unplugged the TSC, and could still hear clicking, so it could be the injectors going mental. I also did some testing on the ECU. As per the manual, it says that the 'check engine' light should go on and stay on for 5 sec, then switch off. My ECU is doing that ok. Then it says to connect a test light to pin 1 and 12 of the diagnostic connector to get the error codes. I don't have the connector, but 1 is the yellow wire from the ECU, and 12 is just ground. I connected the 2 and turned the ignition to on. I then get no error codes, not even the 'all clear' signal. From the looks of it, the engine is running like crap cause of water where there shouldn't be water, and a crappy ECU.

As for the water problem, I can think of 2 places that the water could be getting into the engine. The head and behind the water pump. To test which one, I thought about that if I disconnect the hose from the water pump, and it was that seal that was at fault, then not much water would come out as most of the water that was above that would have leaked already. If it was the head, then more water would come out as the head is higher than the water pump. I removed the hose and got a heap of water coming out, so I think it was a leak in the head somewhere.

Even though there is a lot of bad news, even with all these problems, the car will start no problems, it is just keeping it running that it is having trouble with. I did expect it to run a little rough to start with, but I didn't expect it to be leaking water into the oil. I will have to take the head off soon and take another look to see what is going on. If anyone has any suggestions, or any corrections on my guessed diagnosis, please let me know as I would like to see it all working properly.
A112H
Posts: 7681
Joined: Tue Mar 24, 2009 5:01 am

Re: Cottees' Sigma GN Build

Post by A112H »

Put one end of an extension bar on a injector, but the other end in your ear. You will hear the clicking and know which one (s) is running on.
User avatar
DanTurboLancer
Posts: 1382
Joined: Wed Mar 25, 2009 1:19 pm
Location: Newcastle N.S.W Australia

Re: Cottees' Sigma GN Build

Post by DanTurboLancer »

Sorry mate, I appreciate what you are doing, but take the head to a professional workshop and get them to check the head and Valve seals/seats, and you check the Block deck heights...

If you have done a slap together job, then expect a slap together out come...

Sorry man, that might sound like a slap in the face, but its the truth, thats why you have to pay Machine shops good dollars...

Of course if it is idling like shit, it may still be the Inlet manifold Pressure due to loss of pressure and Fuel due to manifold leaks from the Inlet Pipe work...
astronturbo77
Sigma-Galant Police (Global Mod)
Posts: 1356
Joined: Thu Mar 26, 2009 8:09 pm
Location: Hobart Tasmania

Re: Cottees' Sigma GN Build

Post by astronturbo77 »

are you using a LED test light to get fault codes? normal bulb type wont work, ive been there when i was first year apprentice :\
BUILT NOT BROUGHT BY ALGIE.
Cottees
Admin
Posts: 2424
Joined: Sun Mar 22, 2009 1:40 pm
Location: South Australia

Re: Cottees' Sigma GN Build

Post by Cottees »

DanTurboLancer wrote:Sorry mate, I appreciate what you are doing, but take the head to a professional workshop and get them to check the head and Valve seals/seats, and you check the Block deck heights...
The engine in the Sigma was running fine, and the head came from a working car, so I thought it was safe to assume that it would be ok. It is the second time I have done something similar to this. Last time was a Commodore VN with a blown gasket. Just took off the heads, cleaned it up, put on the gaskets, and put it all back together, and it worked fine. Did the same again, but with bad results.
astronturbo77 wrote:are you using a LED test light to get fault codes? normal bulb type wont work, ive been there when i was first year apprentice :\
I was using a test lamp. I'll have to try again using an LED.
A112H
Posts: 7681
Joined: Tue Mar 24, 2009 5:01 am

Re: Cottees' Sigma GN Build

Post by A112H »

So you didn't get the head pressure tested or hardness tested while it was off? Did you get it decked? Or just chucked it on with a new gasket?
Cottees
Admin
Posts: 2424
Joined: Sun Mar 22, 2009 1:40 pm
Location: South Australia

Re: Cottees' Sigma GN Build

Post by Cottees »

I took off the GN head, cleaned off the old gasket from the block, made sure the new head + block surfaces were clean, put the gasket onto the block, put on the M4 head, and bolted it back on as per the service manual stated. It is pretty much the same way I have done it to my Commodore, except for this time I used another head instead of the heads that just came off the engine. The Commodore L27 engine I did the gasket replacement on had blown the gasket because the previous owners drove it from Murray Bridge to Adelaide while it was over heating. Even now the Commodore runs well, I just can't drive it cause of the smashed front end. Before taking the head off again, I'll try and put more water into the car and try and work out exactly where it is leaking from. I know I dodgied up the intake piping, but when it came to the head, I made sure it was put back on properly.
Cottees
Admin
Posts: 2424
Joined: Sun Mar 22, 2009 1:40 pm
Location: South Australia

Re: Cottees' Sigma GN Build

Post by Cottees »

Just went around to see the car, and to test out the ECU again. Plugged in an LED this time, and the ECU returned the 'all clear' code. I started it, and it sounded a *little* better than it did. Ran it for a couple sec and switched it off. Checked the error codes again, and it came up with the 'all clear' again. I have a feeling still that the control relay is dodgy since after I switched the car off, the LED continued to flash for a couple sec, then the control relay clicked, and stopped flashing.

I was taking a look at this site http://www.stickerart.com.au/ and they sell pin striping rolls. Might be good to repair the pin striping on my GN. I could use this colour http://www.stickerart.com.au/product_in ... s_id=14127 which is similar to what it has now, or I could use blue instead, and change the red strip on the bumpers to the same colour blue.
Superscan811
Posts: 1689
Joined: Sun Mar 22, 2009 4:12 pm
Location: Sydney

Re: Cottees' Sigma GN Build

Post by Superscan811 »

It would be worth opening up the ECU (4 screws on the sides) and check the electrolytic capacitors (they look like miniature beer cans). They quite often die and dump the electrolyte onto the circuit board and cause a few problems.
If you know anyone handy with a soldering iron, even if they look OK, replace them. The parts will cost about $5.
Don't forget to replace them with 105-deg temp rating NOT the 85-deg.

If the capacitors haven't leaked, it should only take about 15-20min, otherwise it may take an hour or more to clean up and remove the corrosion and repair the tracks if needed. It's not a hard job but it can get a bit fiddly, hence a bit time consuming.

Cheers.
Post Reply