Moving onto the mechanical side of things where I have been focusing most of my time on this car, in no particular order here is some general & preventive maintenance & parts replacements to the dated 28 year stock originals which I changed over the course of last year. This is just what I have managed to take photos of, there is still a lot more to be documented!
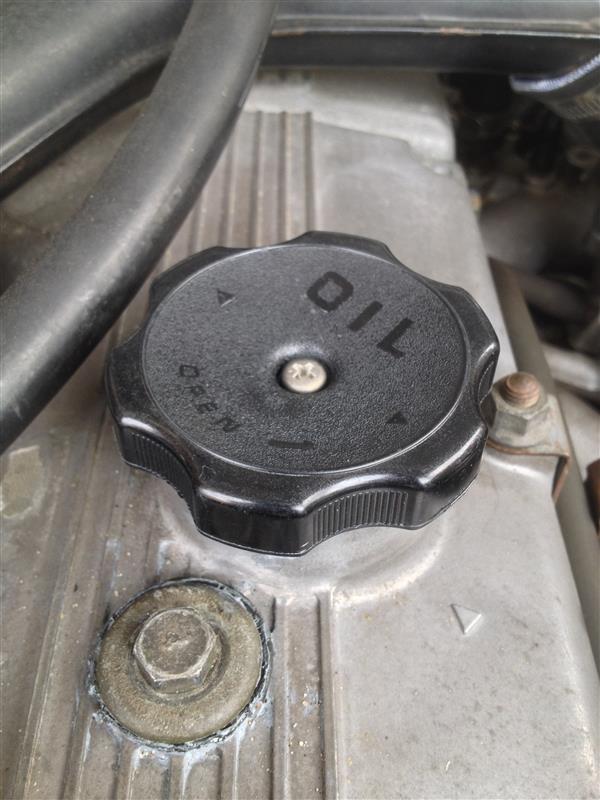
New OEM oil & fuel caps:
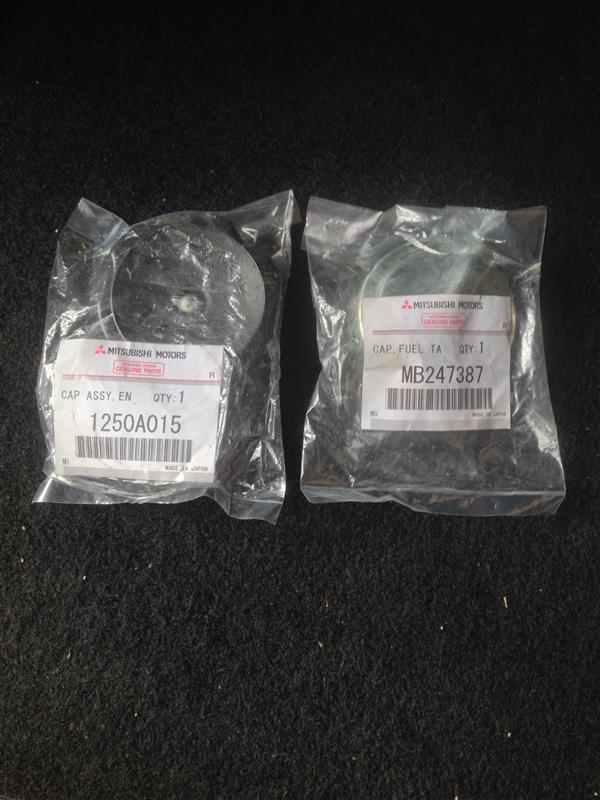
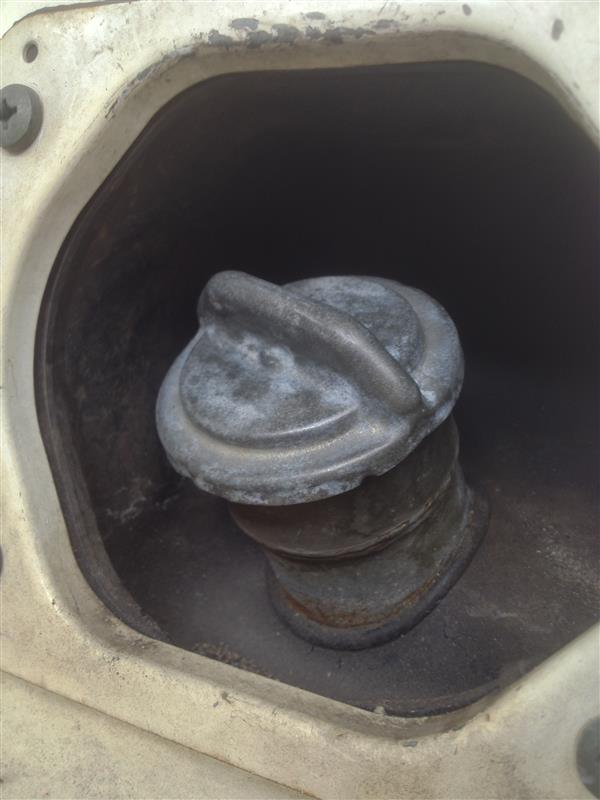
Old:
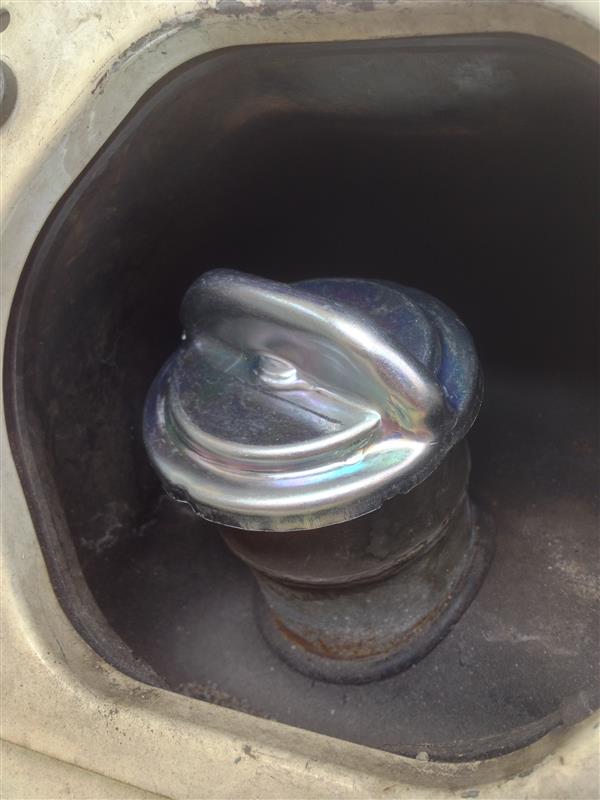
New:
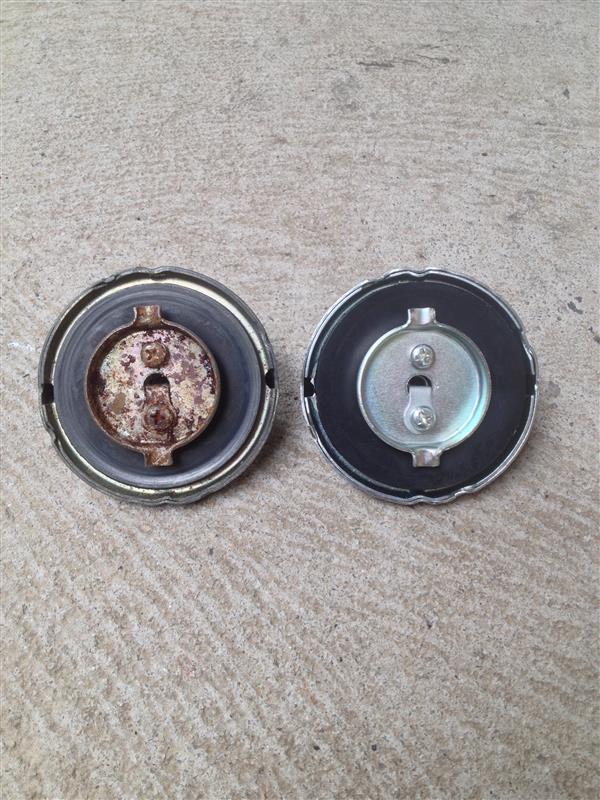
Rubber seal appears to be full width on the newer cap:
New oil cap:
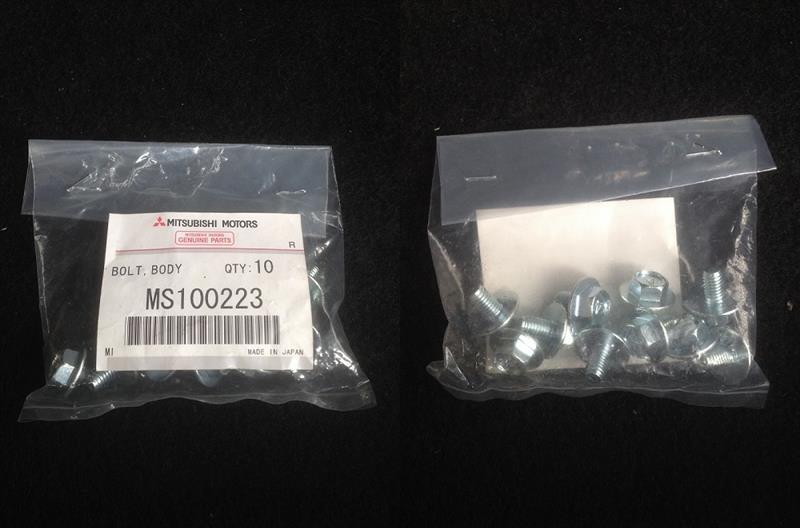
The start of a cleaner looking engine bay, I began replacing a whole bunch of rusted & paint chipped body coloured mounting bolts & screws with new OEM replacements.
x12 OEM mounting bolts for the front guards & nose panel (2 not shown):
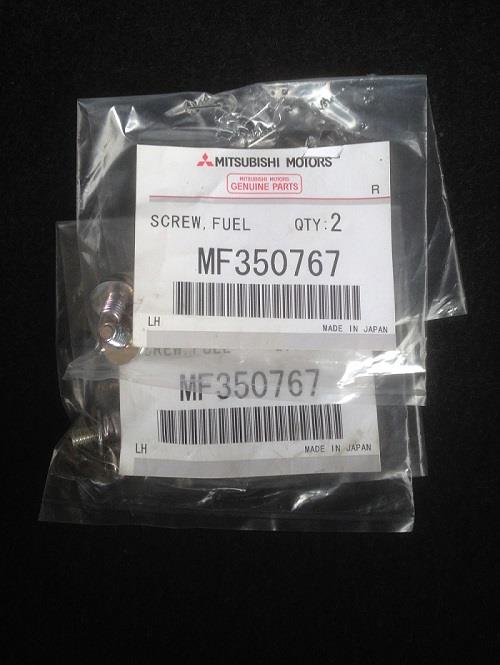
x4 screws for headlamp protectors:
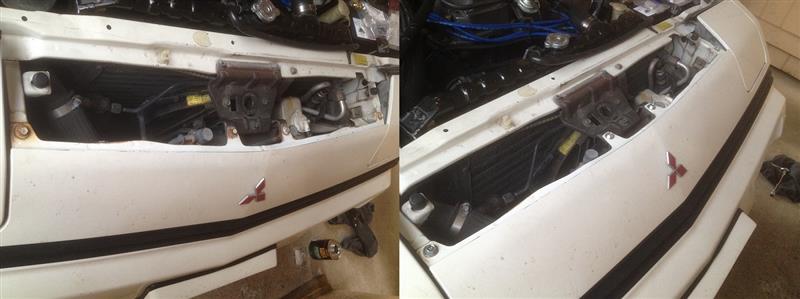
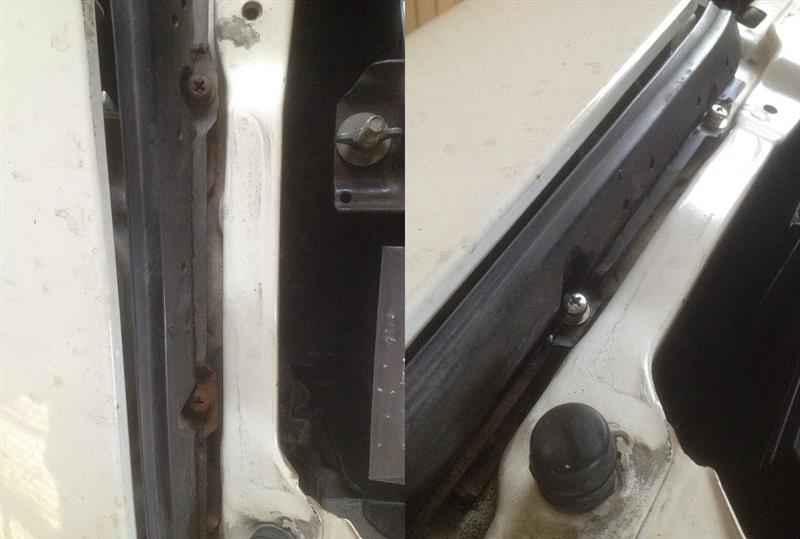
Before & after of the front guard bolts:
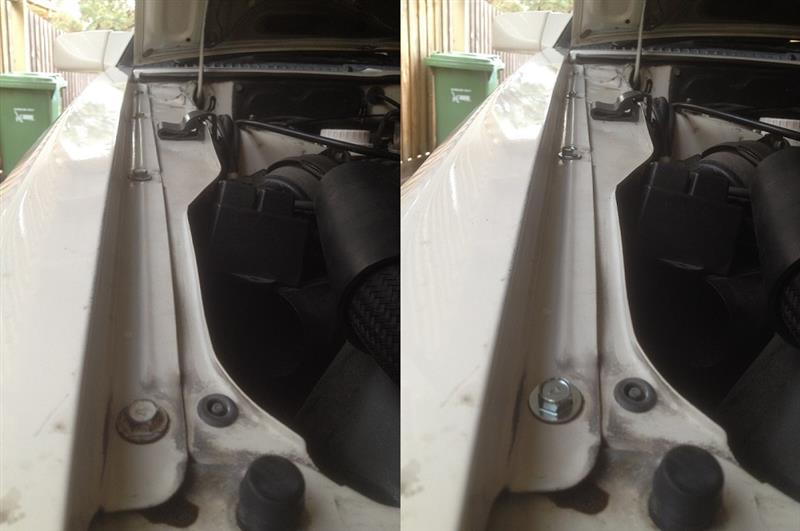
Before & after of the nose panel bolts replacement:
Before & after of the headlamp protector screws:
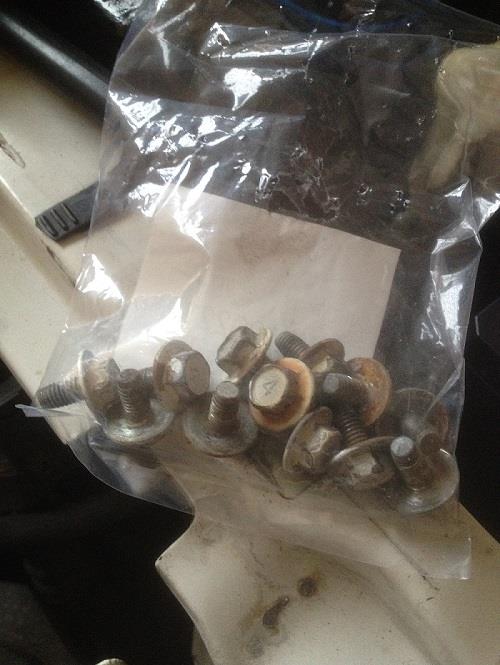
The old bolts which can now be used as spares elsewhere & out of sight:
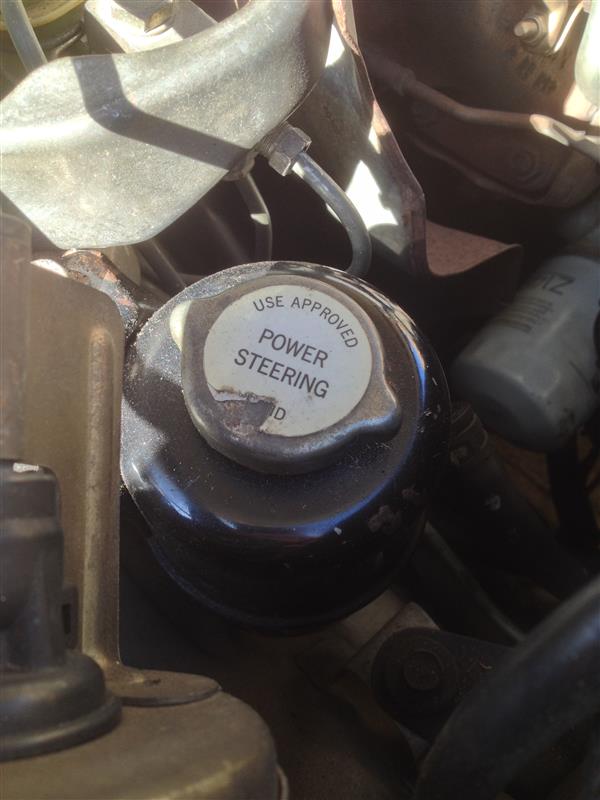
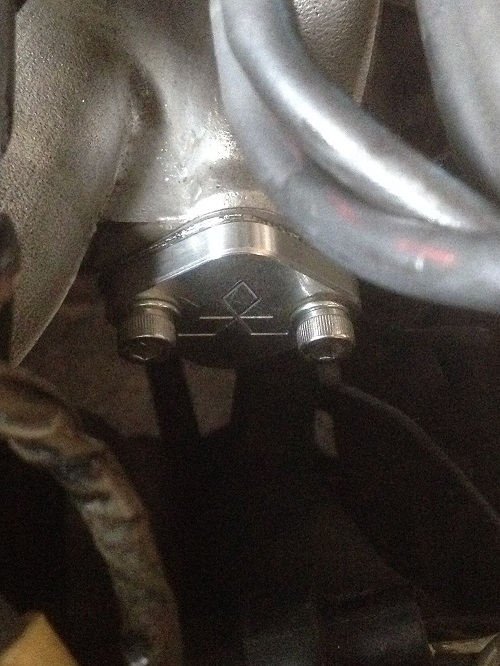
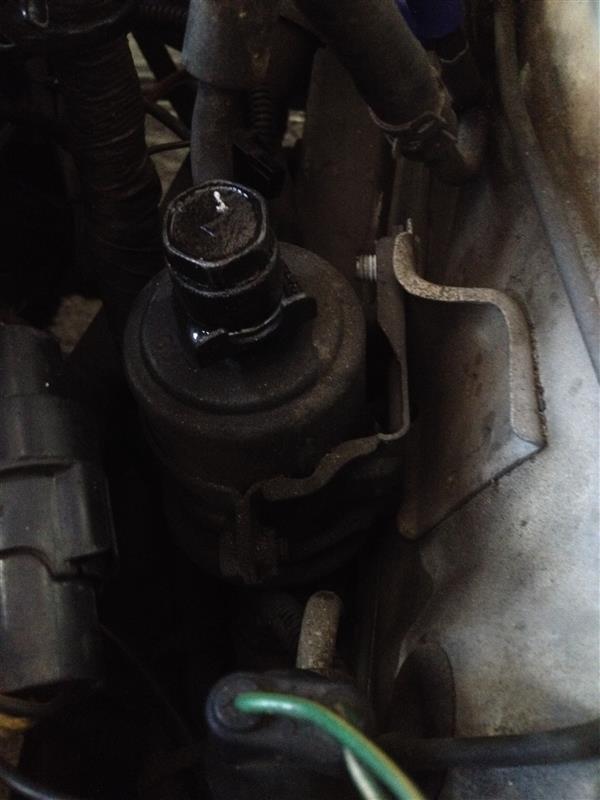
Another replacement cap, this time the P/S Reservoir:
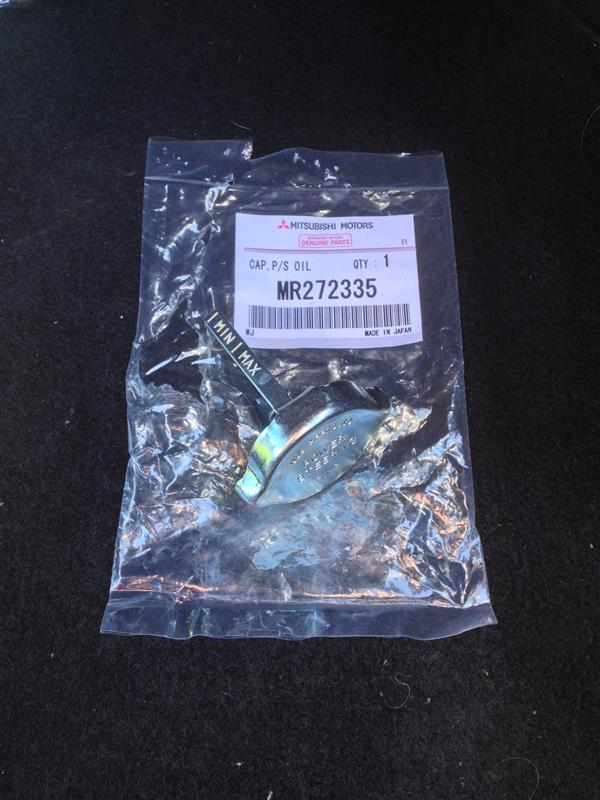
Old cap with sticker:
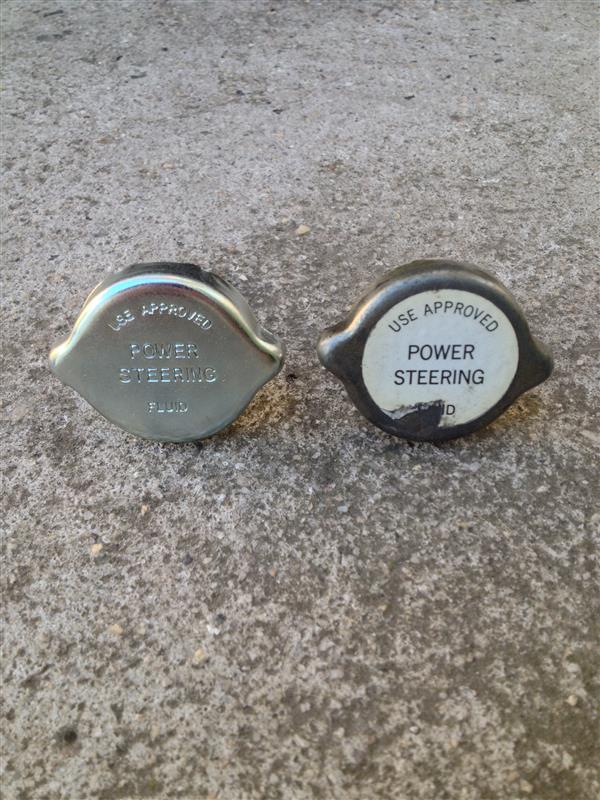
New & old comparison, the updated cap is a nice upgrade with engraved lettering rather than a sticker:
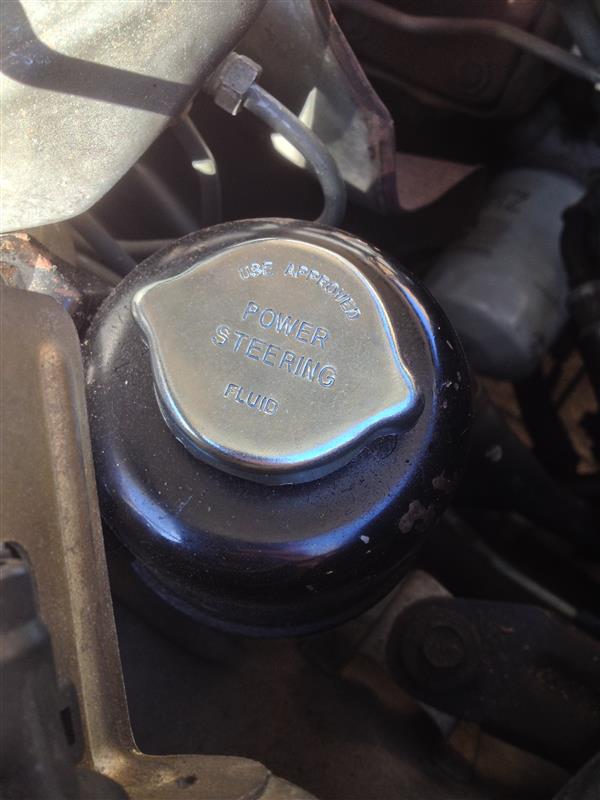
New cap fitted:
And the beginning of cleaning up the spaghetti of vacuum hoses, starting with deleting the EGR:
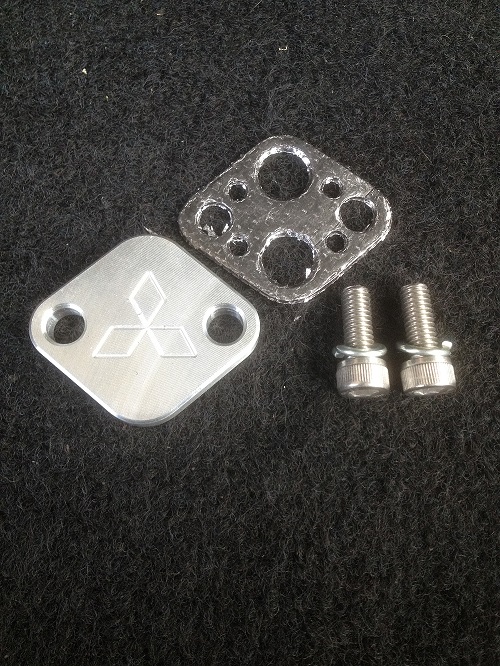
EGR valve replaced & blanking plate fitted. Earth cable retained as seen:
T-piece joiner replacing the factory 4 port joiner as there is now 1 less hose used:
Manifold vacuum port blocked off with shortened hose & bolt (now capped off with a rubber cap)
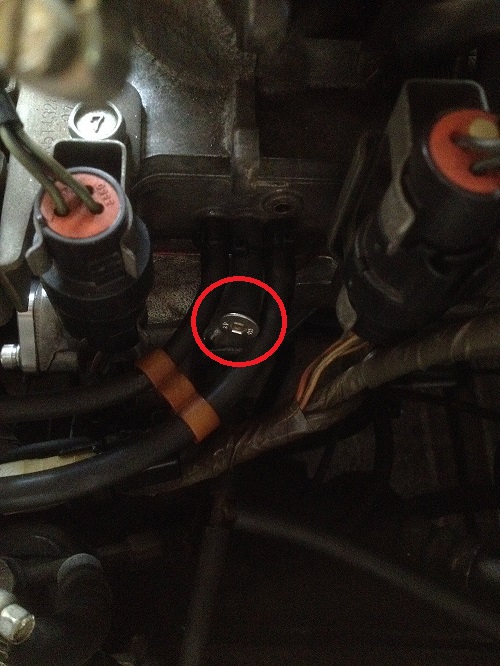
EGR solenoid vacuum port also blocked off with shortened hose & bolt (now capped off with a rubber cap)
The parts removed:
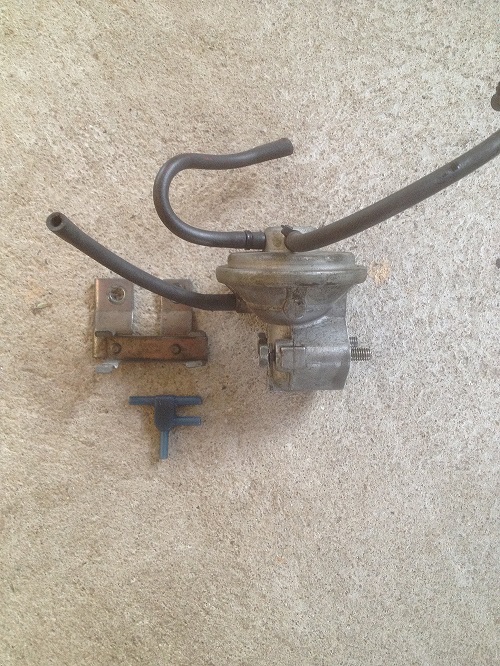
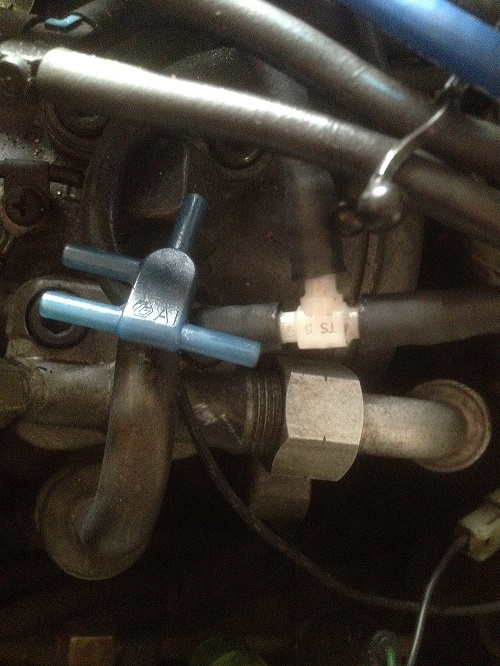
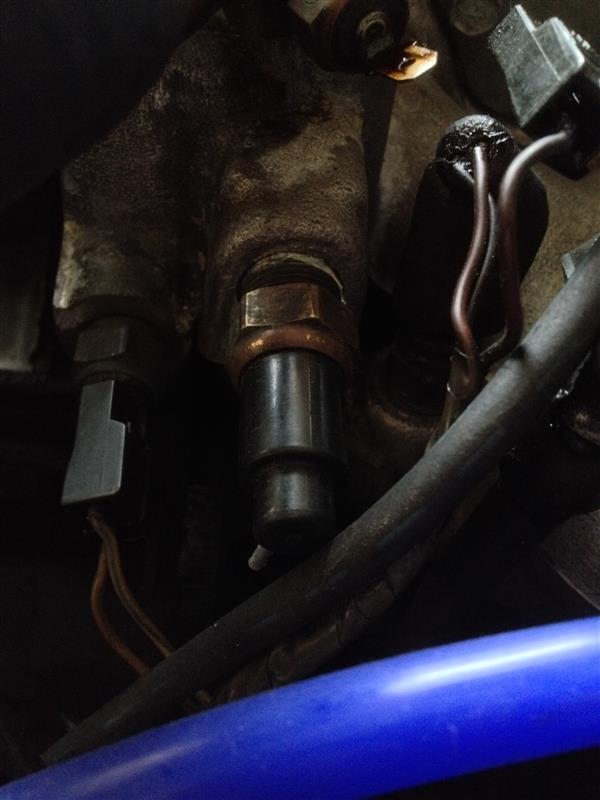
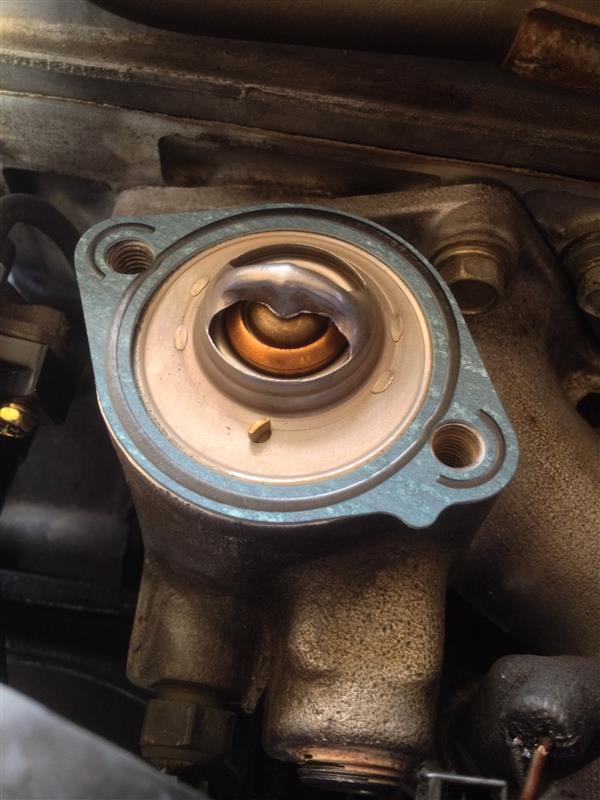
Now with the EGR removed, I also replaced the broken thermo valve with a 3/8 "BSP hex-socket plug to take it's place & further deleting more vacuum lines:
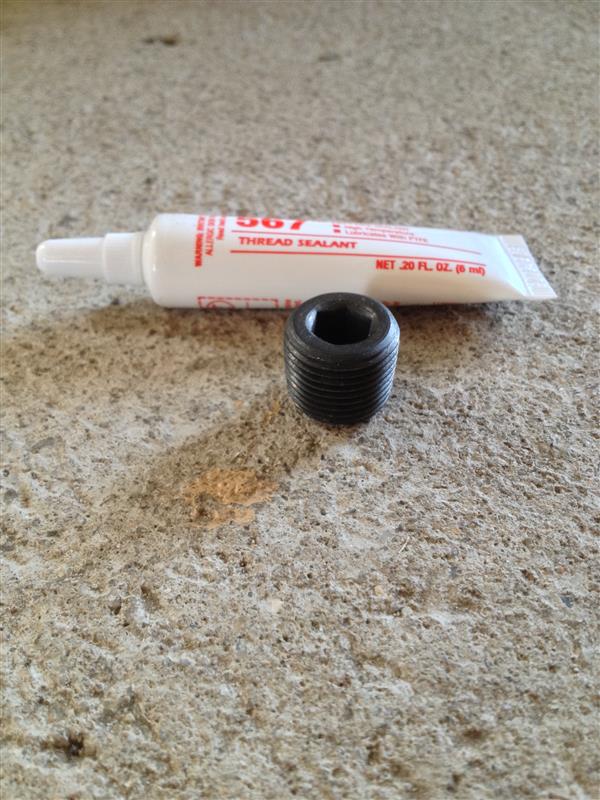
Plug & thread sealant ready to go on. Unfortunately at the time there were no stainless plugs in stock as I had intended:
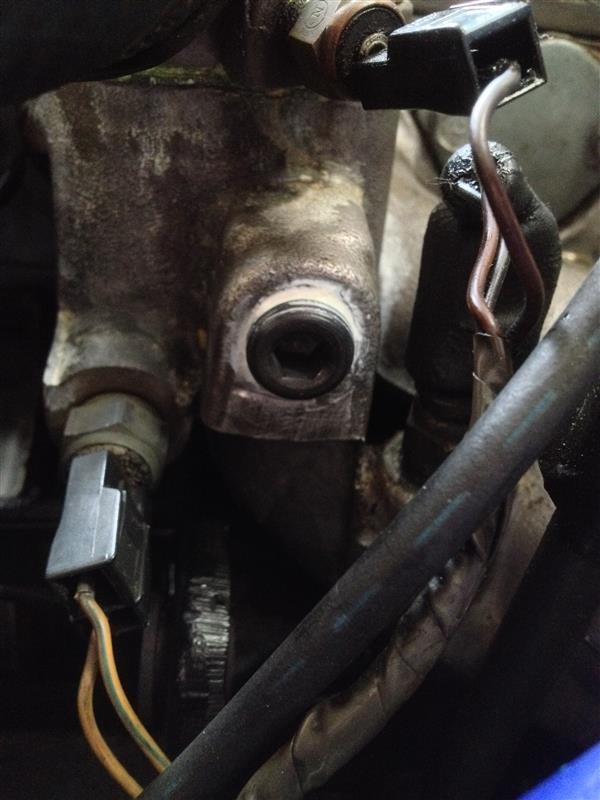
Thread sealant applied & plug fitted:
The removed busted thermo valve with previous attempted repairs:

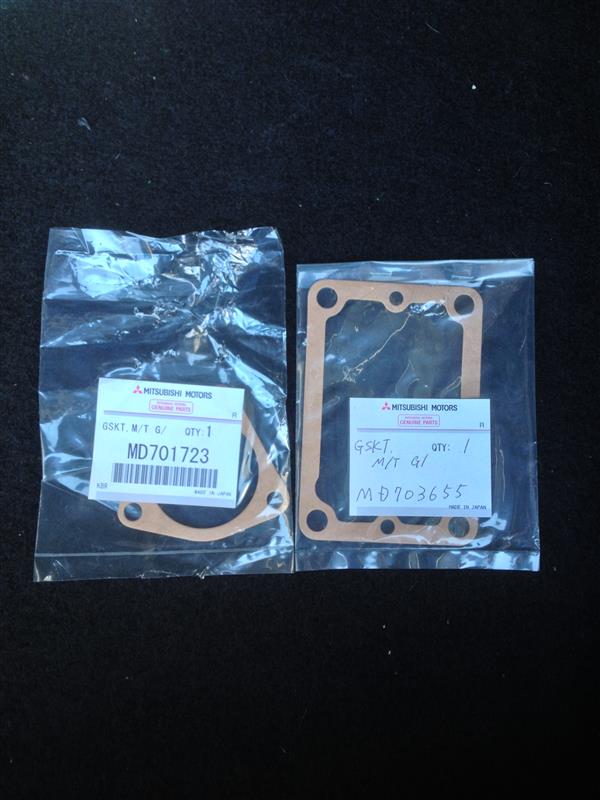
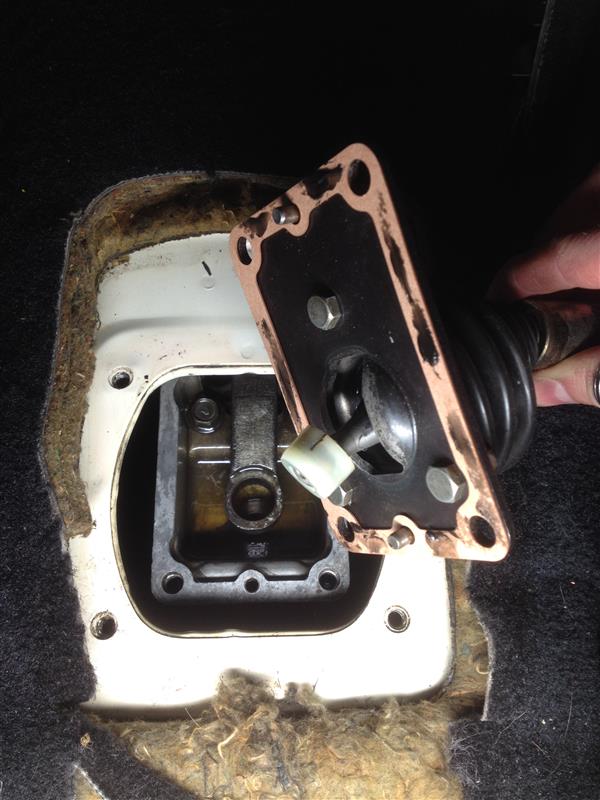
One of many leaks on this car & one that was progressively getting worse was the gear shift mounting plate gaskets.
New OEM gaskets, MD703655 gasket now discontinued! Last 1 from Mitsubishi JP:
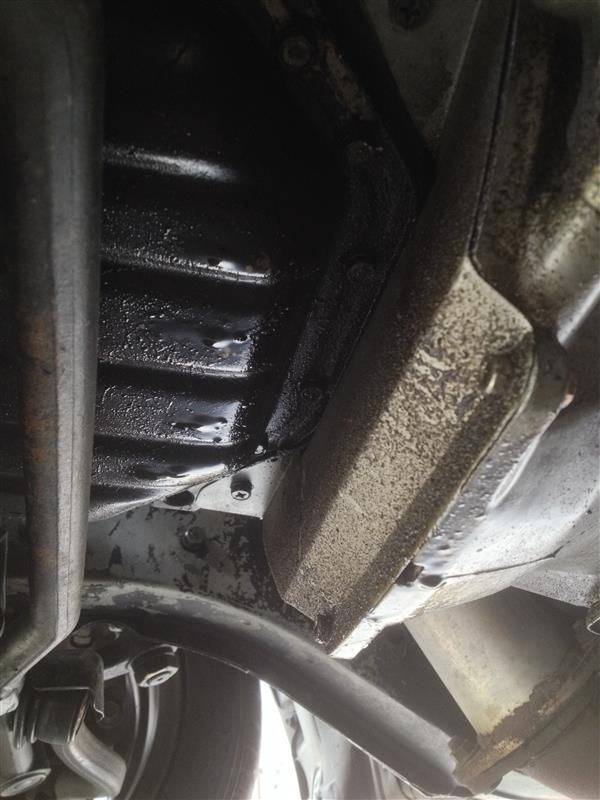
The leak:
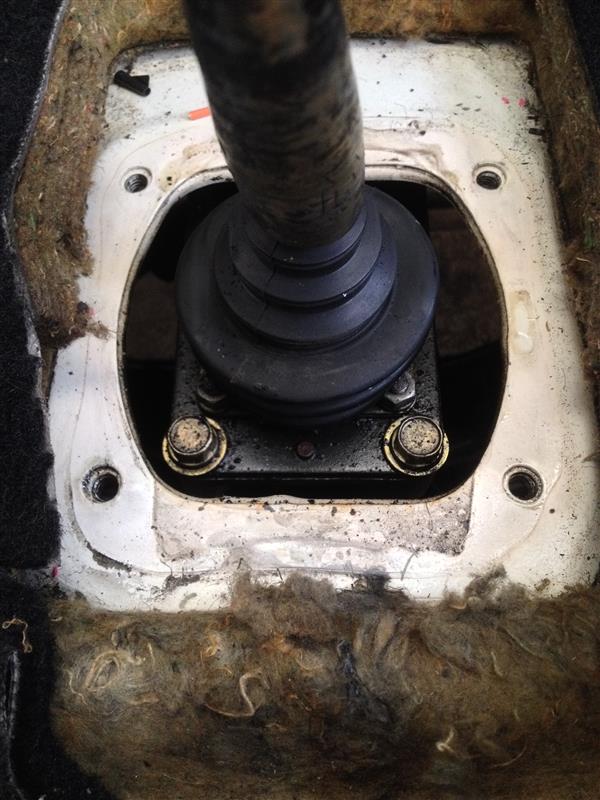
The gearbox & under body soaked in oil:
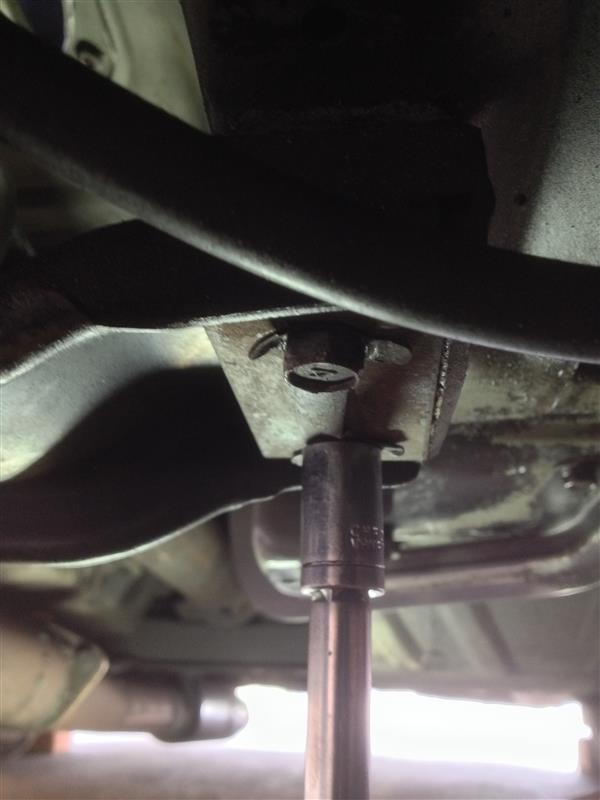
As this was originally an automatic car, 2 of the 4 bolts had to be removed from under the car:
Gearbox mount had to be loosened & dropped slightly for the bolts to be removed:
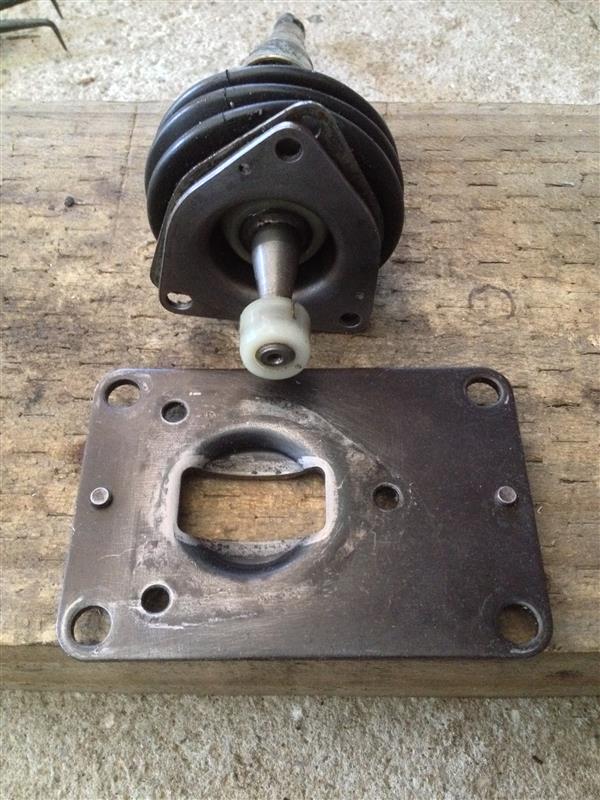
Gear shift partially disassembled & surfaces cleaned of old gaskets & sealant, note the new bushings also which make a world of difference:
Reassembled with new gaskets & a slight amount of sealant to keep gaskets in place when reinstalling:
Finished:

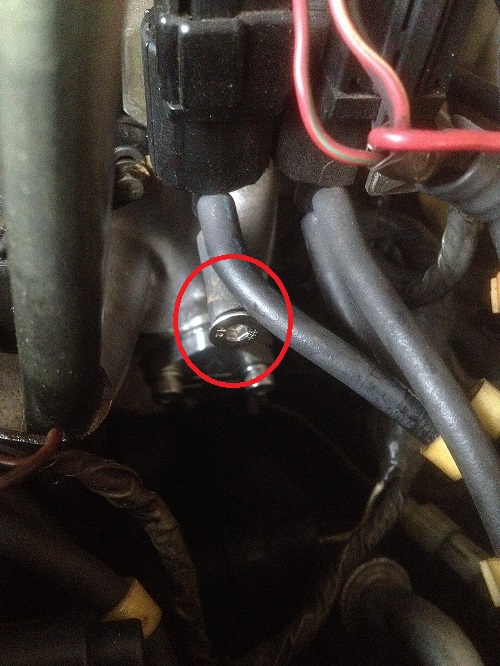
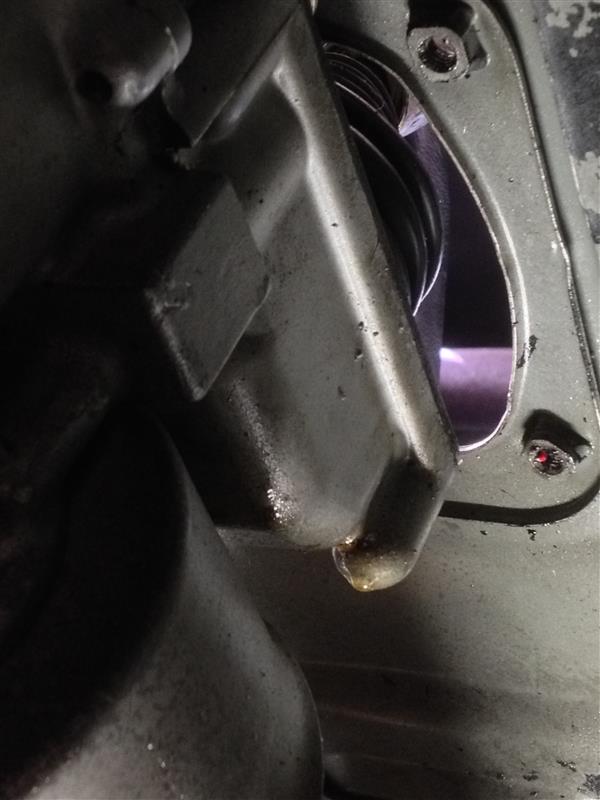
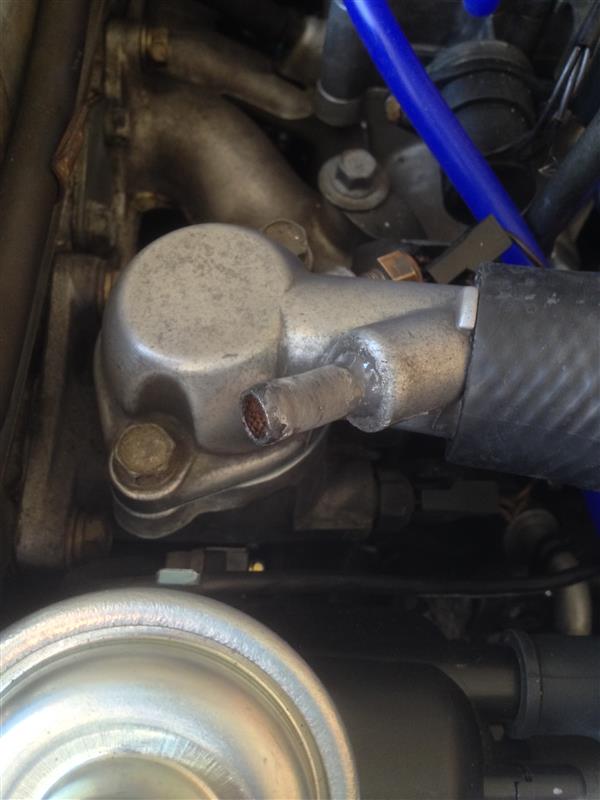
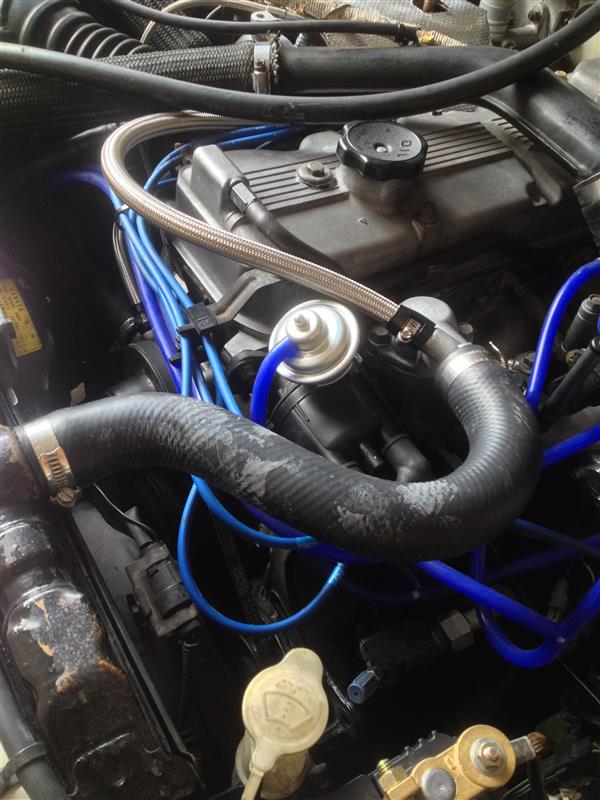
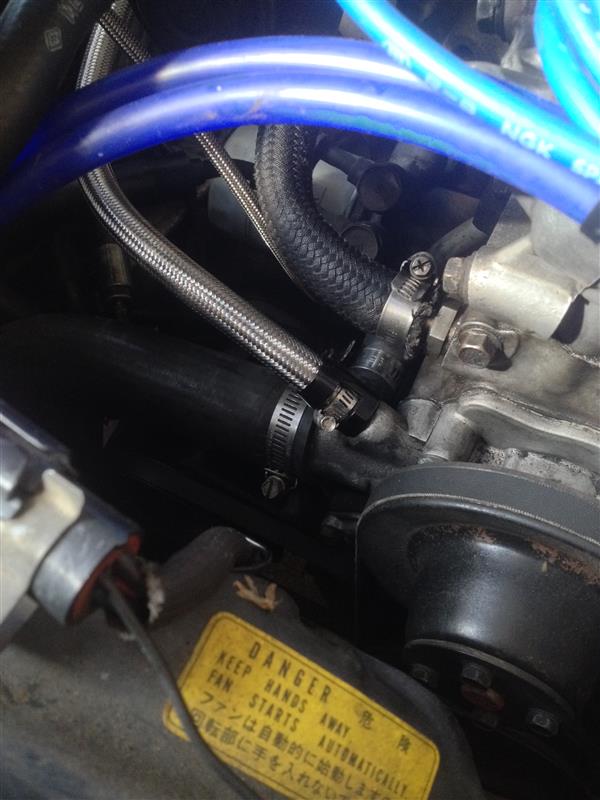
Another leak which needed attention was the water hard pipe from the thermostat housing to the turbo:
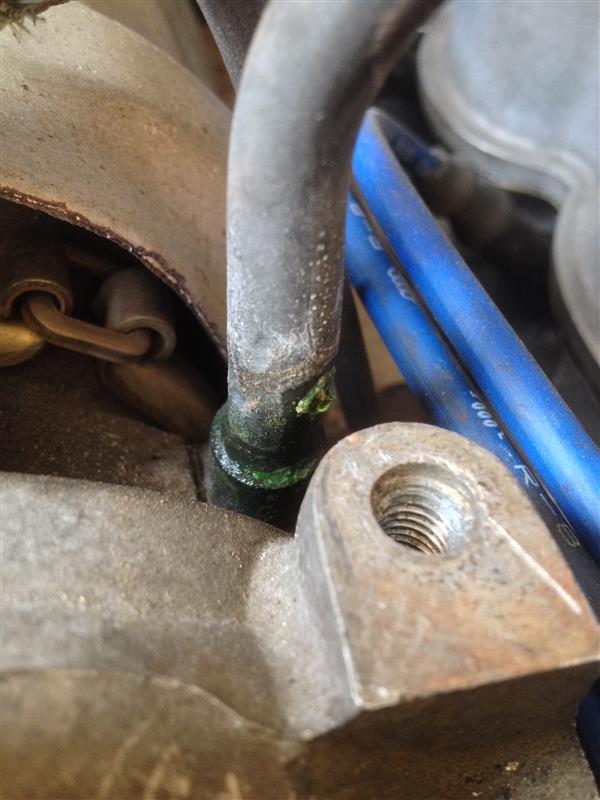
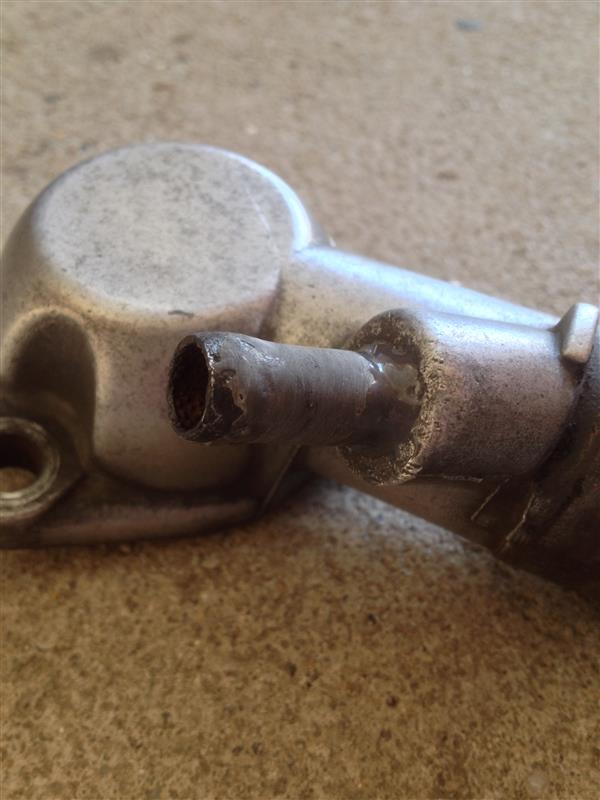
The thermostat housing water pipe had corroded & resulted in a hole forming which was constantly leaking coolant past the hose & onto the housing. Despite replacing the rubber hose with an OEM replacement, a good seal still could not be achieved:
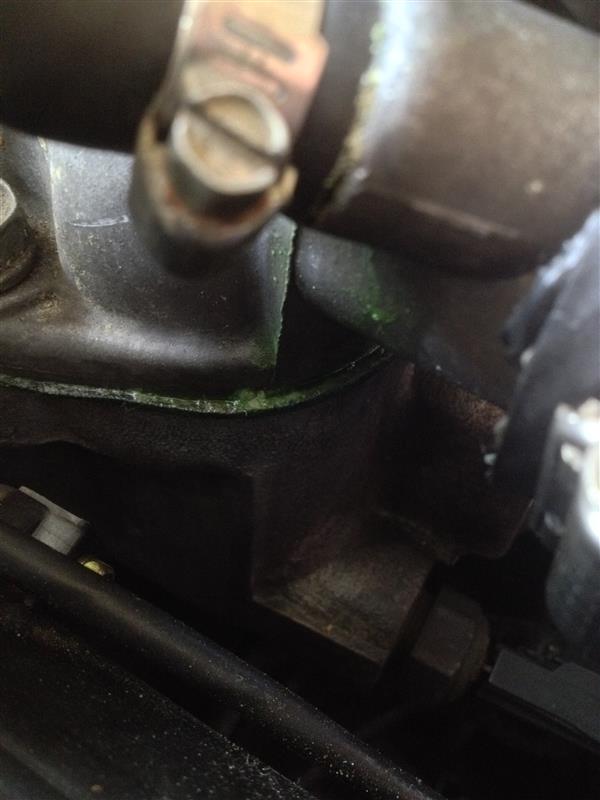
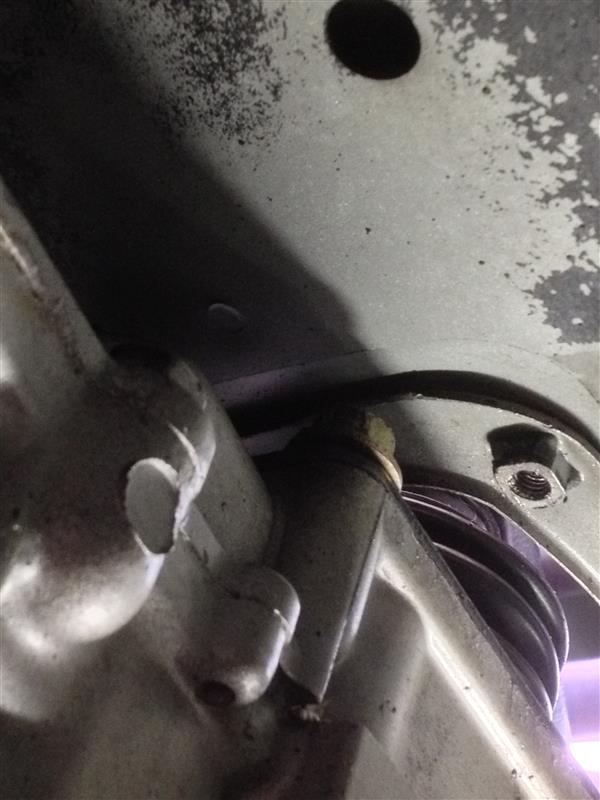
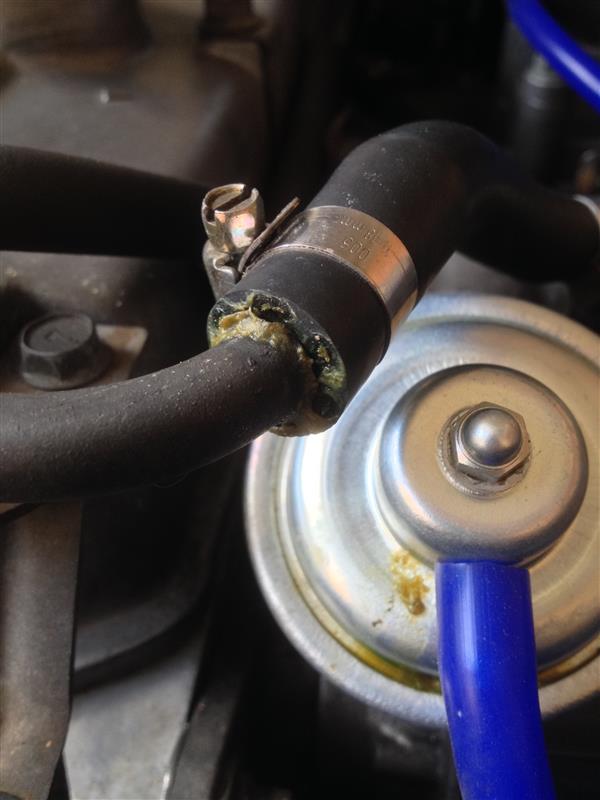
The OEM replacement hose also appeared to be 'melting' on the other end, leaking onto the vacuum advance. Making this area a leaking mess!
With everything removed, I chose to use Permatex 'Cold Weld' bonding compound for a semi-permanent solution to repair the problematic water pipe. Once fully cured it can be sanded smooth:
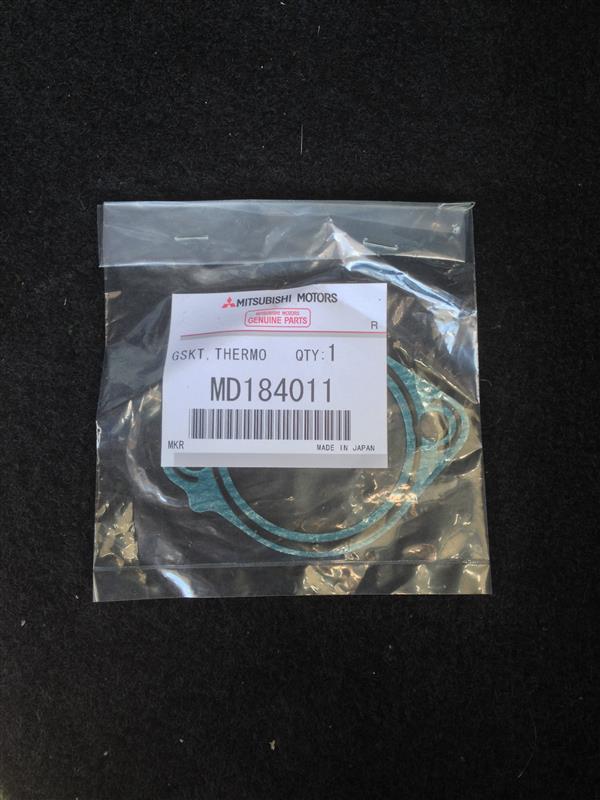
New OEM thermostat gasket to go on:
Thermostat & gasket in place:
Housing refitted along with a new OEM top rad hose:
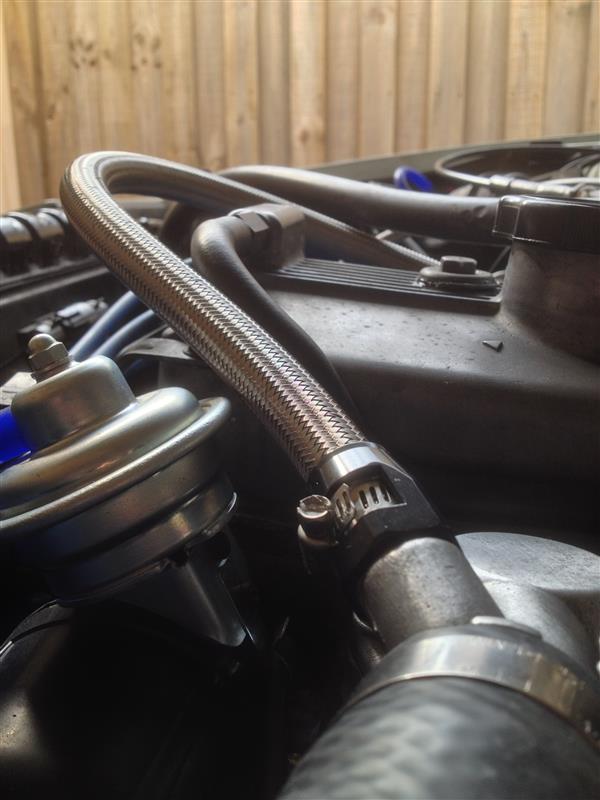
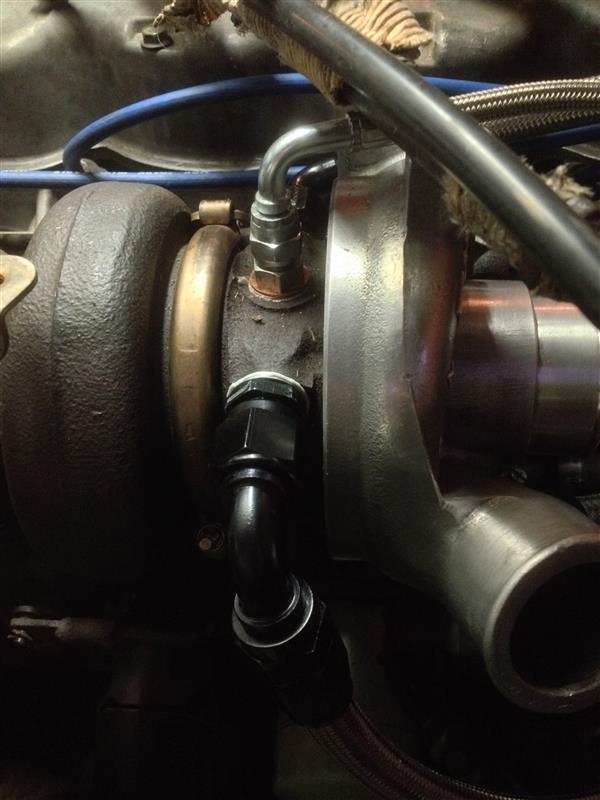
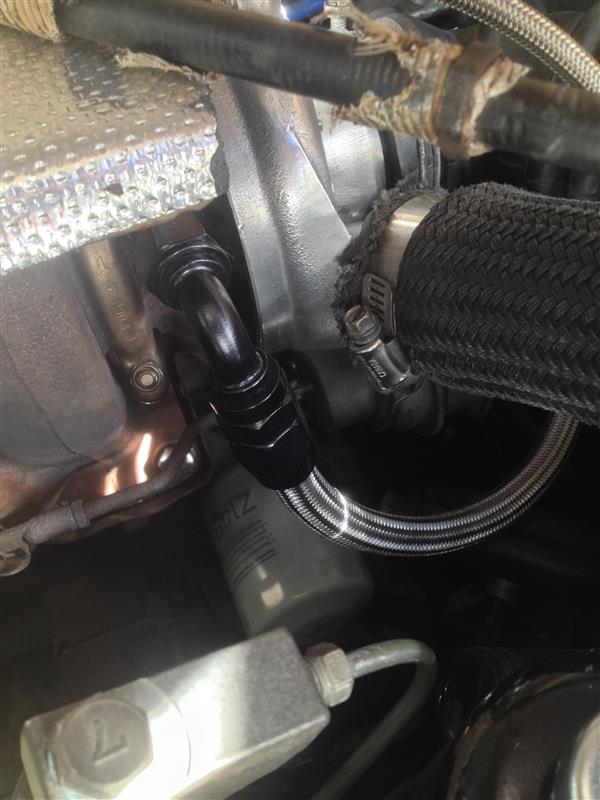
New steel braided hose replacement now in place of the old hard pipe:
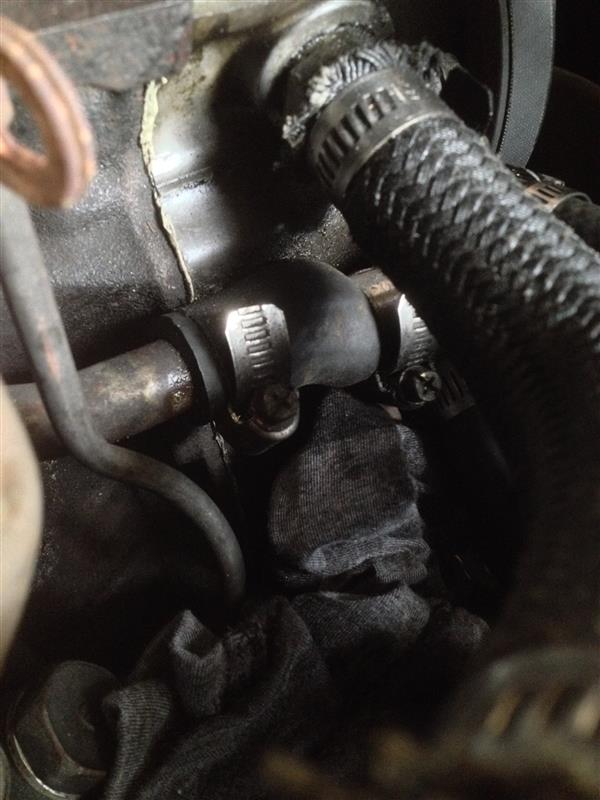
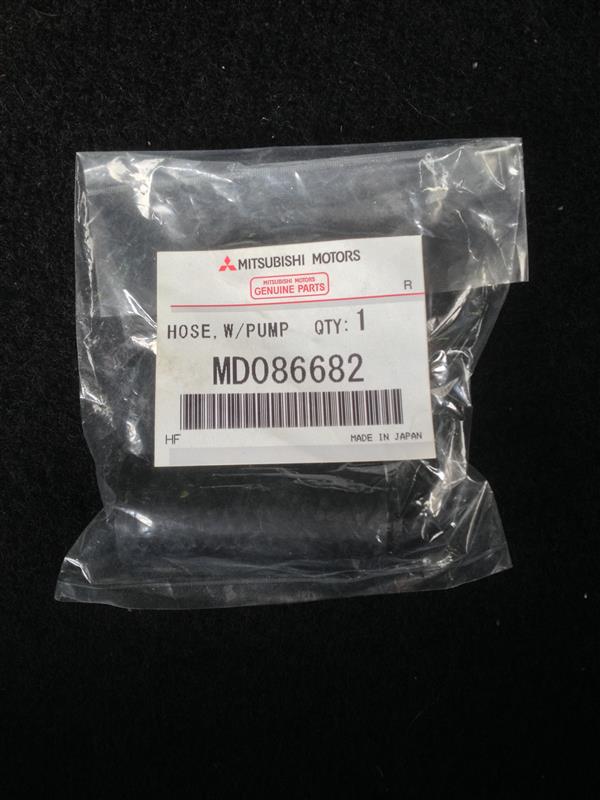
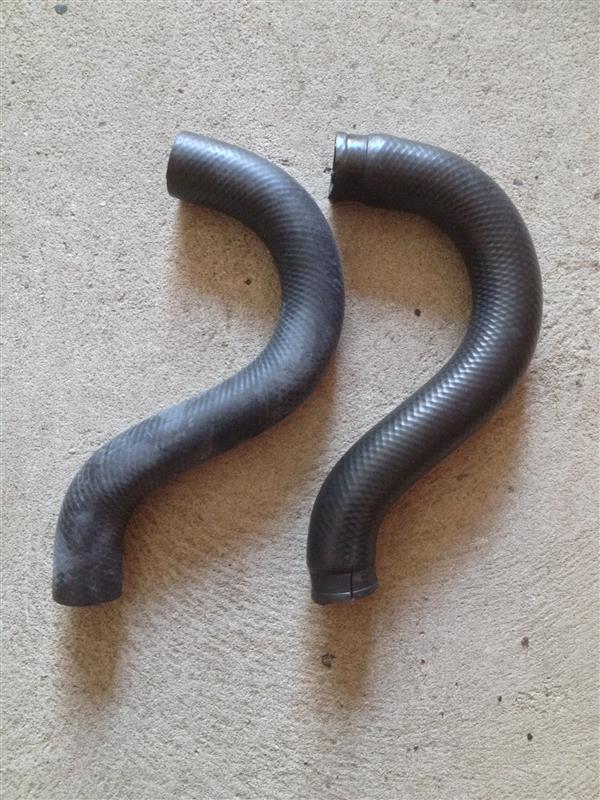
Next up was the leaking small heater hose which had ballooned seeking some preventive maintenance before getting worse:
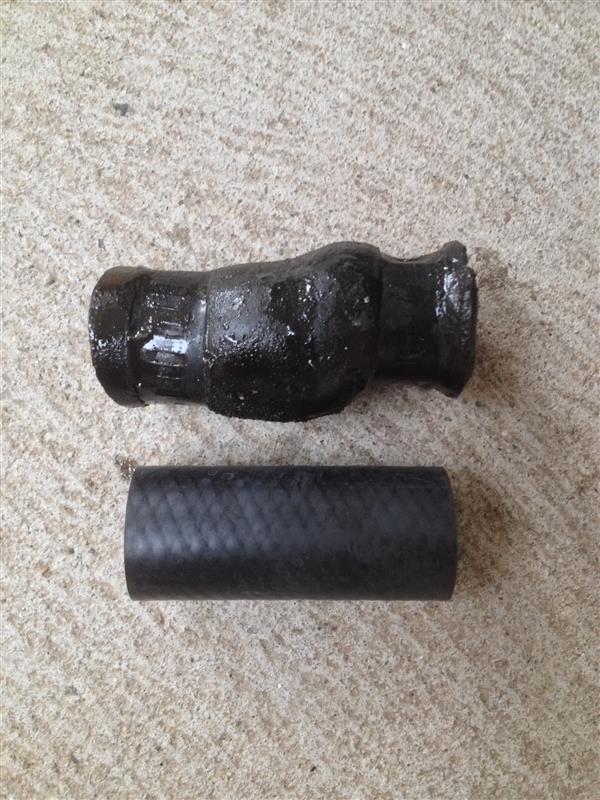
The OEM replacement:
Old & new comparison:
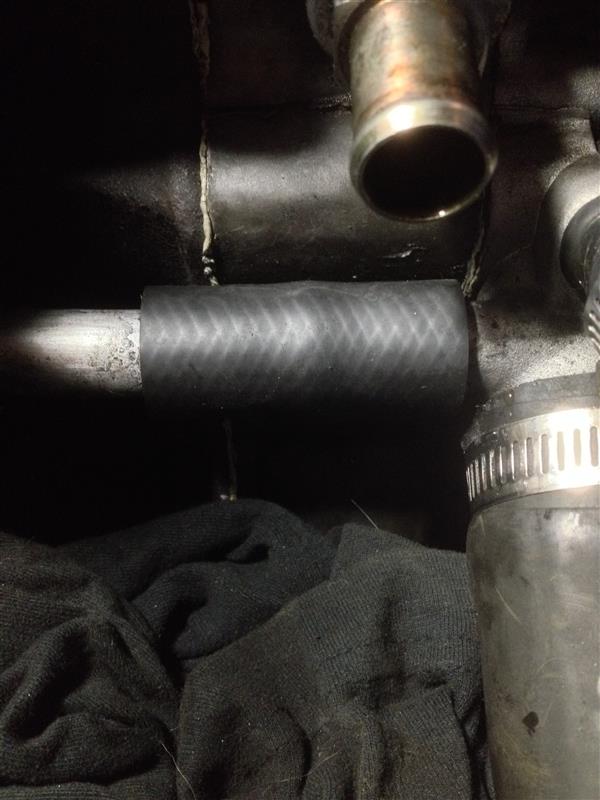
To fit the hose, a mounting bracket bolt (below the exhaust manifold) had to be removed to move the pipe aside to slide the new hose on. I lucked out removing & reinstalling it without removing the manifold:
Next was the OEM upper radiator hose replacement:
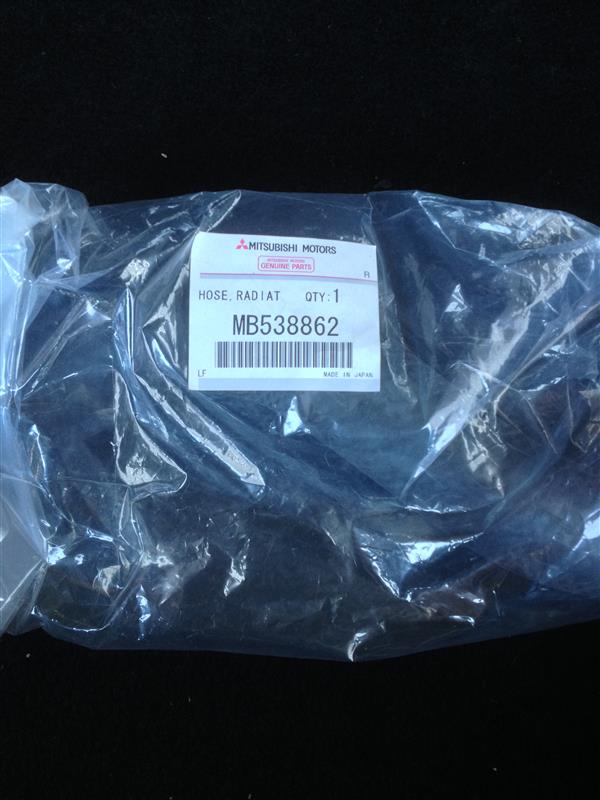
New & old comparison:
Installed:
Some more braided hoses fitted & a quick clean & polish of the turbo:
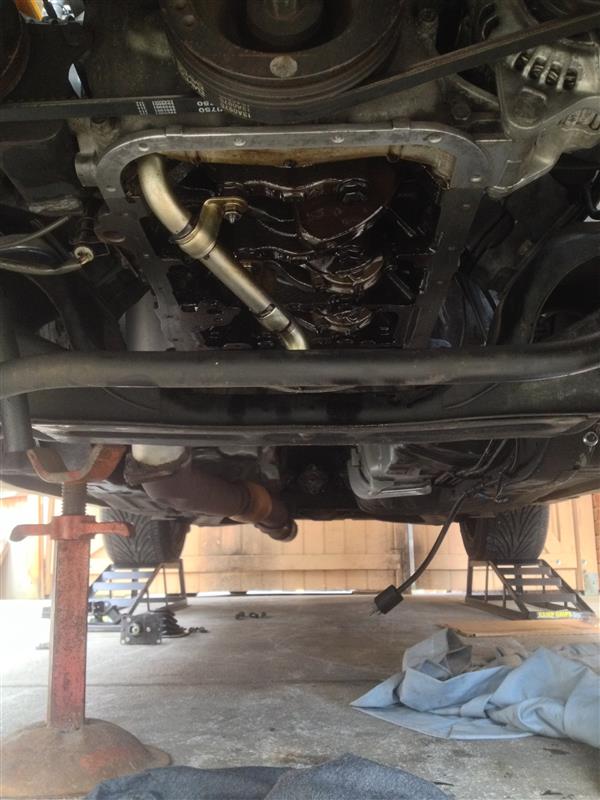
With only a minor leak from the old inlet manifold gasket to go now, I chose to move onto a more sinister oil leak which I left the best for last. Not knowing if it was the rear main seal or oil pan, I decided it would be a good time to replace the clutch anyway & for my own peace of mind replace every seal & gasket like I had been, seeing as most other things I discovered on this car were either still original or just no good from neglect of the previous owners.
The leak in question. Also notice the home made bell housing cover which we quickly made up as it had been missing since it was converted to manual some point in it's life:
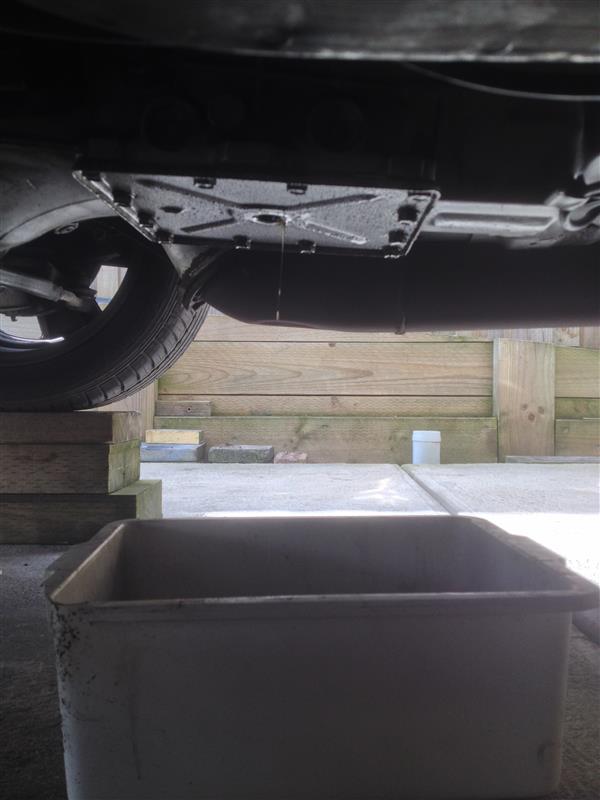
Draining the gearbox:
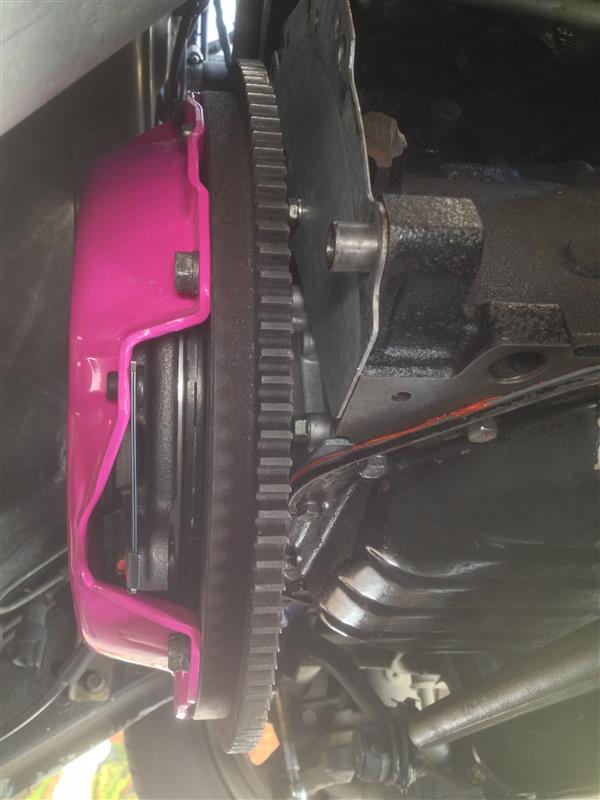
Gearbox removed:

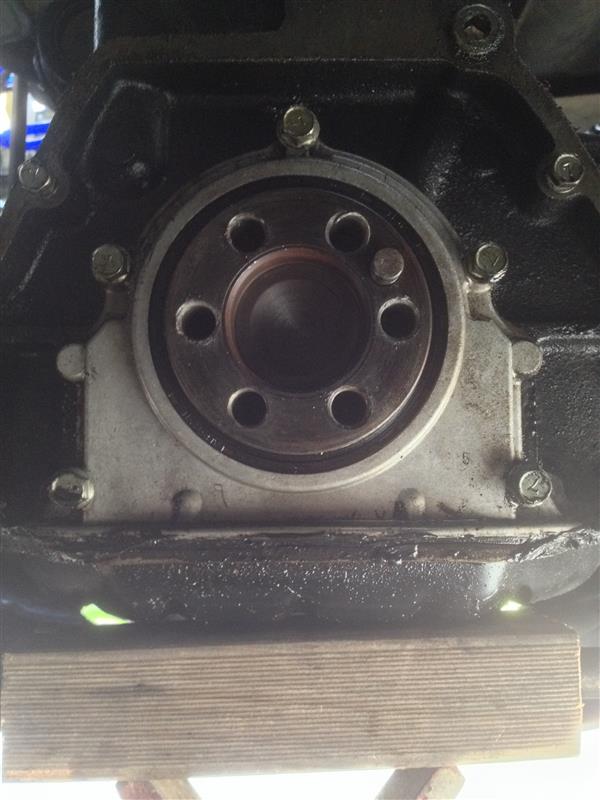
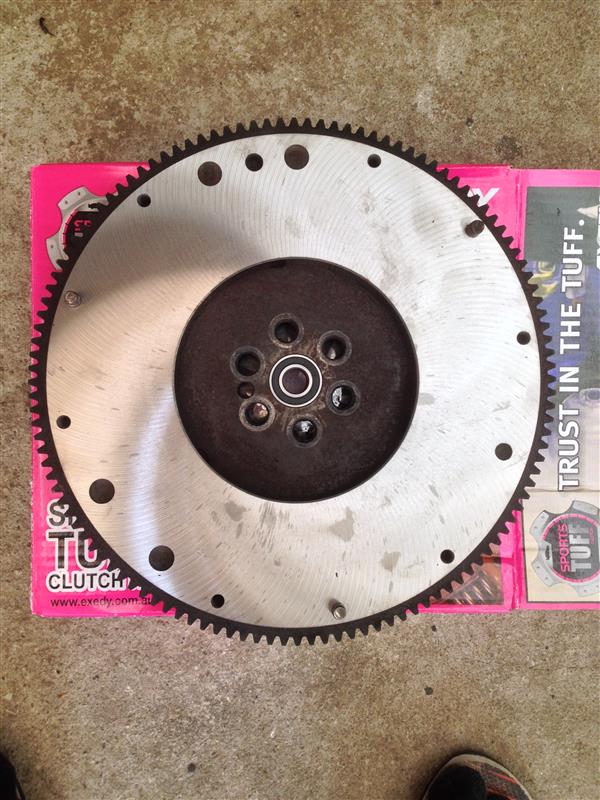
Flywheel removed & with oil as far as the eye could see:
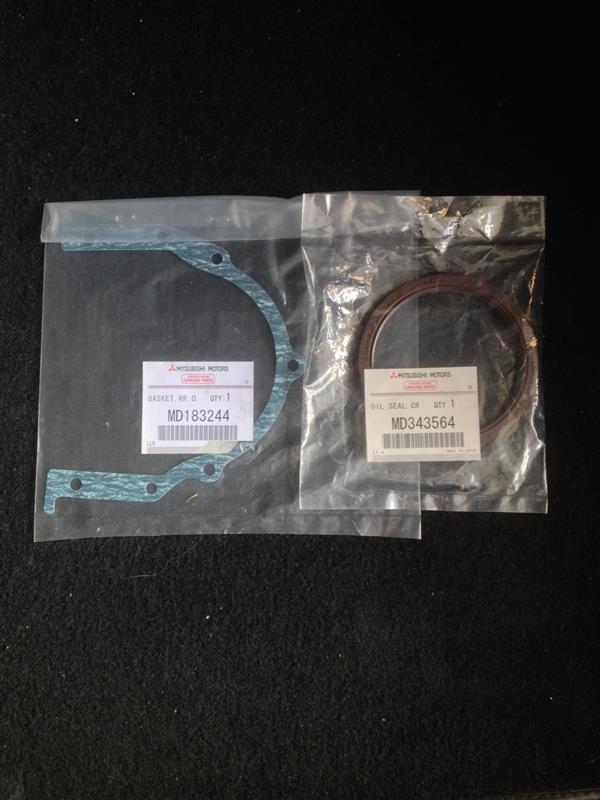
New OEM seal & case gasket:
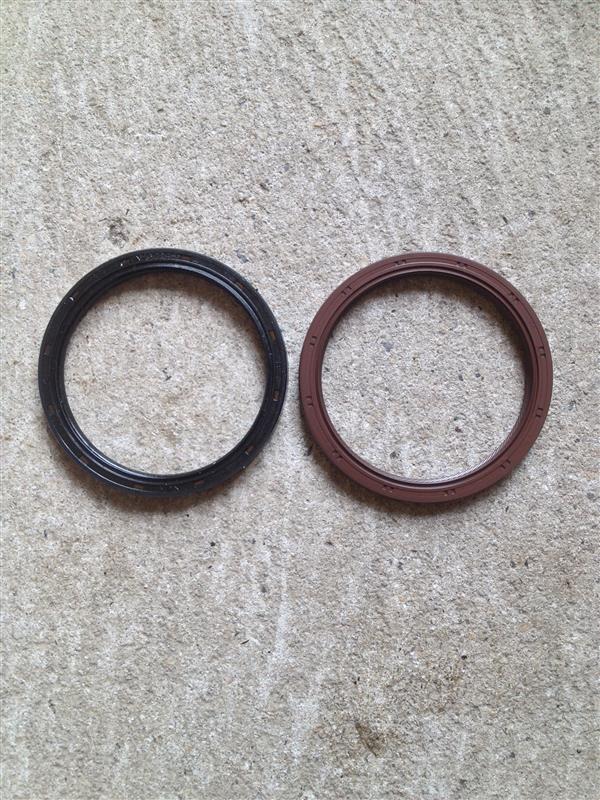
Old & new seals:
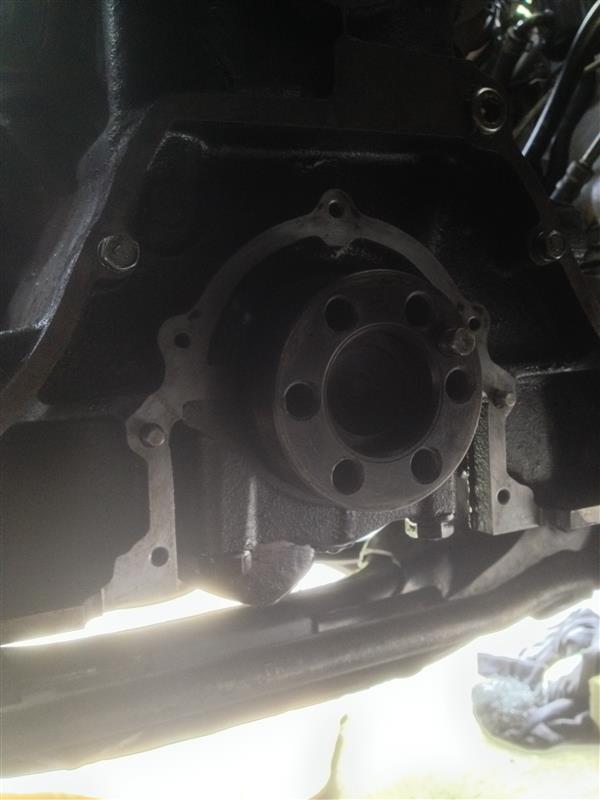
Area cleaned of old sealant & gasket & any other oil that was kicked up onto the back of the engine:
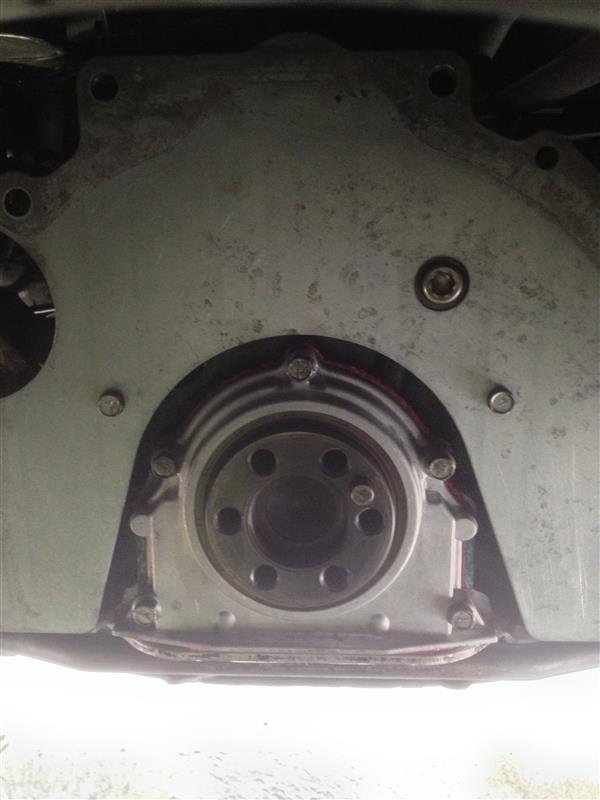
New seal & gasket refitted as well as a small amount of red RTV:
Newly machined flywheel & new spigot bearing pressed in:
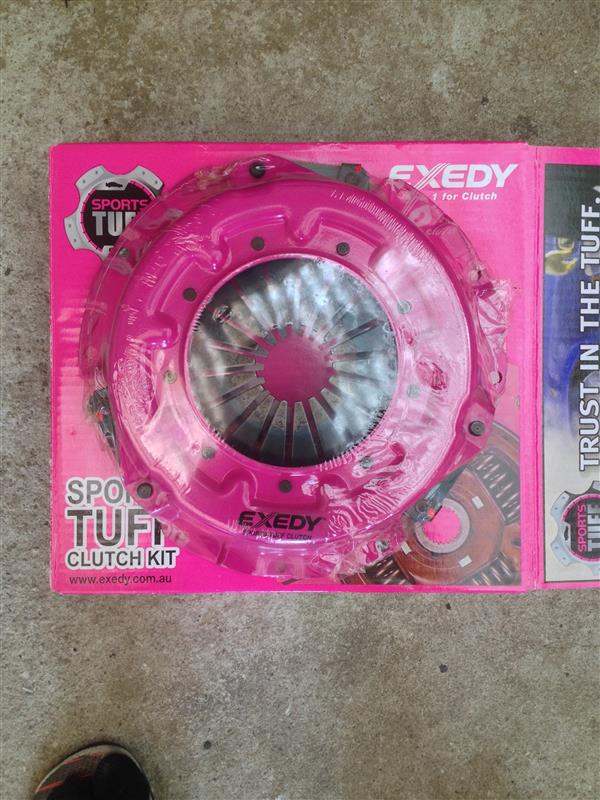
New Exedy HD clutch replacement:
Gearbox in the process of being cleaned & old parts removed:
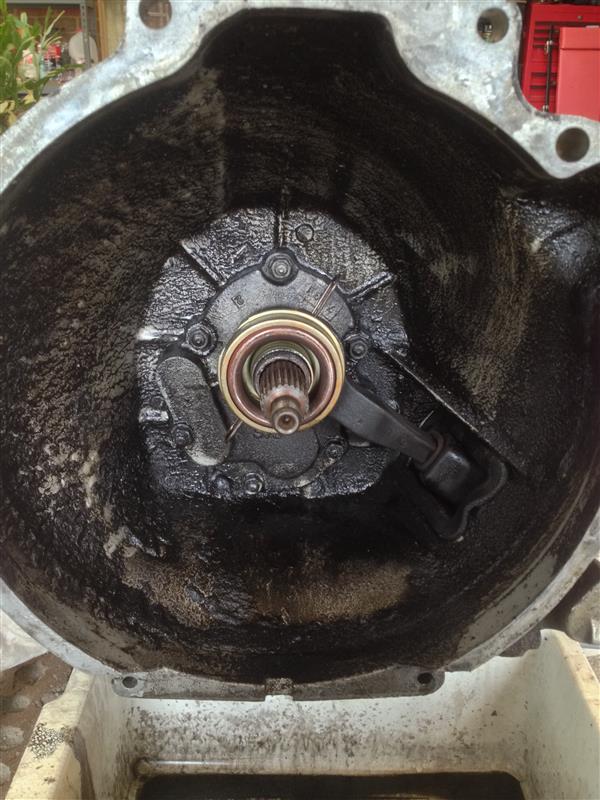
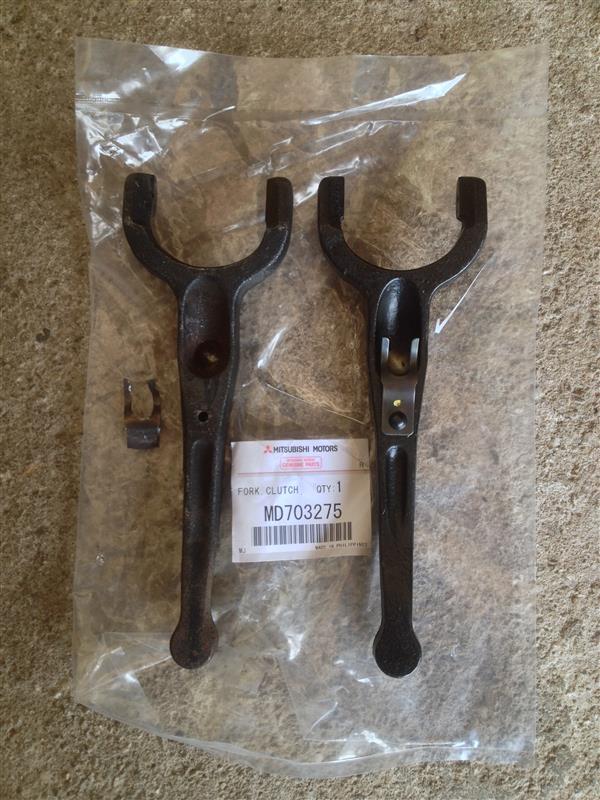
Upon removing the clutch fork, the metal clip that attaches to the pivot ball was snapped in 2 from the fork:
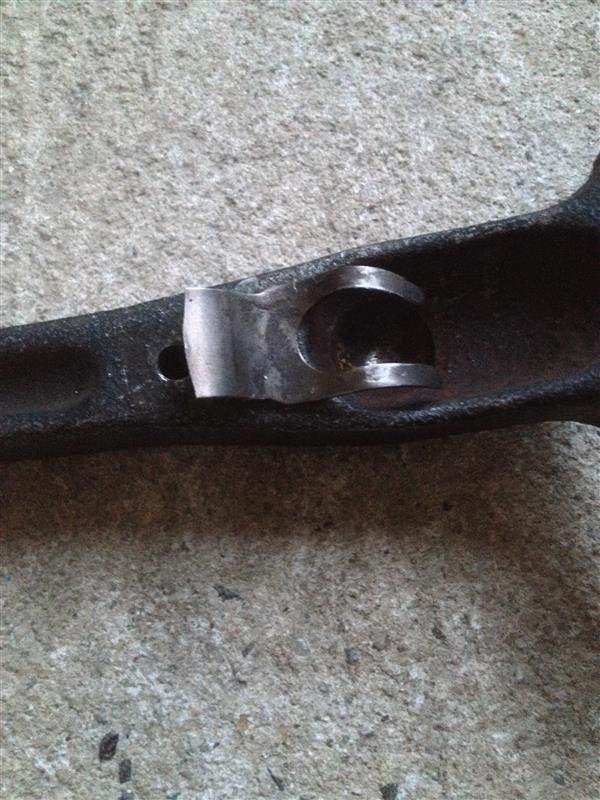
A new OEM clutch fork had to be purchased locally for a hefty price! Unfortunately I couldn't wait to import as I needed the car back on the road ASAP:
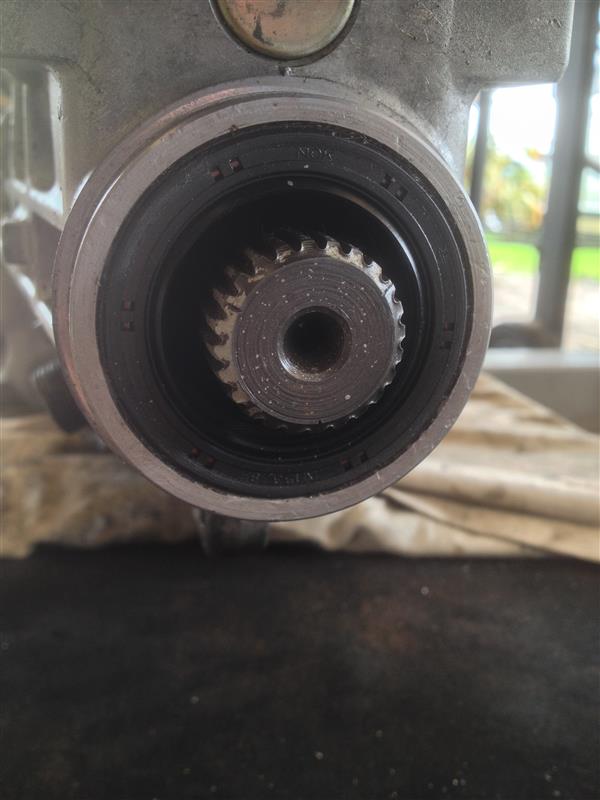
Gearbox cleaned & new clutch fork & throw-out bearing installed:
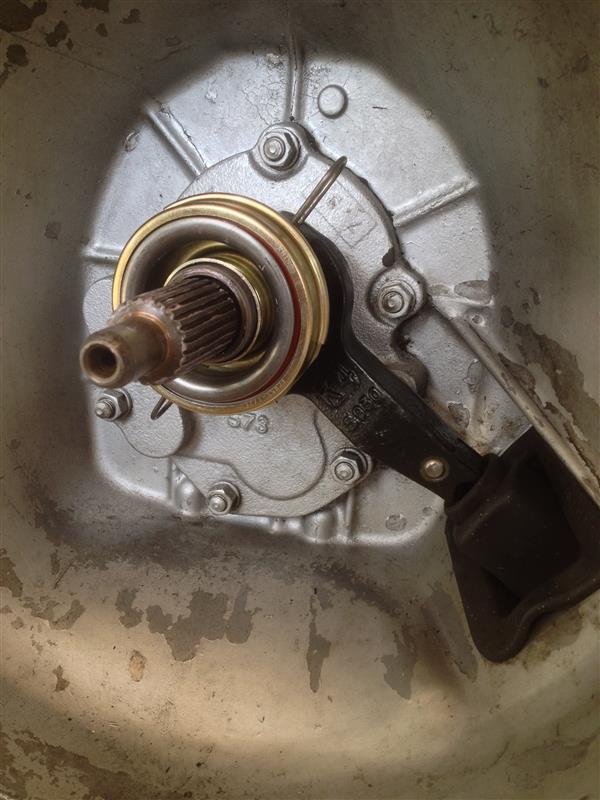
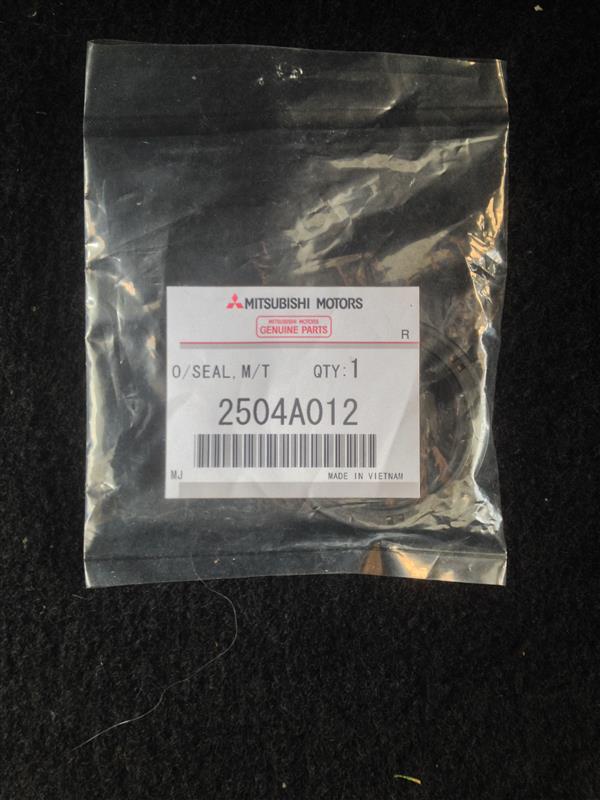
New OEM gearbox rear oil seal:
New seal fitted:
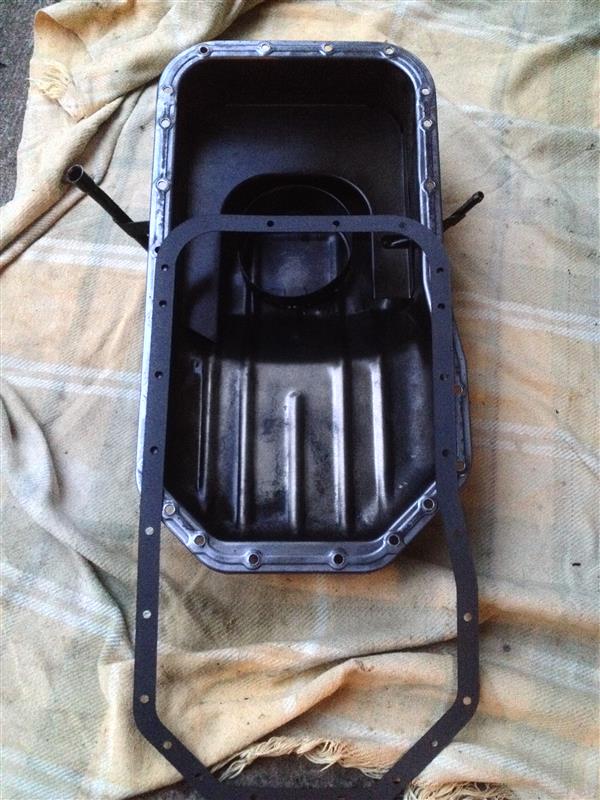
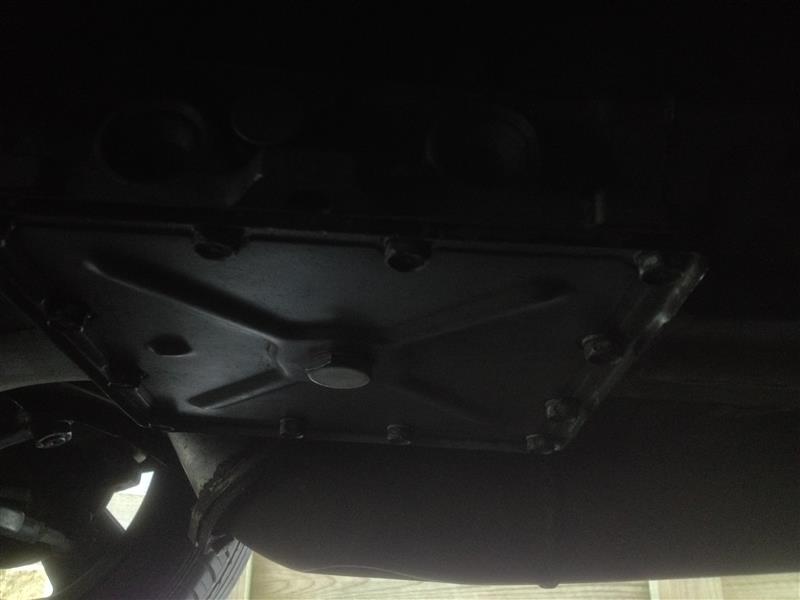
Oil pan removed & surface area cleaned of old sealant & gasket. For ease of removal, the front sway bar mounting points must be unbolted (2 bolts on either side) & sway bar pulled down on until the pan can slide past:
Oil pan cleaned & new aftermarket Fel-Pro gasket ready to go on, OEM gasket no longer available:
Clutch & oil pan reinstalled:
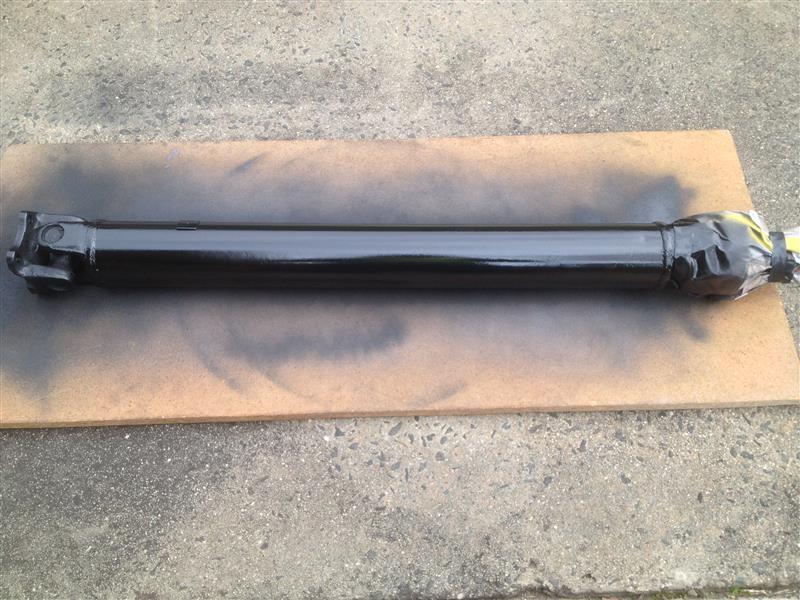
Drive shaft sanded down with 320 grit sand paper of old flaking paint:
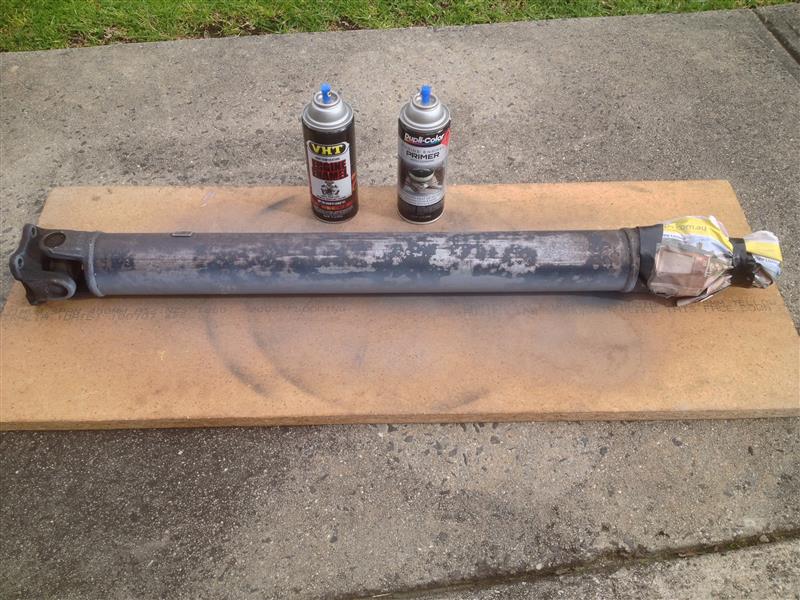
2 light layers of primer & gloss black engine enamel were used:
Upon reinstalling the gearbox, the oil pan was dropped & drained of any remaining fluid as well as a clean up of the area:

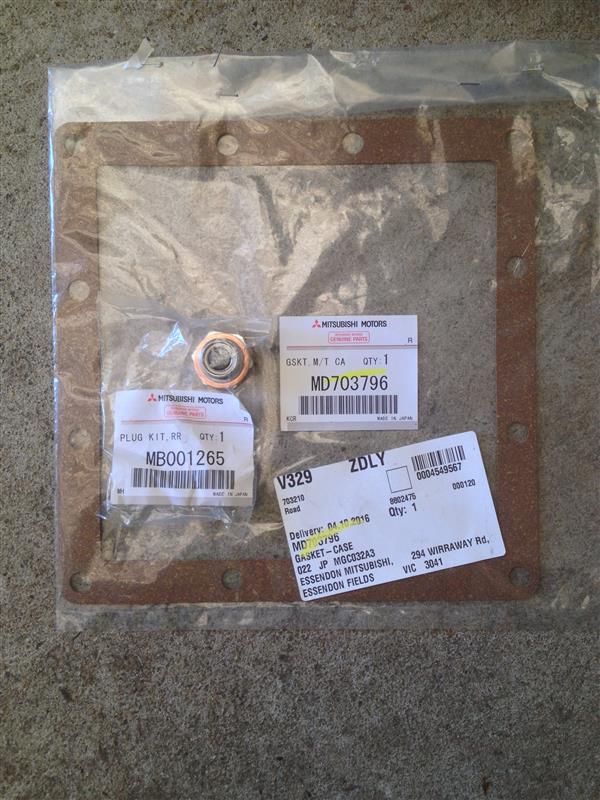
New OEM pan gasket & drain plug kit:
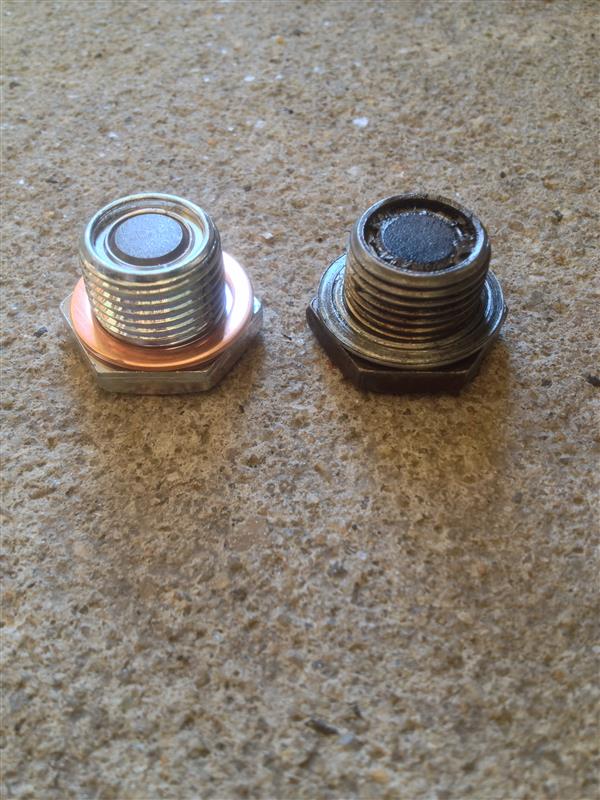
New & old drain plugs:
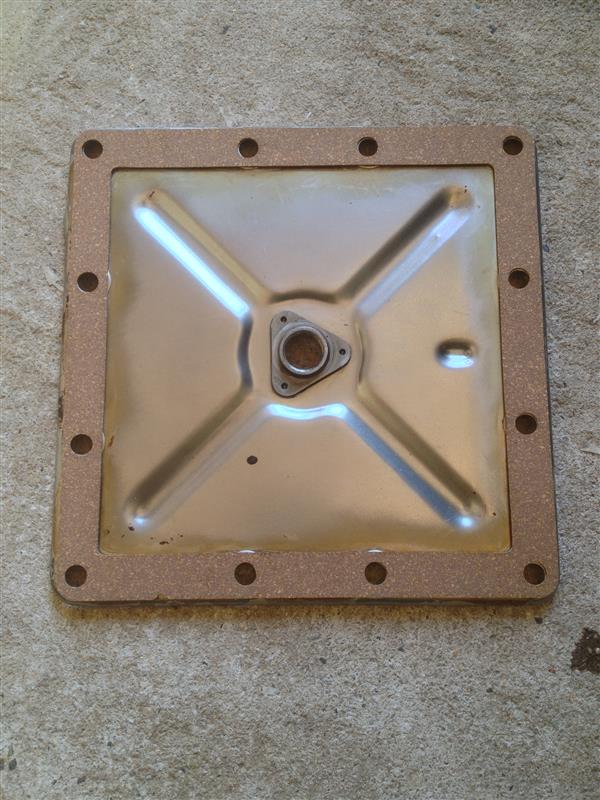
Oil pan gasket in place held down with a smear of red RTV on the underside corners of the gasket:
Pan reinstalled, new drain plug fitted & bolts torqued:
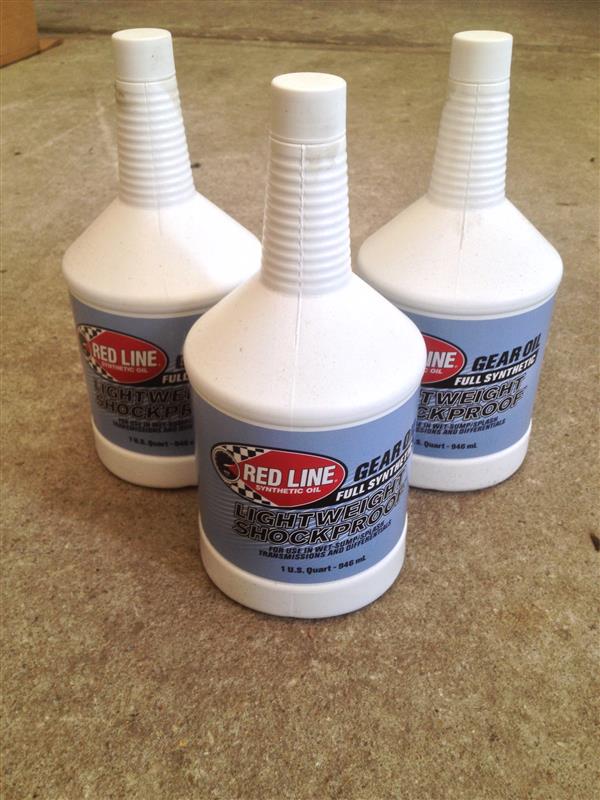
New Redline Shockproof gear oil to finish the job! 2 1/2 bottles were used to sufficiently fill the gearbox. I can safely say that next time I have to remove the box it will be on a hoist!
And more preventive maintenance, replacing those close to 30 year old parts were new OEM fuel filters, both in-tank & engine bay.
New OEM fuel filter & washers:

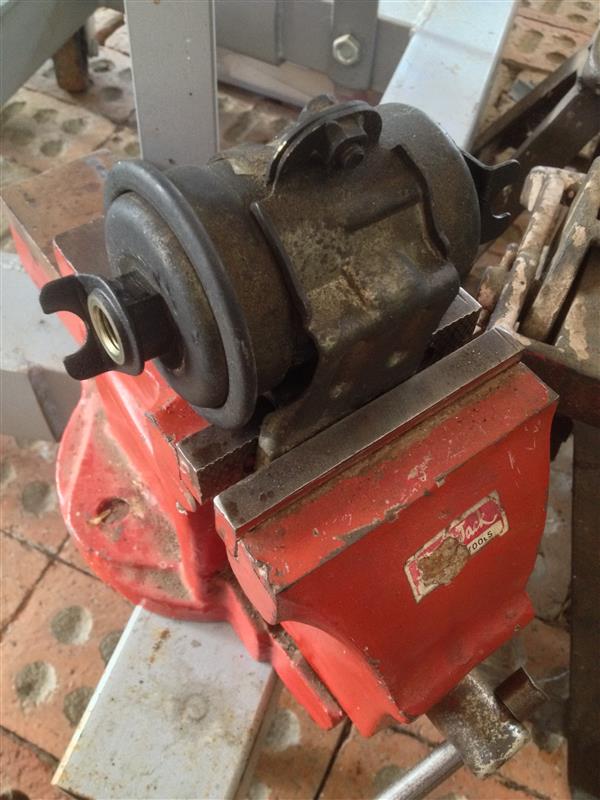
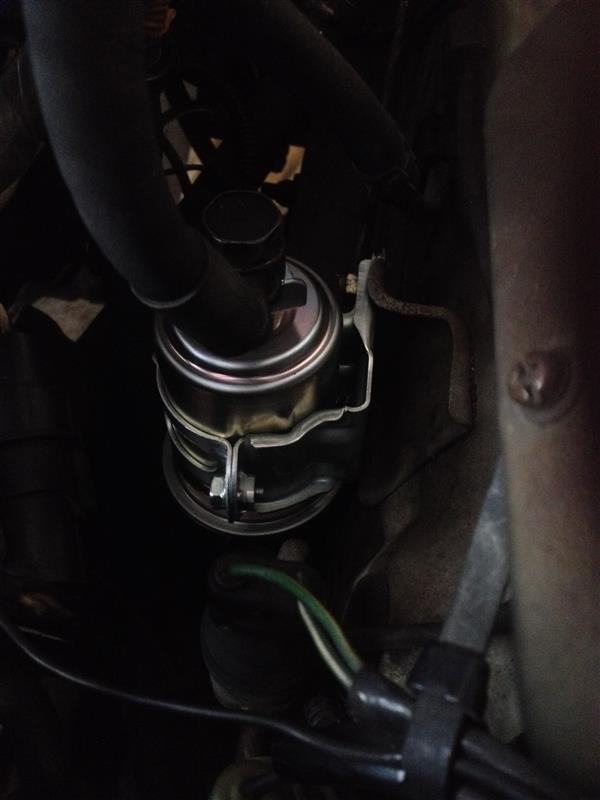
What looks to be the original fuel filter unchanged. For ease or removal, both ends of the hoses were removed from fuel rail & fuel hard line:
Once removed, the filter was placed in a vice & a 19mm socket wrench & spanner were used to break the eye bolts from the filter:
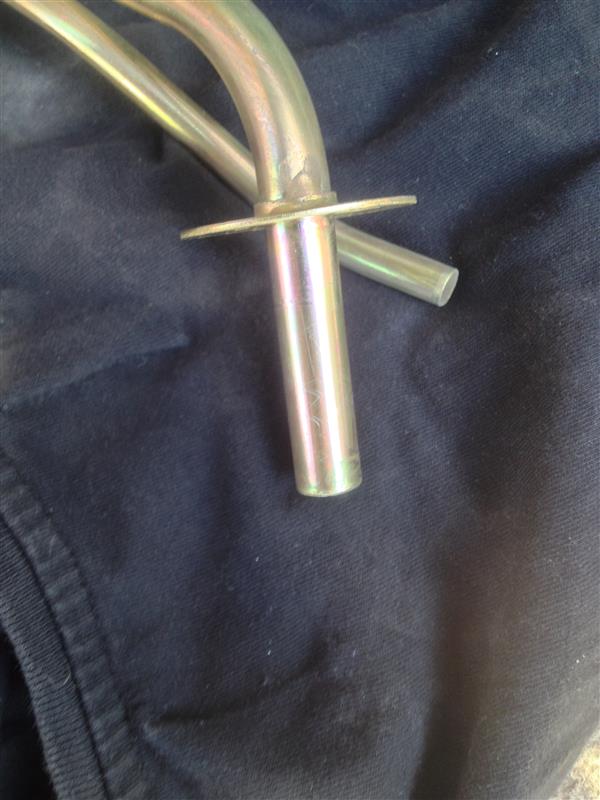
All 4 new washers & hoses fitted & torqued while off the car (new braided lines & modified top hat now in place)
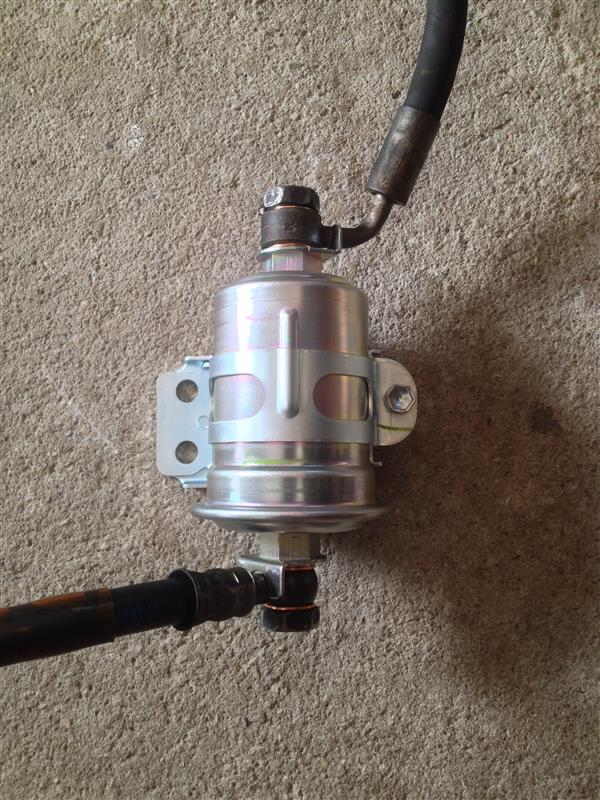
Filter mounted & all hoses reconnected. To reconnect the bottom hose it is easier to work from under the car for better access to the fuel hard line. It will require a 14mm & 19mm spanner to loosen/tighten back up:
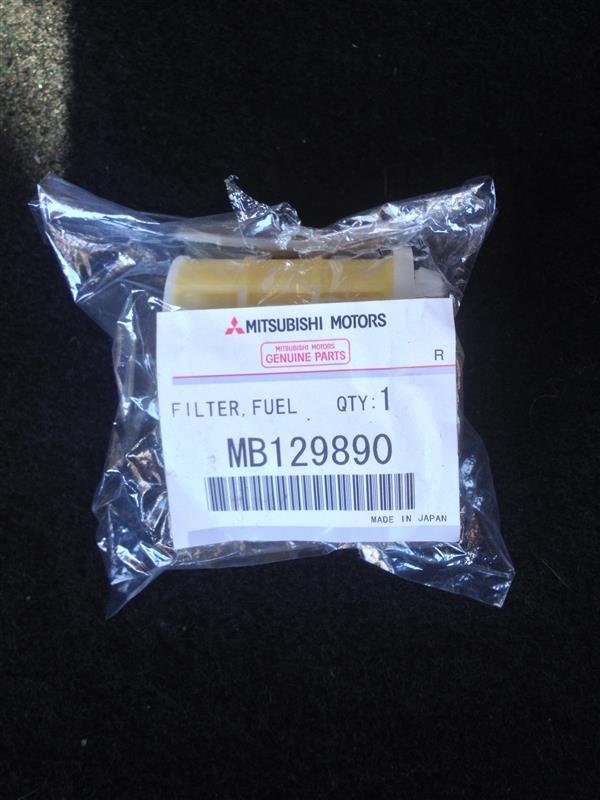
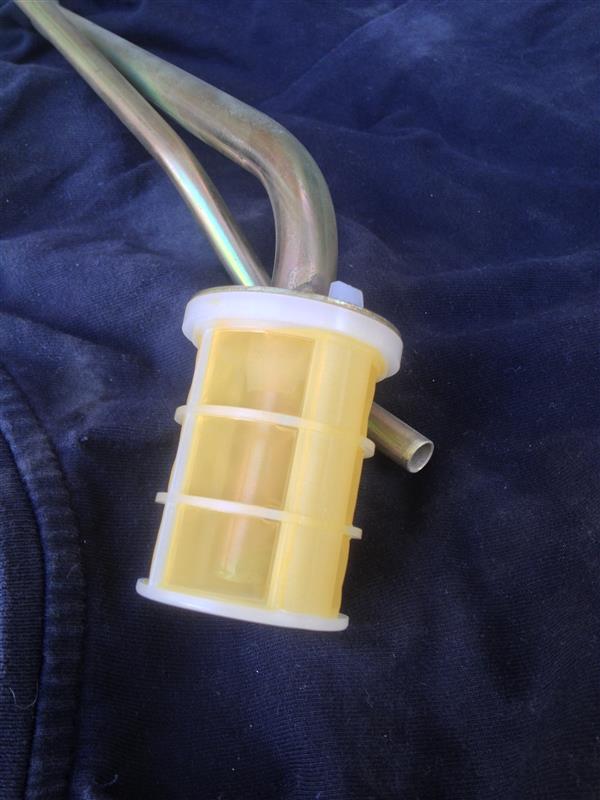
New OEM in-tank fuel filter:
Old (original?) Filter removed from tank. To remove the filter the tabs must be squeezed & pressed in away from the pipe assembly:

Wiped clean:
New filter fitted & reinstalled:
That's about all I have bothered taking photos of this far, there is still a whole bunch of newer updates which I haven't even started adding yet, but they will come shortly. These just fill the gaps & also show some of the neglected maintenance which this car was in dire need of.


