Wheelbarrows builds

Post your build topics here! This is for restorations only.
Post Reply
User avatar
wheelbarrow
Posts: 52
Joined: Thu Mar 26, 2009 5:30 pm

Wheelbarrows builds

Post by wheelbarrow »

Finally i have a Photobucket account, so i thought id post up a threat on my galant builds


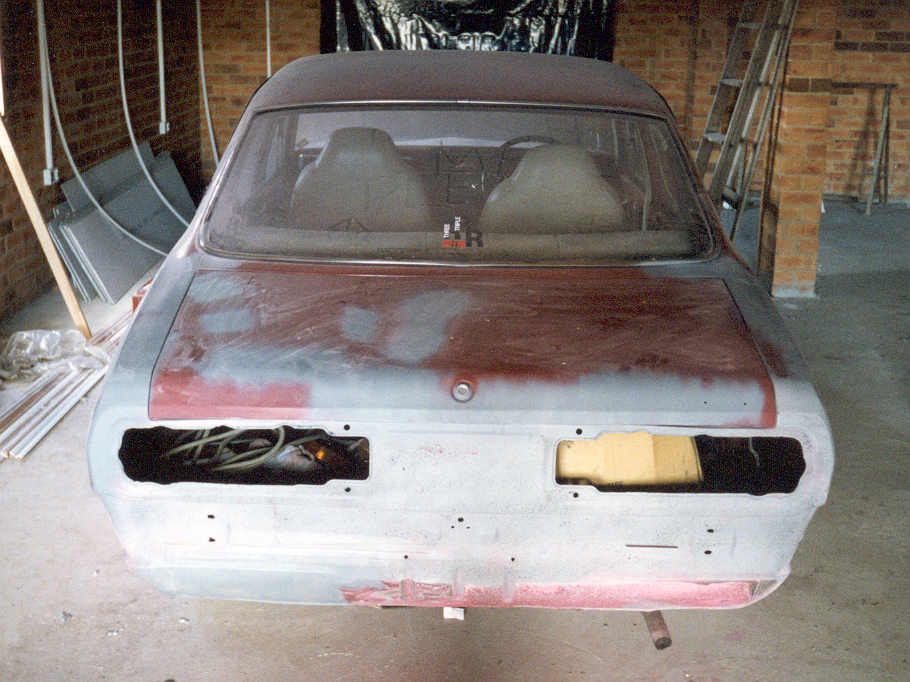
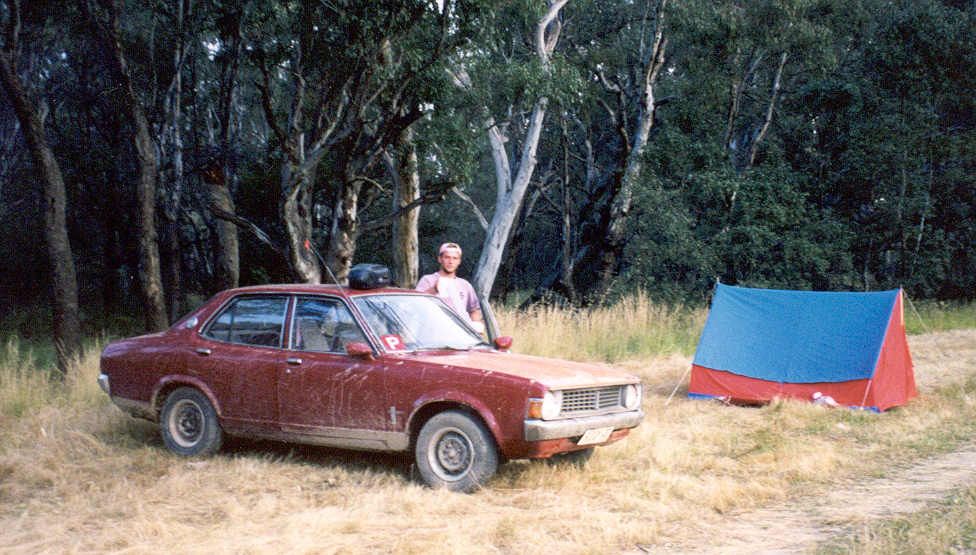
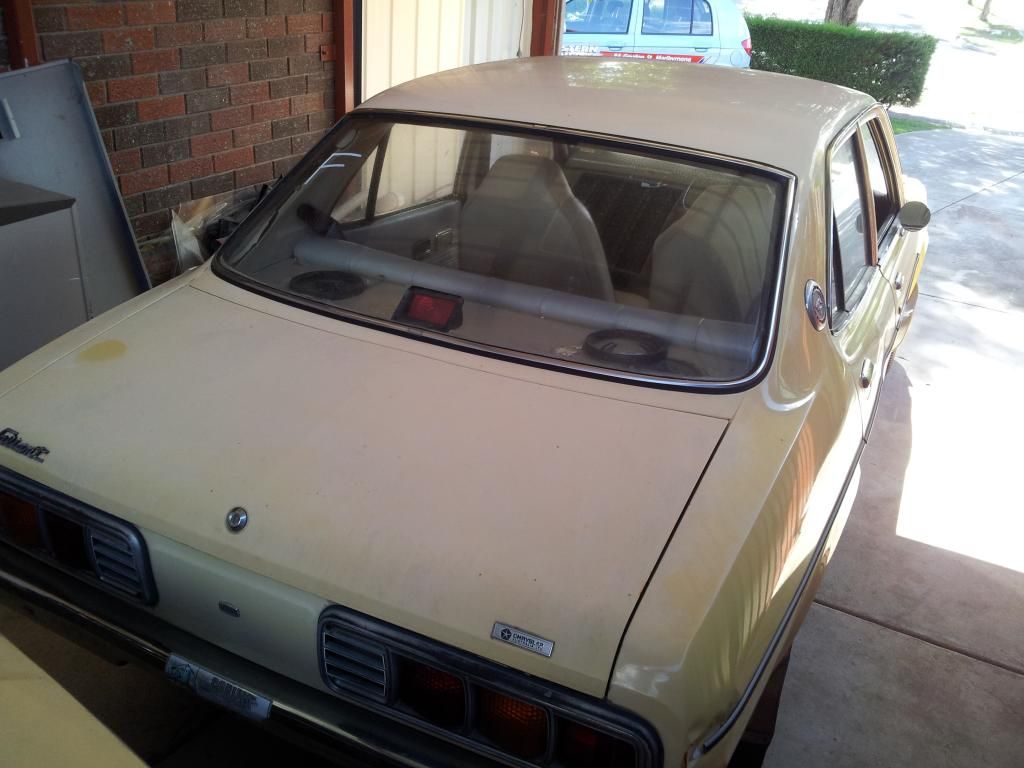
My first galant was a GC sedan i bought when i was 19. Thats 16 years ago now. it looked like this.
Image
Not much to look at, rust in lower quarters, engine and gearbox in the boot, my mum must have thought i was crazy at the time.
User avatar
wheelbarrow
Posts: 52
Joined: Thu Mar 26, 2009 5:30 pm

Re: Wheelbarrows builds

Post by wheelbarrow »

Image
Scorpma82
Sigma-Galant Police (Global Mod)
Posts: 2119
Joined: Sat Oct 22, 2011 6:48 am
Location: melbourne

Re: Wheelbarrows builds

Post by Scorpma82 »

U have NY progress pics of this car?

I'm guessing u no longer have this car anymore
Built with pride, Driven in anger
User avatar
wheelbarrow
Posts: 52
Joined: Thu Mar 26, 2009 5:30 pm

Re: Wheelbarrows builds

Post by wheelbarrow »

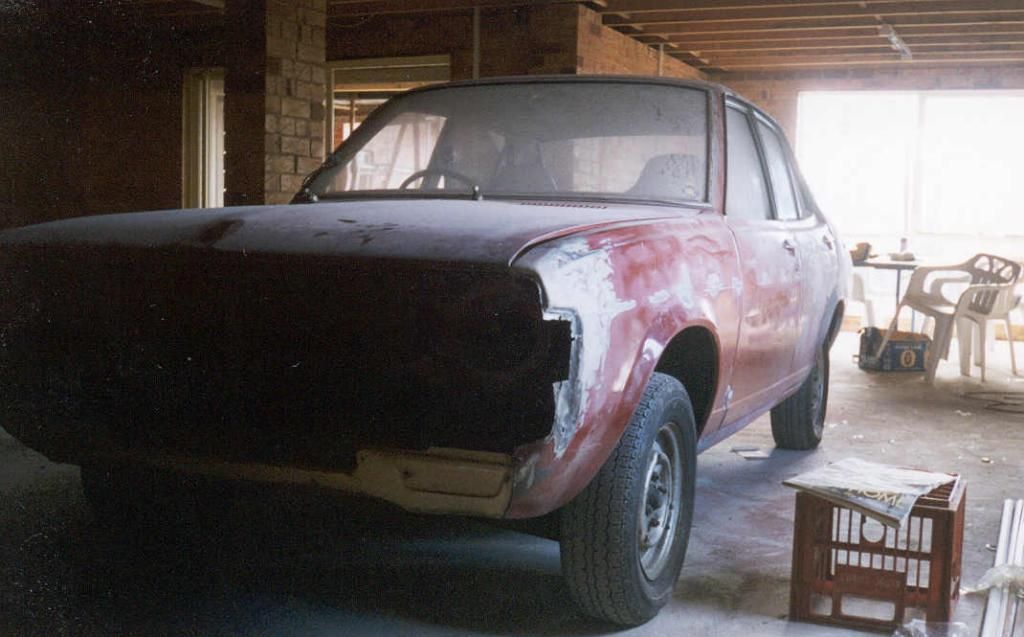
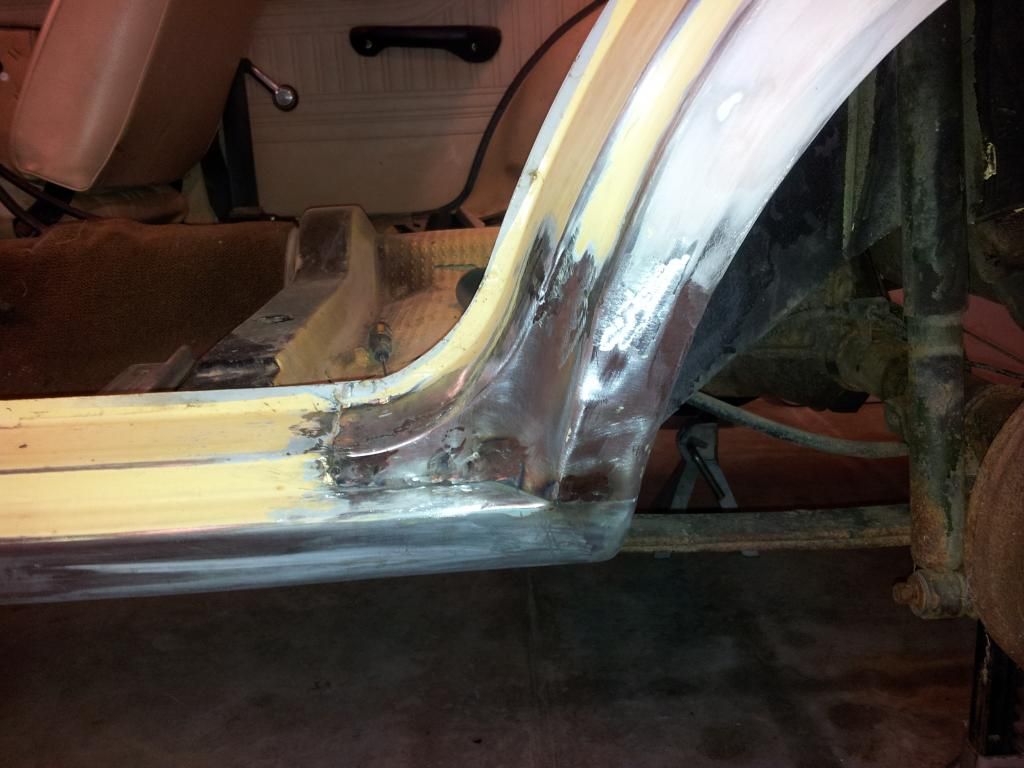
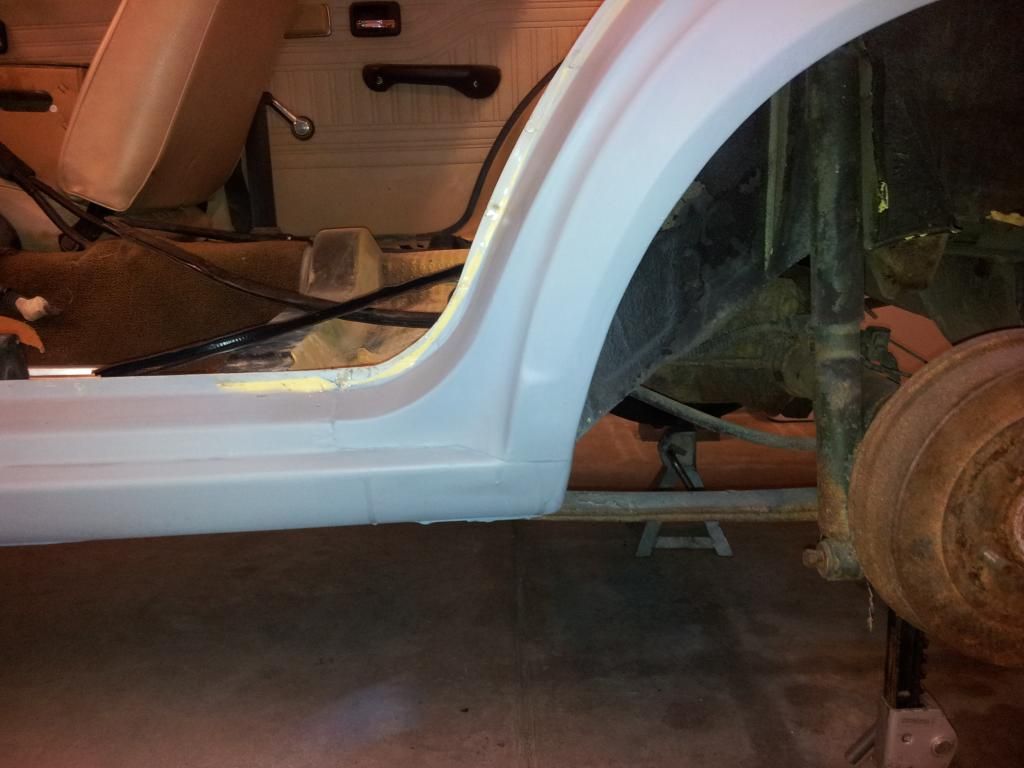
Then with the help of a neighbour who was a welder i had the lower quarters replaced, the boot floor welded up and a whole lot of body work to do as the car had been hit twice.
Image

Image

after a couple buckets of filler and heaps of sanding it was finally ready for paint.
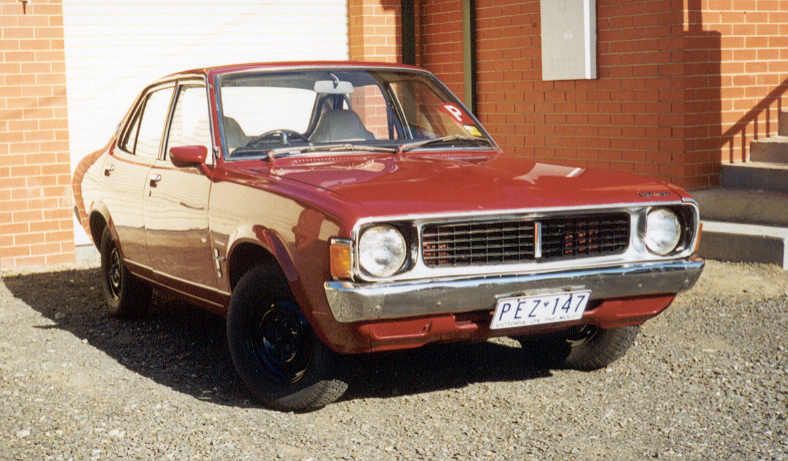
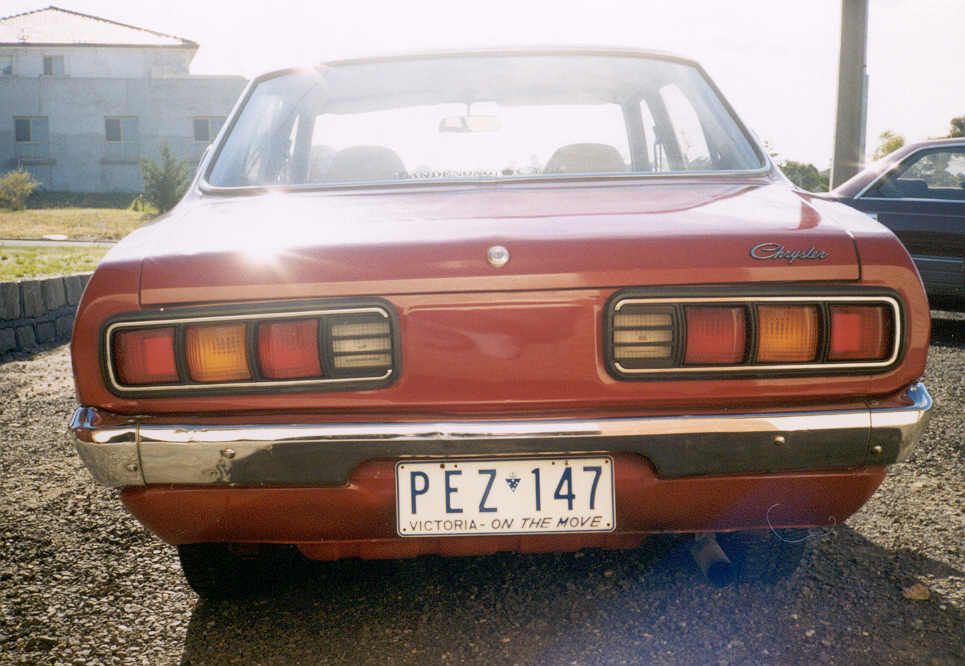
Being a Tavo i painted it in acrylic in the back yard , then rubbed it back and polished it up. assembled it looked pretty good
Image
Image

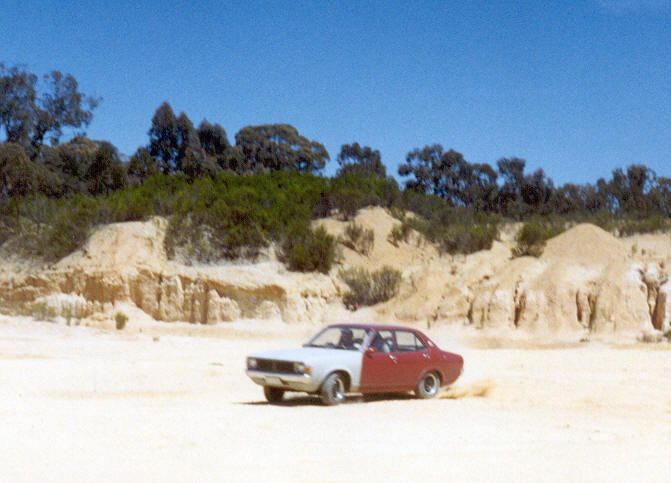
Running gear was stock standard 1600 and 4 spd, which helped me keep my license. 2 inch sports exhaust with straight through muffler made it sound fast, and the stock suspension meant i could take it places where i probably shouldnt have. ie, 4wd drive tracks in drought affected lake eildon in the rain.
User avatar
wheelbarrow
Posts: 52
Joined: Thu Mar 26, 2009 5:30 pm

Re: Wheelbarrows builds

Post by wheelbarrow »

sadly i sold the car to a mate who proceeded to do terrible things to it.
Image
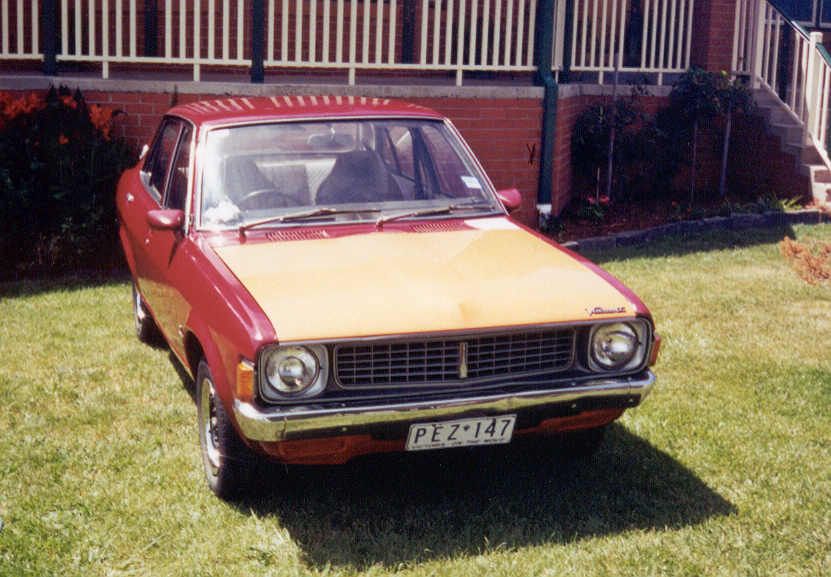
but i had a great time owning it, which included many misadventures like blocked fuel filters in the bush, running up the arse of 2 cars and my brother throwing a brick into a tree to get his footy while my car was parked underneath, which is why it ended up with orange bonnet and boot lid.
Image
Image
User avatar
wheelbarrow
Posts: 52
Joined: Thu Mar 26, 2009 5:30 pm

Re: Wheelbarrows builds

Post by wheelbarrow »

My next builds were valiants. first a VJ ute that went from this
Image

to this
Image
and then finished like this

Image
User avatar
wheelbarrow
Posts: 52
Joined: Thu Mar 26, 2009 5:30 pm

Re: Wheelbarrows builds

Post by wheelbarrow »

My next project was a VJ Valiant Regal Hardtop, which took 3 and a half years to finish. here are some high lights

bare metalled
Image

after a rotisserie paintjob
Image

and finished

Image
Image
now ill get back to the galants
User avatar
wheelbarrow
Posts: 52
Joined: Thu Mar 26, 2009 5:30 pm

Re: Wheelbarrows builds

Post by wheelbarrow »

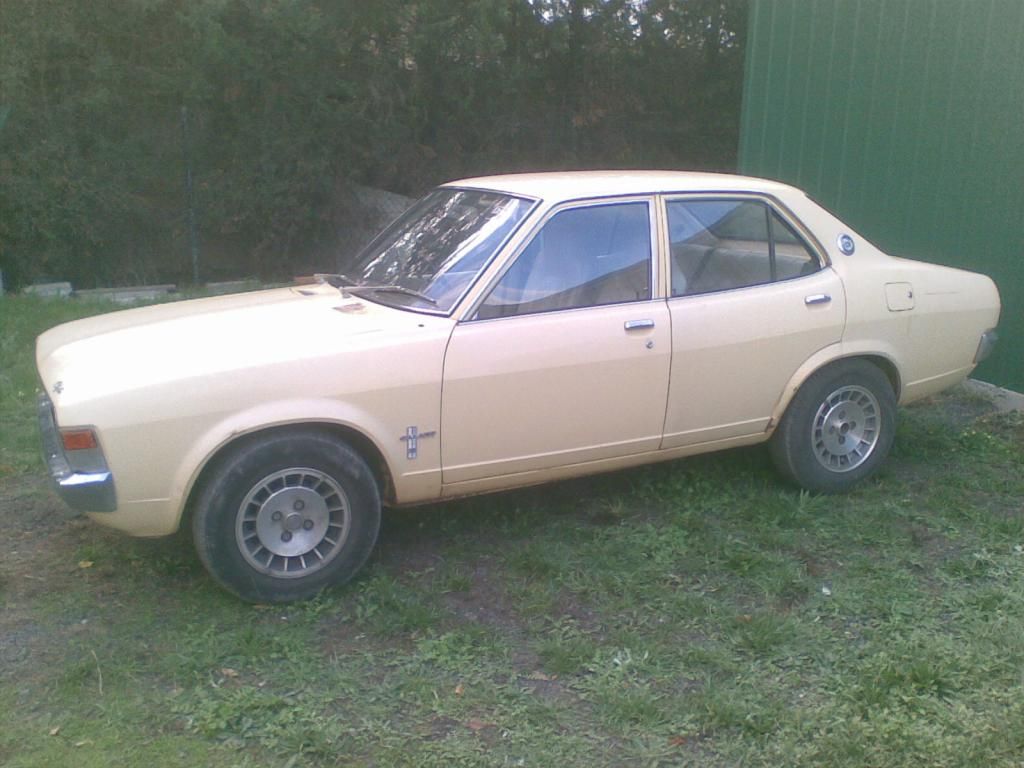
Then the galant bug bit back and about 7 years ago i bought a gc galant coupe from forum member RALLYANT. it was just a shell with hanging panels, back window and some interior pieces.

Image

Image.

I started doing some bodywork on the coupe, and kept an eye out for a parts car for panels and running gear
User avatar
wheelbarrow
Posts: 52
Joined: Thu Mar 26, 2009 5:30 pm

Re: Wheelbarrows builds

Post by wheelbarrow »

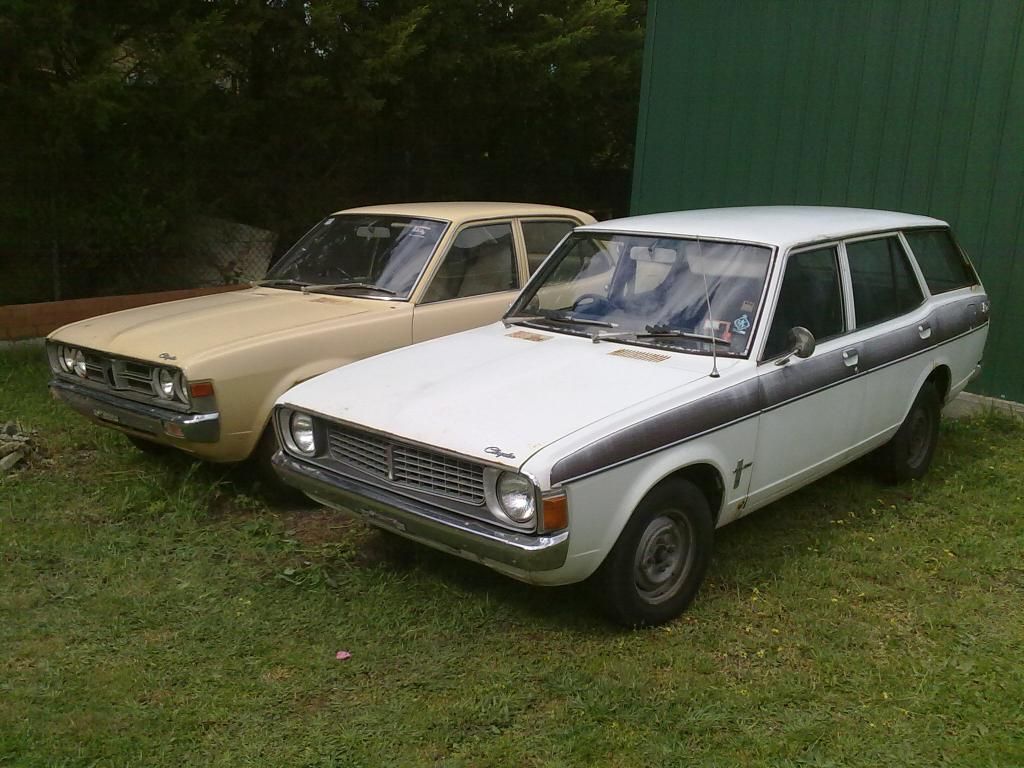
due to a little good fortune.. re no bids on eBay i managed to buy a gd sedan parts car for my coupe for like 180 bucks. it had a 1600 with a blown head gasket, 5 speed conversion, and a near new battery that was a bit flat. but i couldn't complain for 180 bucks.
Image

then my plans took a detour. a $350 2.6 and 5 speed and radiator and it was a goer. did ripper 2nd gear burnouts at will with the stock 13 inch wheels. then i gave the driveline to my dad who had some work done to it and put into his car.
Image.
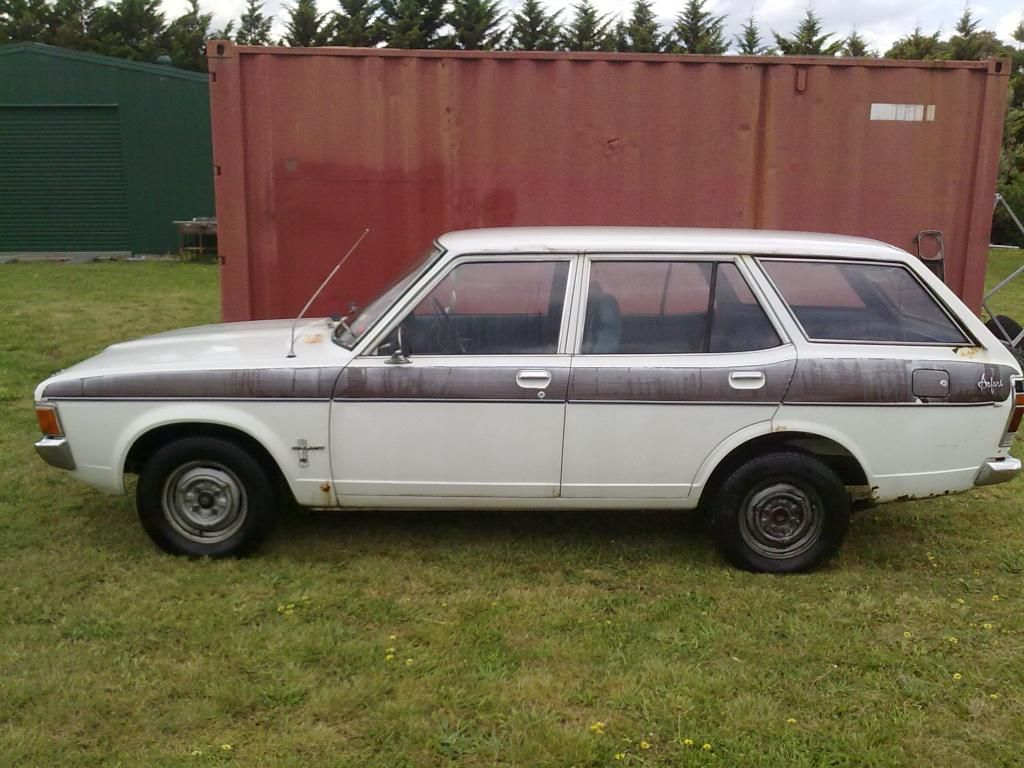
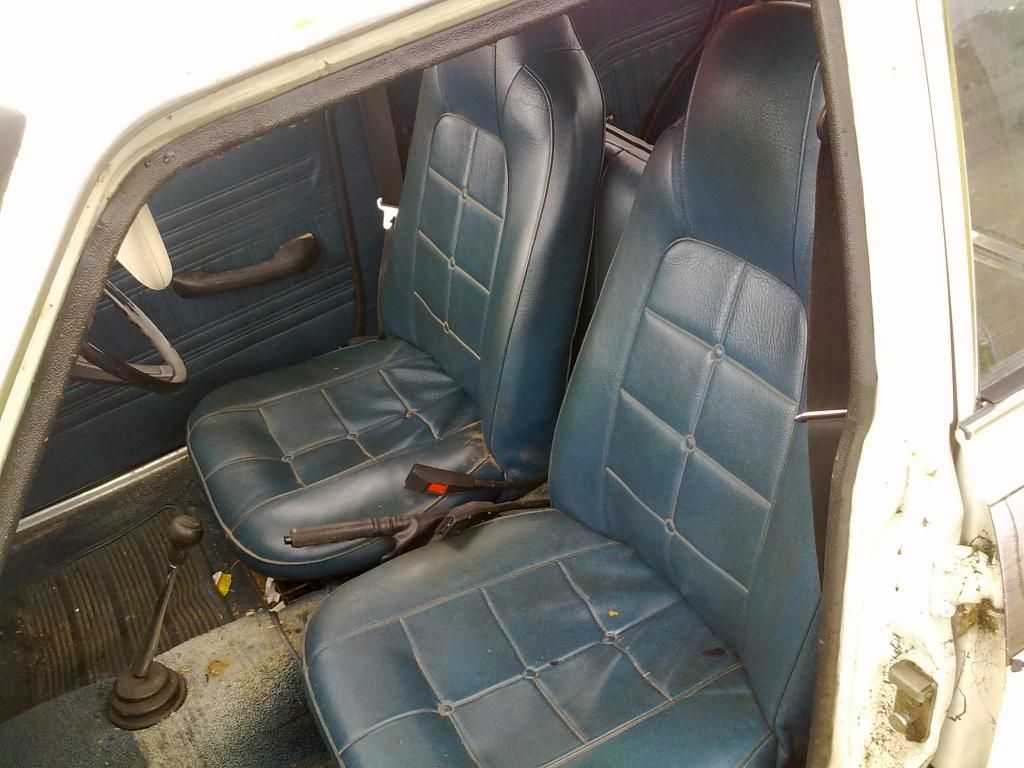
then i came upon this gem, a gc wagon.. the price was right and 20 mins from home so i hooked up the trailer and dragged it home. 10 mins later it was awoken from its 6 year slumber and purred angrily.. i mean silently... you had to rev it to tell it was running.. the sheep skim seat covers hid a set of perfect blue seats front and back, even the door cards. though sadly rust had hit it hard, the bonnet skin almost peeled from the support and the roof was only held on, on one side.
Image
Image

then i decided the sedan was too good to wreck for parts as it had a good body with very little rust, i'll just rub it back and give it a cheap respray, and get it going with the wagons drive line.Image and make 2 cars into 1 good one.
User avatar
wheelbarrow
Posts: 52
Joined: Thu Mar 26, 2009 5:30 pm

Re: Wheelbarrows builds

Post by wheelbarrow »

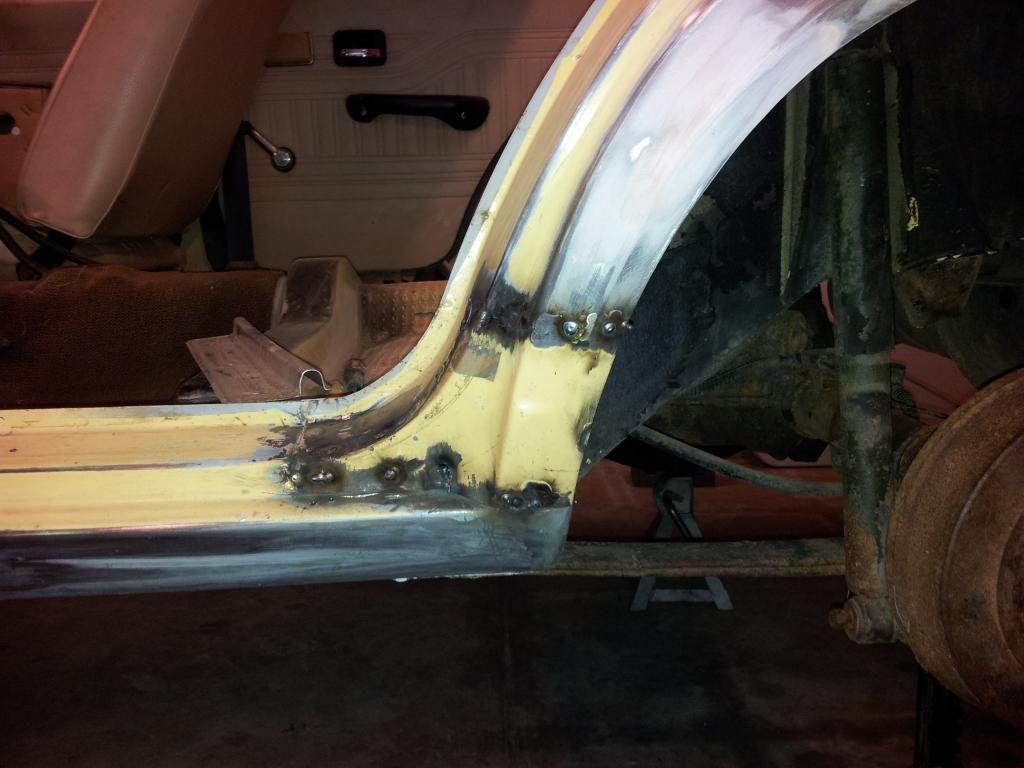
So project yellow peril began... with repairing the only rust spot in the car
Image fixing the dog leg was a simple as cutting one piece out and replacing it with another that i cut from yet another parts car... this time a yellow gc sedan, 1600 auto. rusty in all the places that i didnt want or need and gave me a near perfect interior a 95 % crack free dash pad and came delivered to my door for 200 bucks.
Image
cut and weld
Image
and grind
Image
a skim of filler and some etch primer
Image and no one would know it had been replaced
User avatar
wheelbarrow
Posts: 52
Joined: Thu Mar 26, 2009 5:30 pm

Re: Wheelbarrows builds

Post by wheelbarrow »

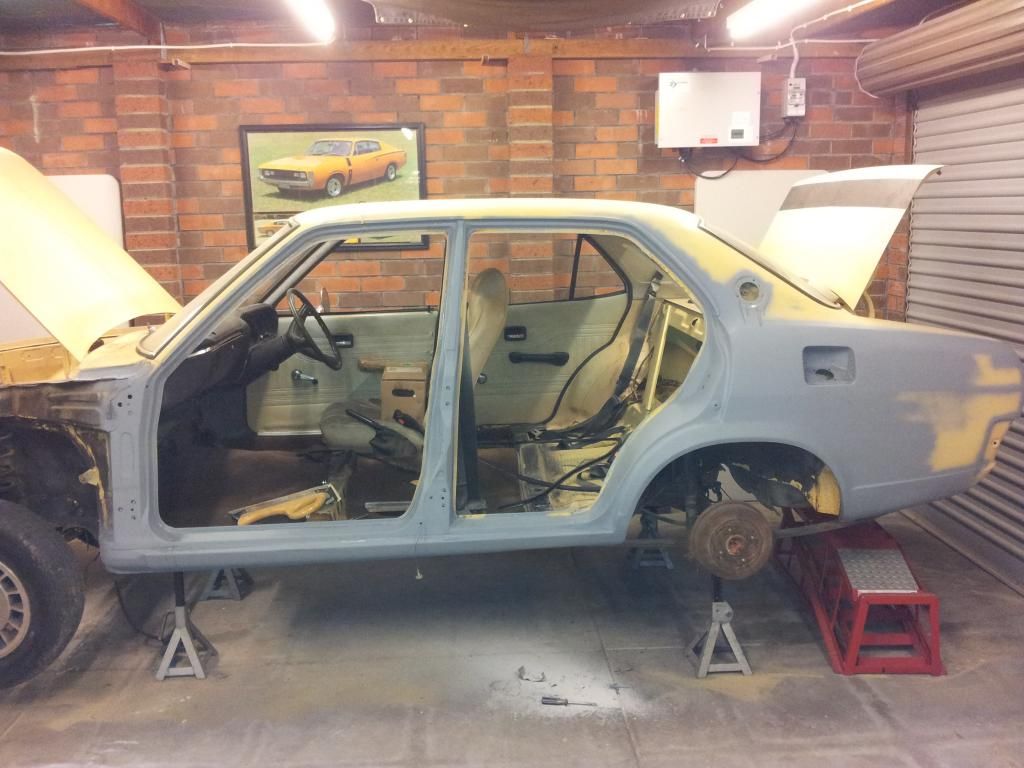
Next came the rest of the body, slowly panel by panel i rubbed back the original paint with a long sand bar, to show all the high and low spots which were fixed by hammer and dolly or a little filler
Image, until all the panels were done. Then the" do it properly you idiot" in me came out. i couldn't bring myself to cut corners and do a half arsed job, so i completely disassembled the car and went over it all again.
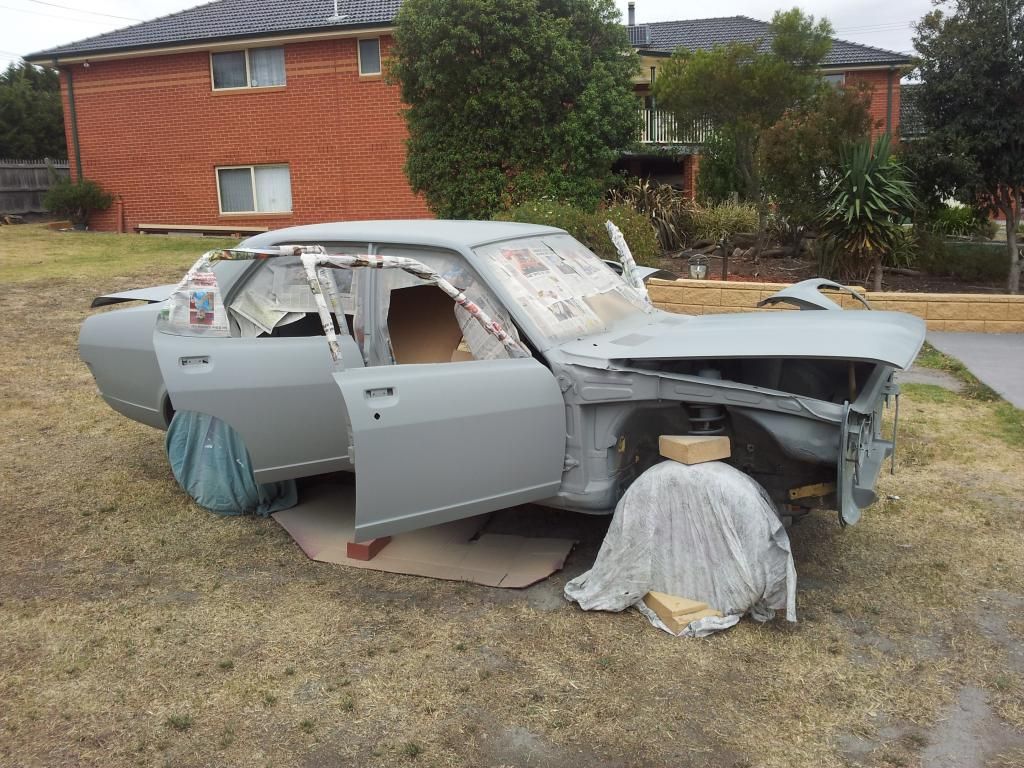
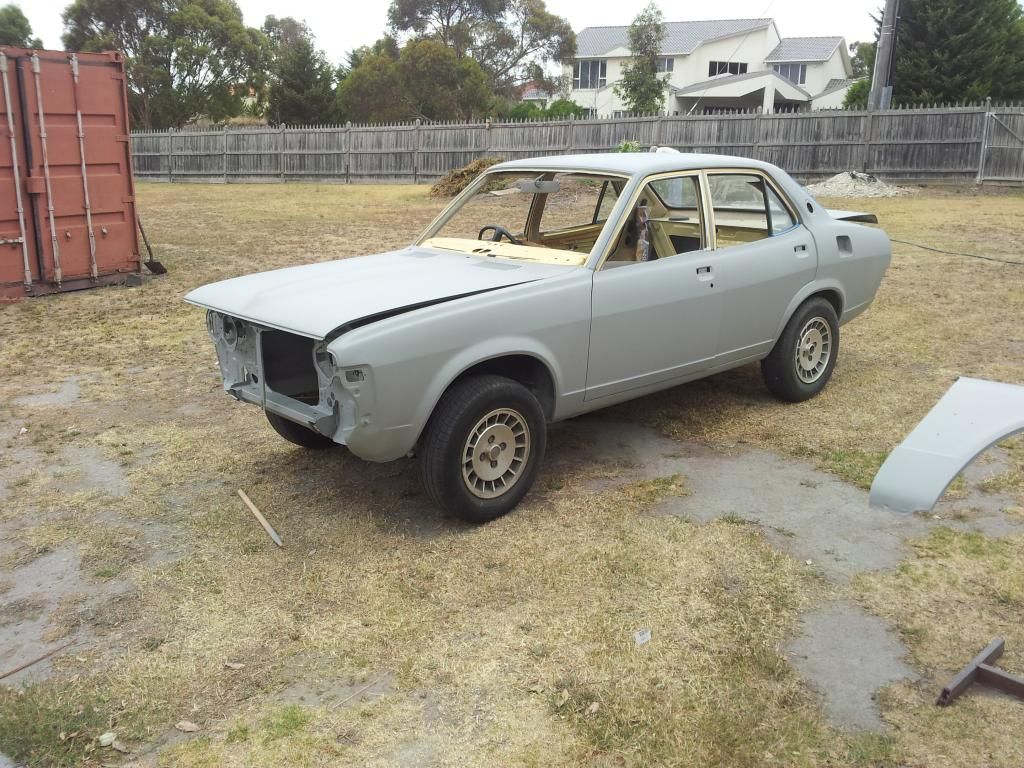
Months later the whole car received 3 coats of highfill primer, applied in my parents very spacious backyard
Image
Image
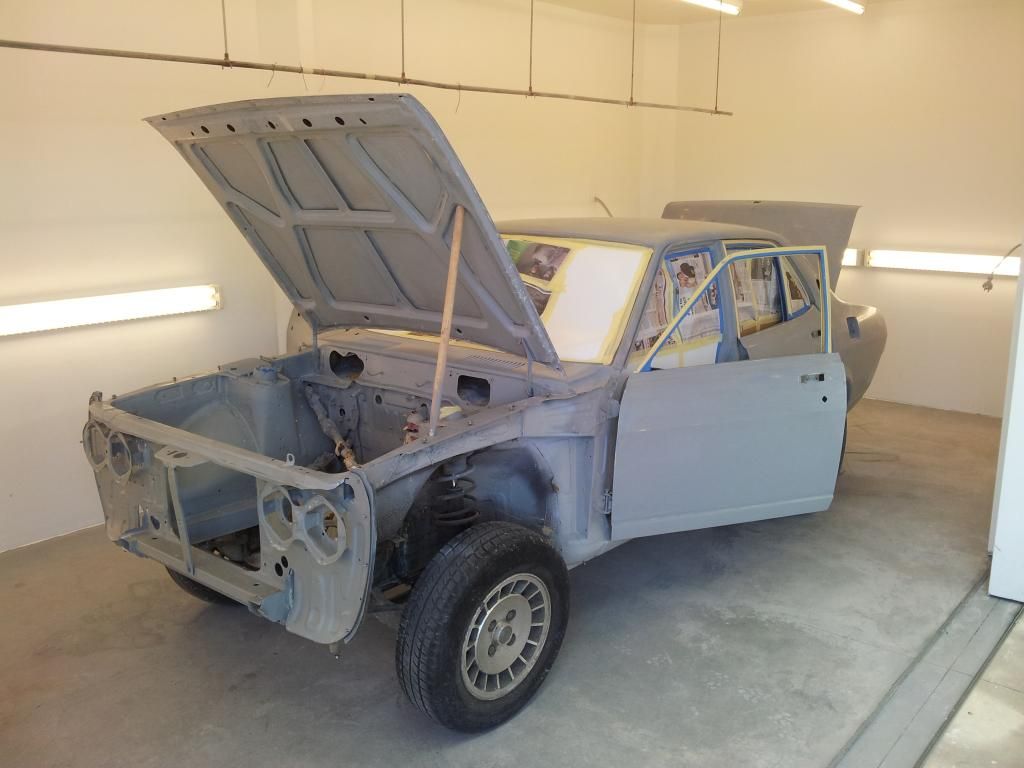
I let it dry well for 2 weeks before giving it a guide coat and began to wet block the highfill. all the imperfections were then re sprayed with highfill and blocked again with a guide coat, until i was happy with the panels. Then i dragged it out to my mates place in country Victoria where he had built himself a spray booth in his shed with lights, filters and fans etc...Image
User avatar
wheelbarrow
Posts: 52
Joined: Thu Mar 26, 2009 5:30 pm

Re: Wheelbarrows builds

Post by wheelbarrow »

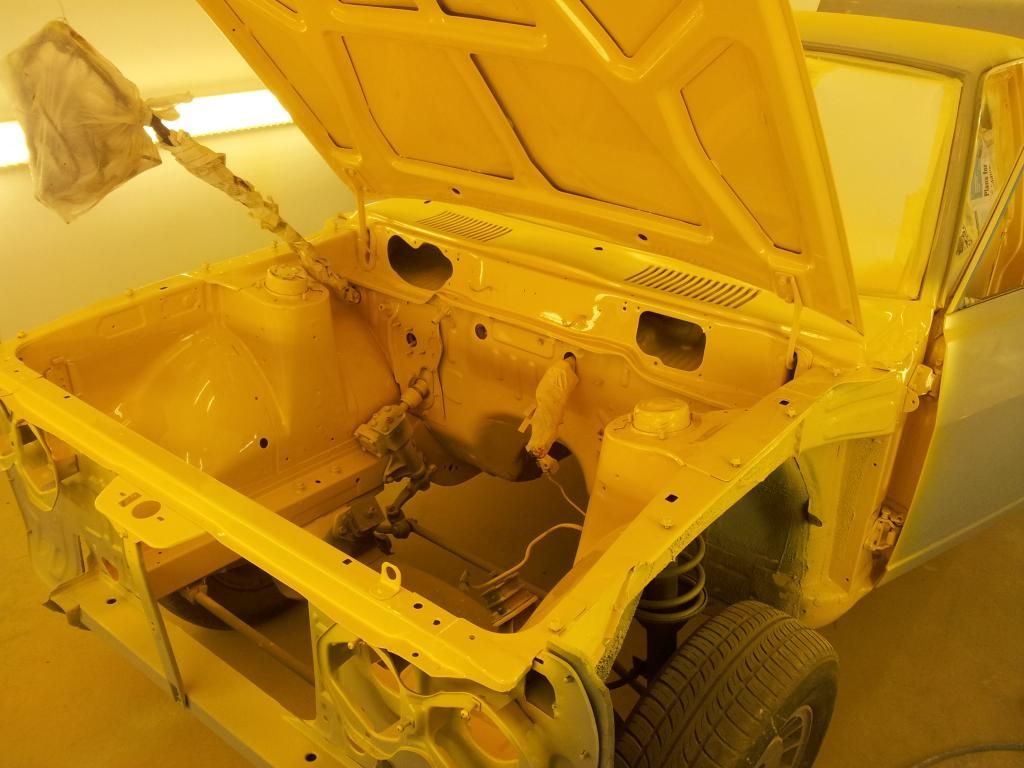
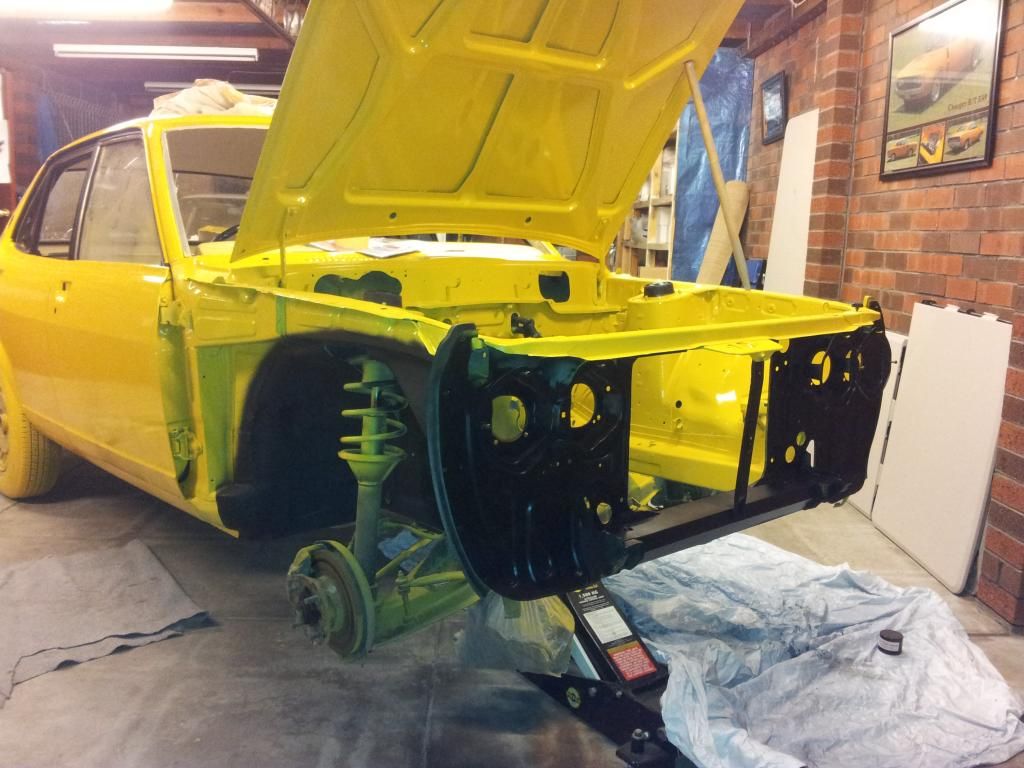
Now it was time for paint... originally i had wanted to respray it the same harvest yellow colour, but it was not available in 2 pack, so from the colour cards i picked a yellow called prairie yellow which apparently came on Mustangs in the seventies, it was not even close to the original colour, but good enough i thought.

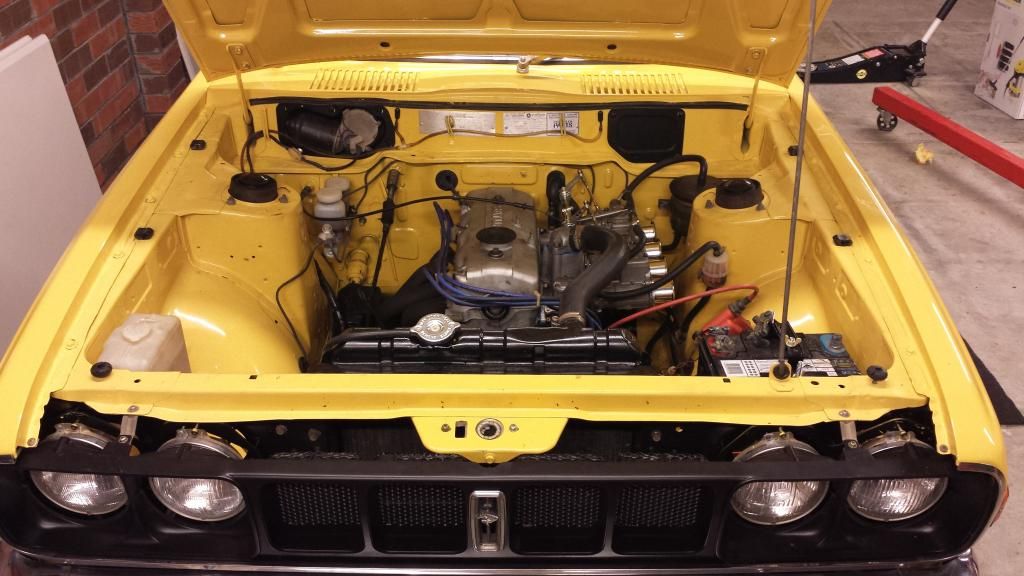
First to get the new hue was the engine bay, door jambs and boot.
Image
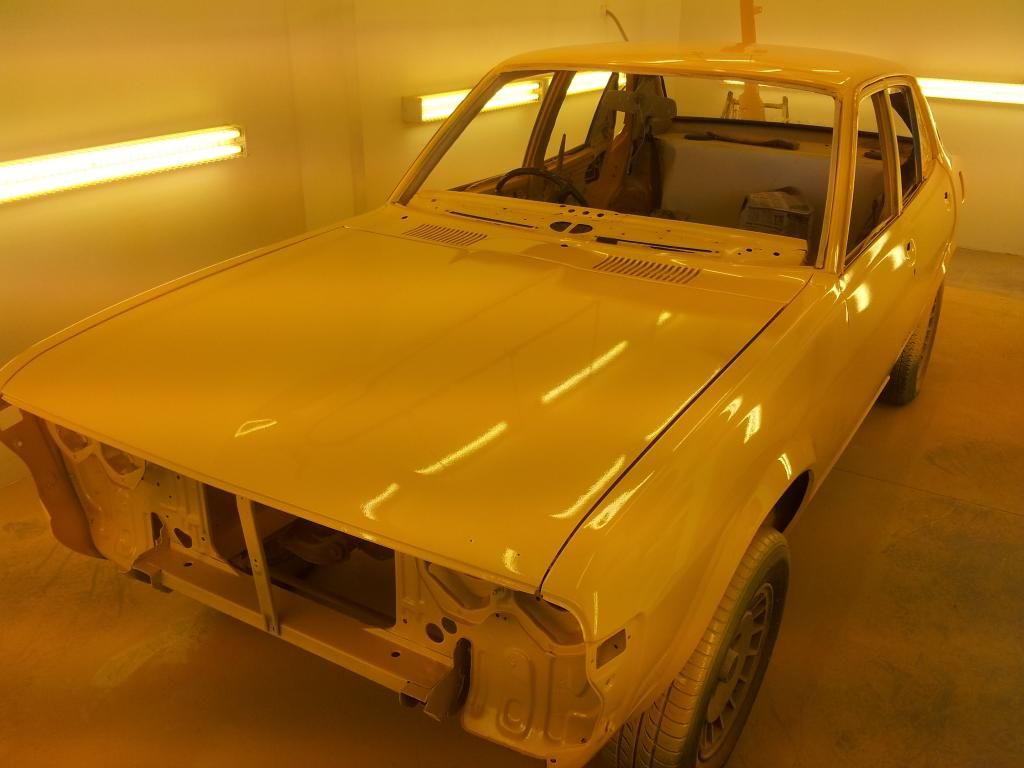
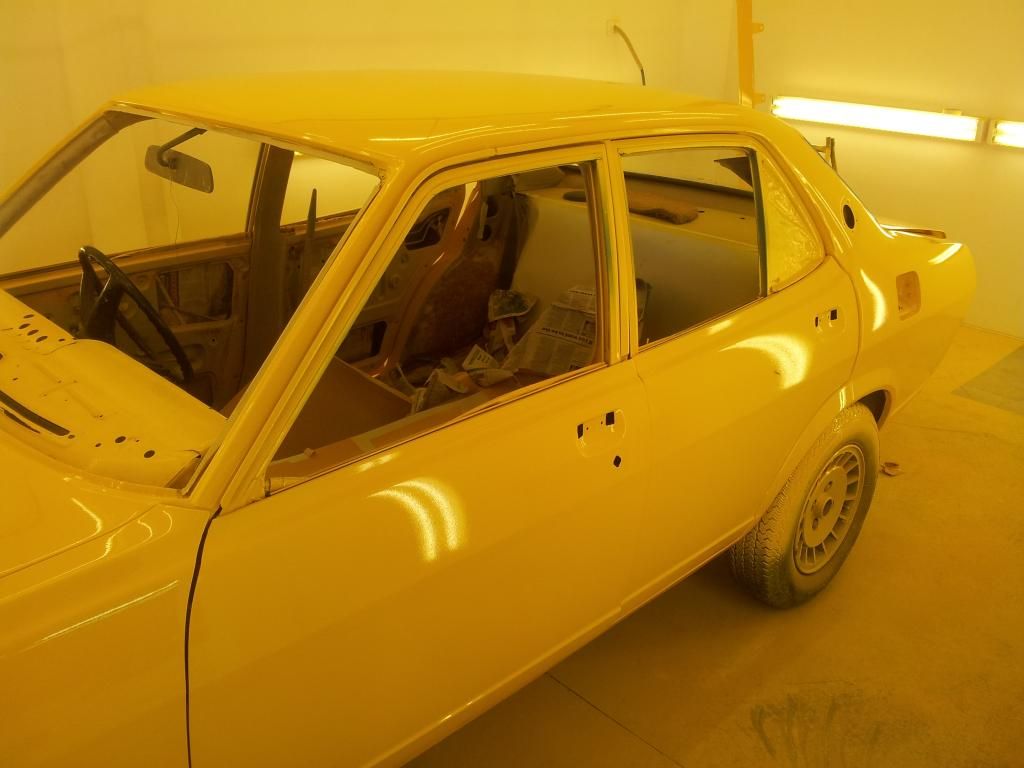
The next day pulled off the masking and rubbed back the over spray, before re masking the car again. Went nuts with the prepsol and rags again, then put on i cant remember how many coats of paint.... gotta say its not easy work..
but i was happy with the end result
Image.
Image
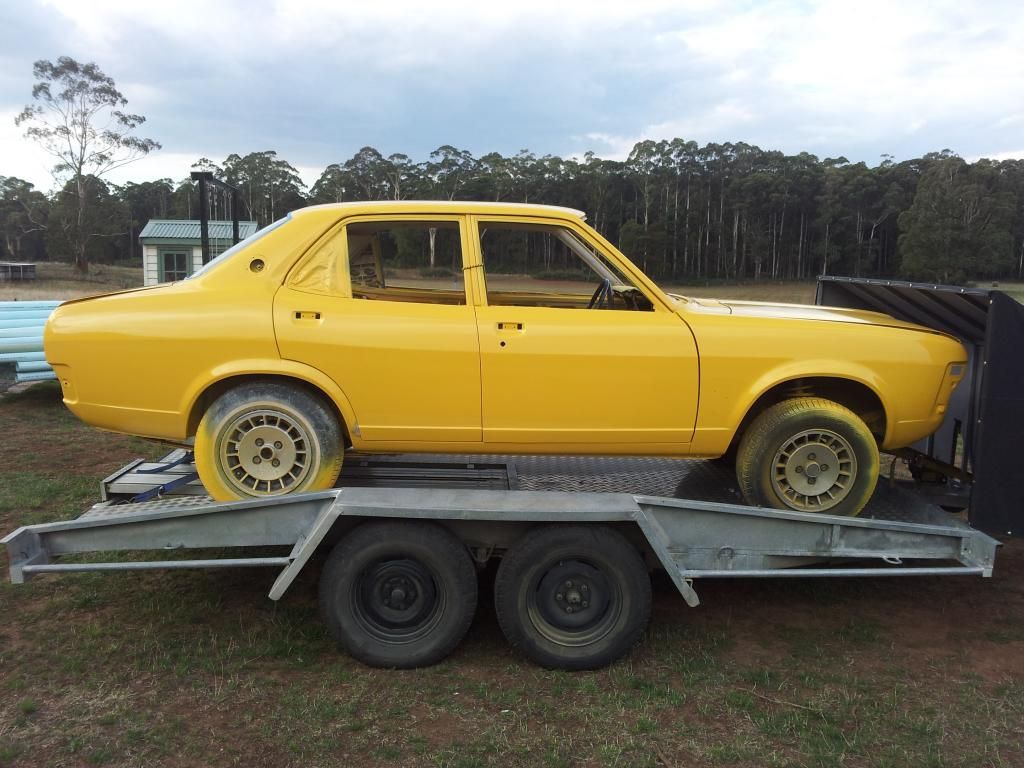
In the booth it didnt look too impressive color wise but outside
Image
Image
much better.
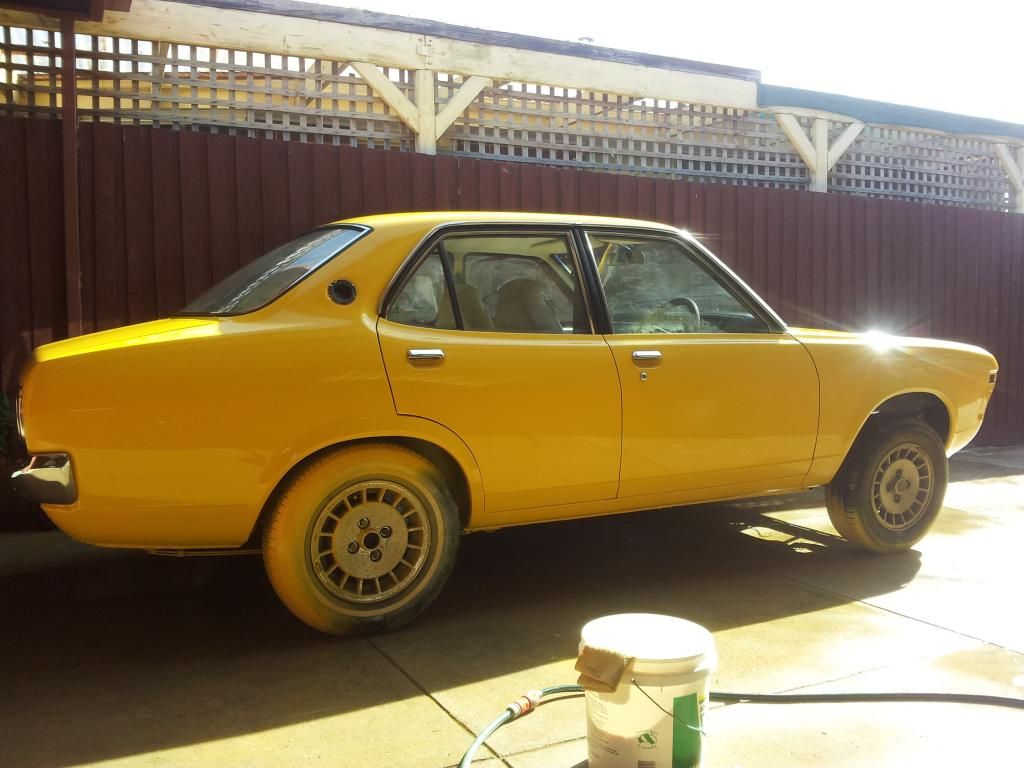
i let the car dry well for 2 weeks whilst i applied the blackouts on the radiator yolk, wheel arches, window frames and recesses Image
then began to give it a wet sand and machine polish.Image. it took forever and made a mess everywhere, but it really brought out the gloss in the paint
Image
[URL=http://s27.photobucket.com/user/zrad770 ... 2.jpg.html]
User avatar
wheelbarrow
Posts: 52
Joined: Thu Mar 26, 2009 5:30 pm

Re: Wheelbarrows builds

Post by wheelbarrow »

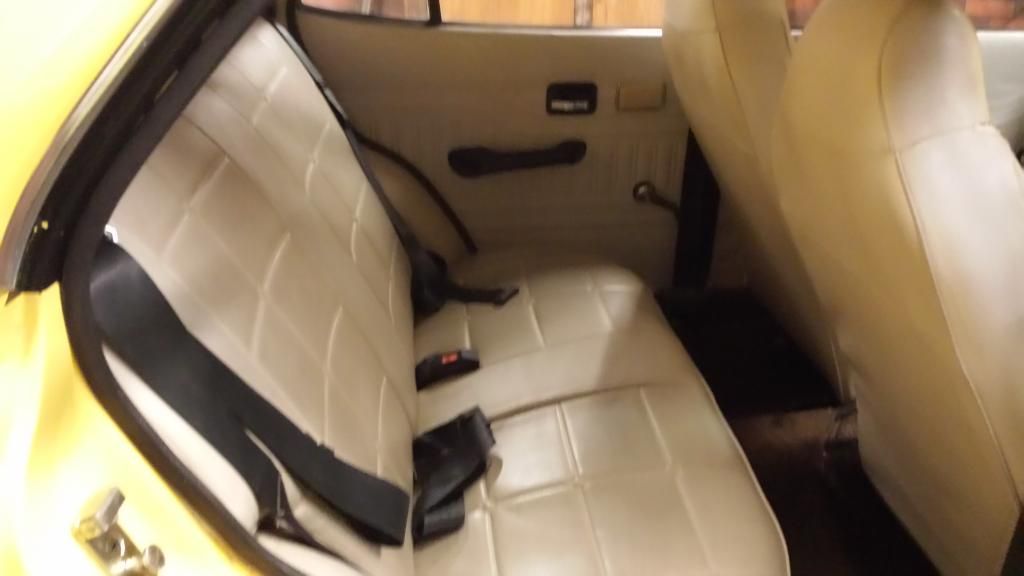
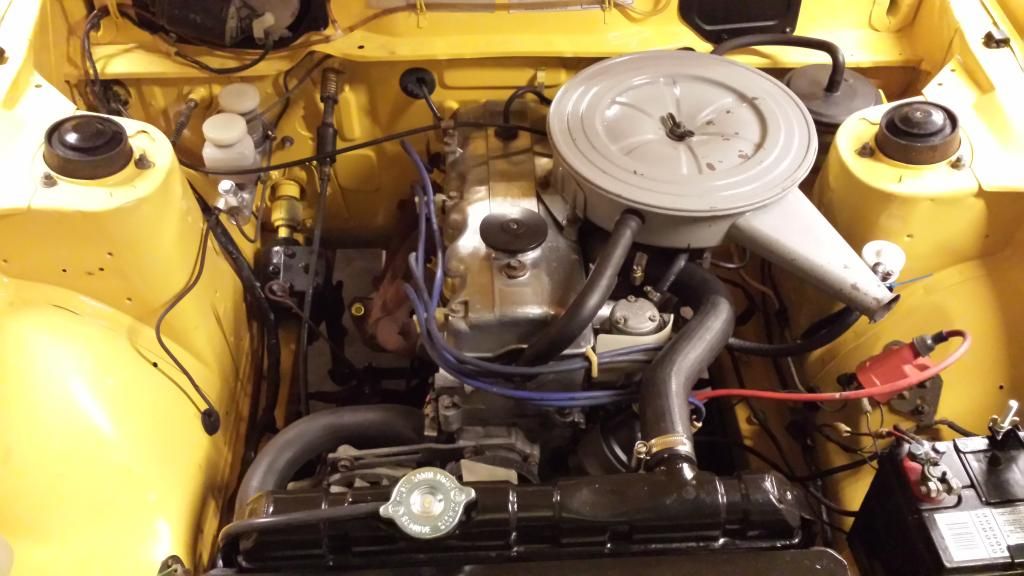
They say the most expensive part of restoring a car is the reassembly, but that doesn't apply to tavos. I just cherry picked the best parts i had from the parts cars i had, cleaned them, maybe resprayed them ,and put them back on. The only new parts were the windscreen exhaust, tyres and other consumable parts.
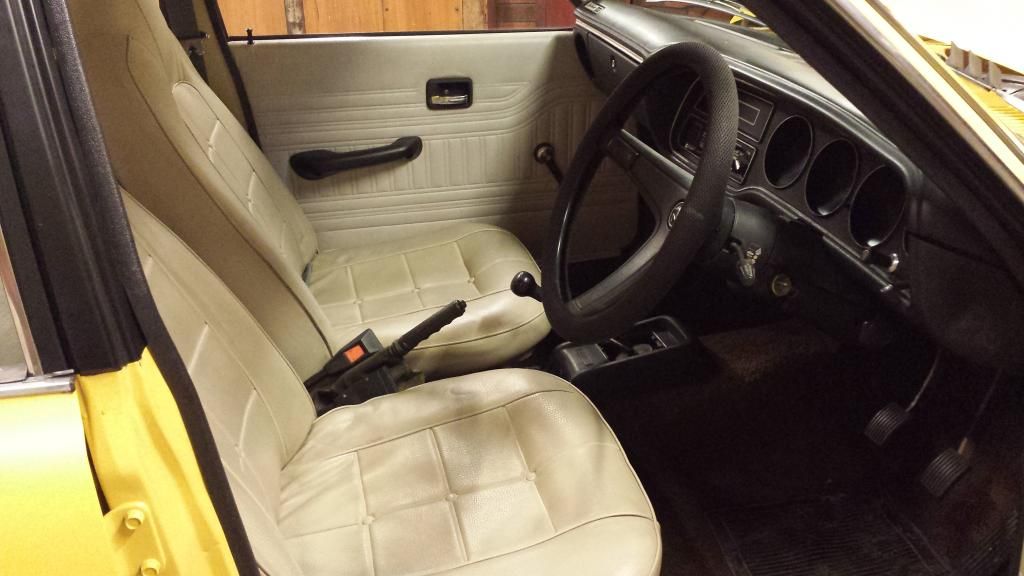
Interior from the gc sedan
Image
Image
engine and gear box from the wagon
Image
User avatar
wheelbarrow
Posts: 52
Joined: Thu Mar 26, 2009 5:30 pm

Re: Wheelbarrows builds

Post by wheelbarrow »

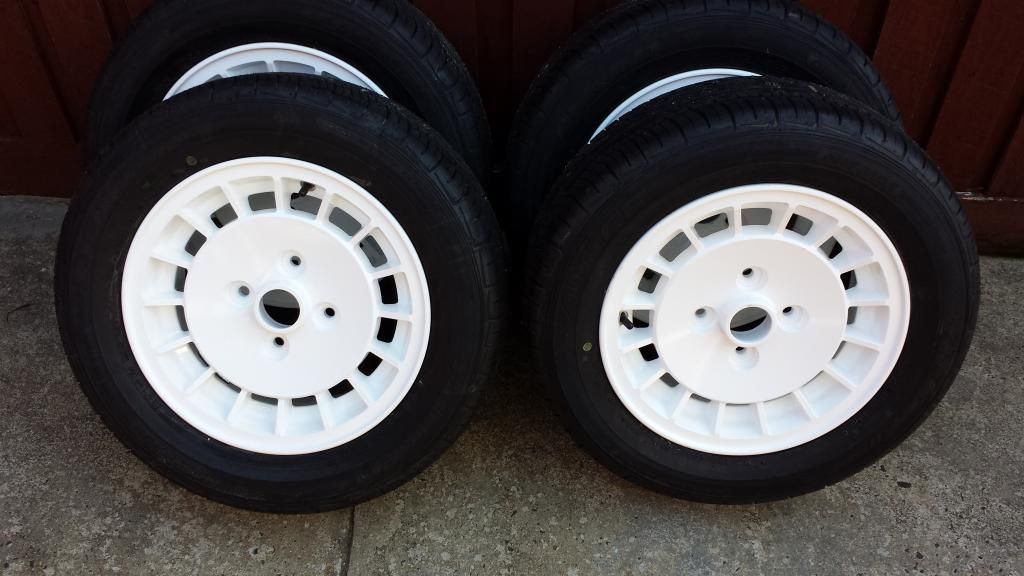
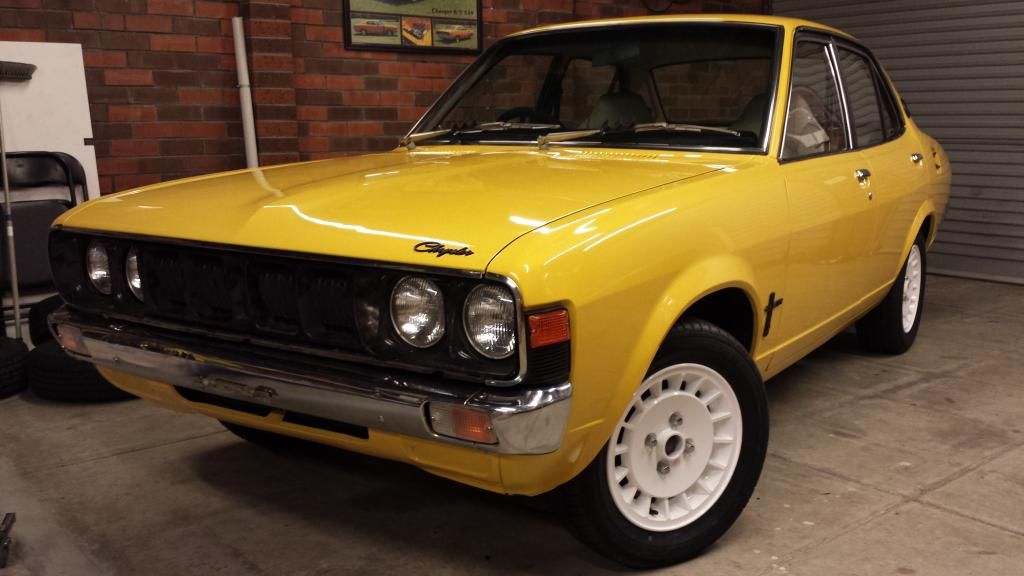
Wheels can make or break a car, so i didn't mess about with anything and had the scorpion alloys that were covered with over spray sand blasted and powder coated in gloss white.
Image
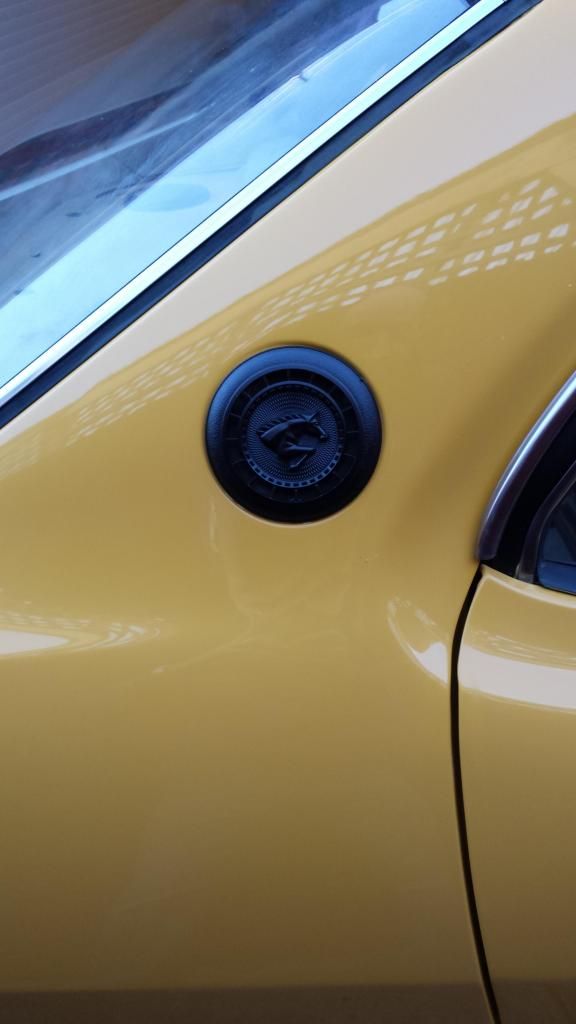
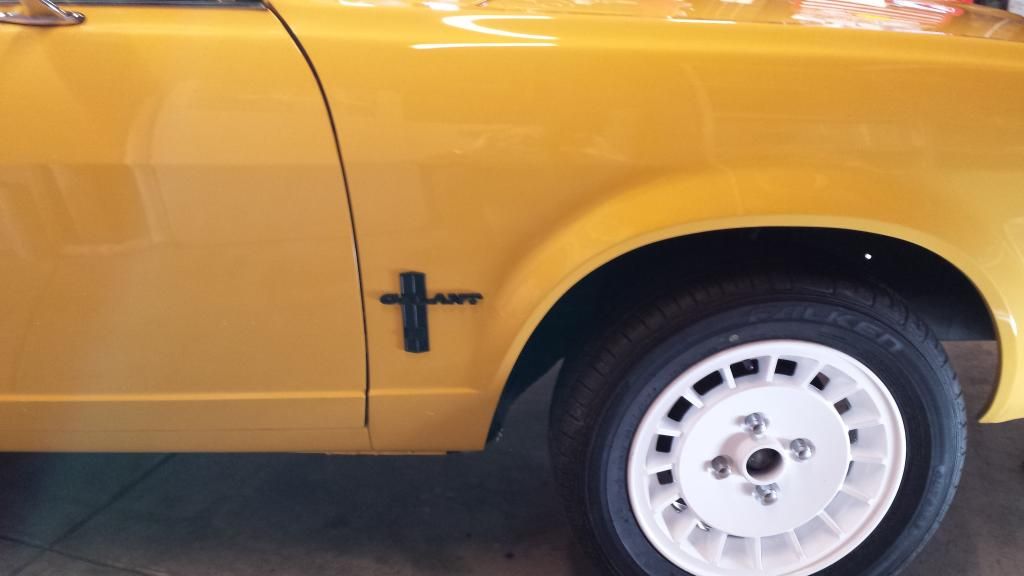
i painted all the badges satin black as is common on some sporty new cars
Image
Image
polished up the bumpers, and painted the indicator housing black.
Image
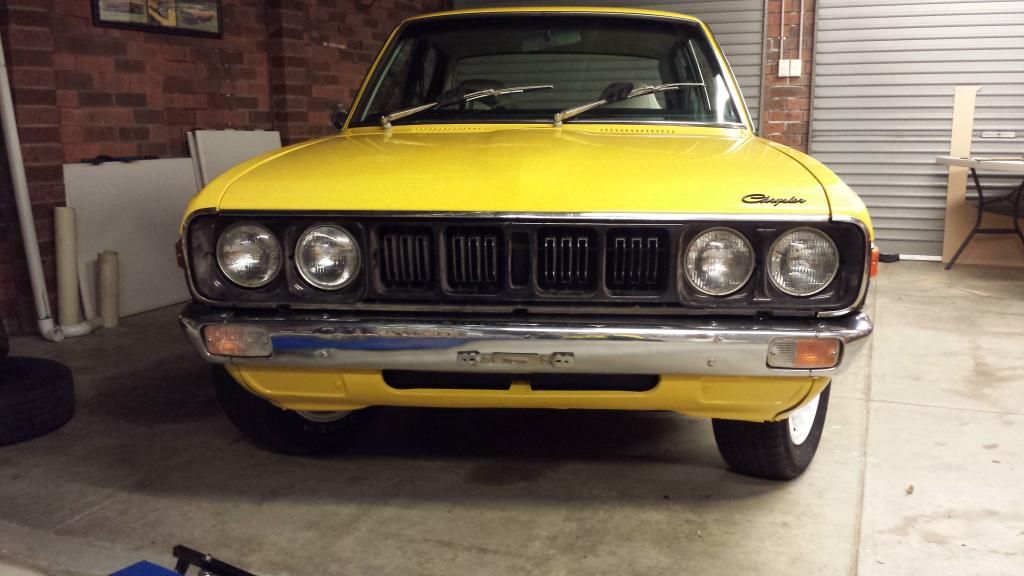
then i CUT UP A COUPE GRILL.... sacrilege... i dont think so... after fixing all the broken bits i cut out the rectangle bits in the 4 square holes, then carefully cut bent and epoxied on some black mesh, then sprayed it all satin black to match the indicators and window frames.
Before
Image
After
Image
User avatar
ddt
Posts: 669
Joined: Sun Apr 11, 2010 1:17 am
Location: Perth

Re: Wheelbarrows builds

Post by ddt »

Wow, top effort.
Looks fantastic.
I'm normally one for factory colours but that yellow is great and the hue is certainly from the right era. Love it :thumpsup: :thumpsup:
Image
'Member's Rides' Link for LIL RED WGN: http://www.sigma-galant.com/viewtopic.php?f=46&t=4742
Scorpma82
Sigma-Galant Police (Global Mod)
Posts: 2119
Joined: Sat Oct 22, 2011 6:48 am
Location: melbourne

Re: Wheelbarrows builds

Post by Scorpma82 »

Very smart looking indeed

The grille looks much much cleaner and neater now it only has the meshing


The white wheels are a clever touch IMO, certainly not something I would've agreed til untill I saw it
And the black badging highlights really well on a bright yellow car......

Well done :thumpsup:
Built with pride, Driven in anger
User avatar
wheelbarrow
Posts: 52
Joined: Thu Mar 26, 2009 5:30 pm

Re: Wheelbarrows builds

Post by wheelbarrow »

I soon had the Galant put on club permit and started to enjoy slowly cruising around, untill one night when a ford fiesta xr4 gave me a run, and i couldn't keep up with him in a straight line ( corners were not a problem), i needed to up the horsepower.
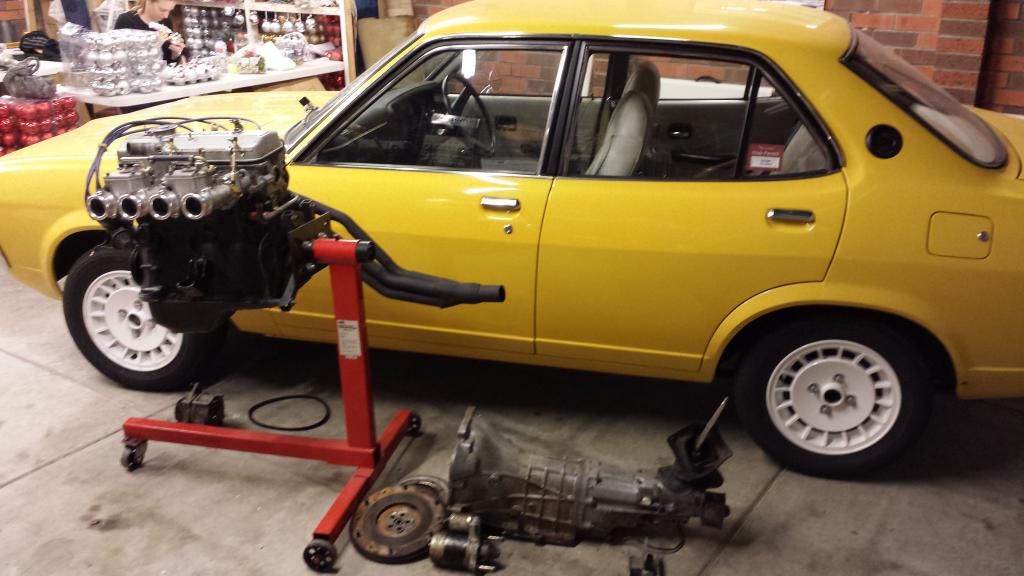
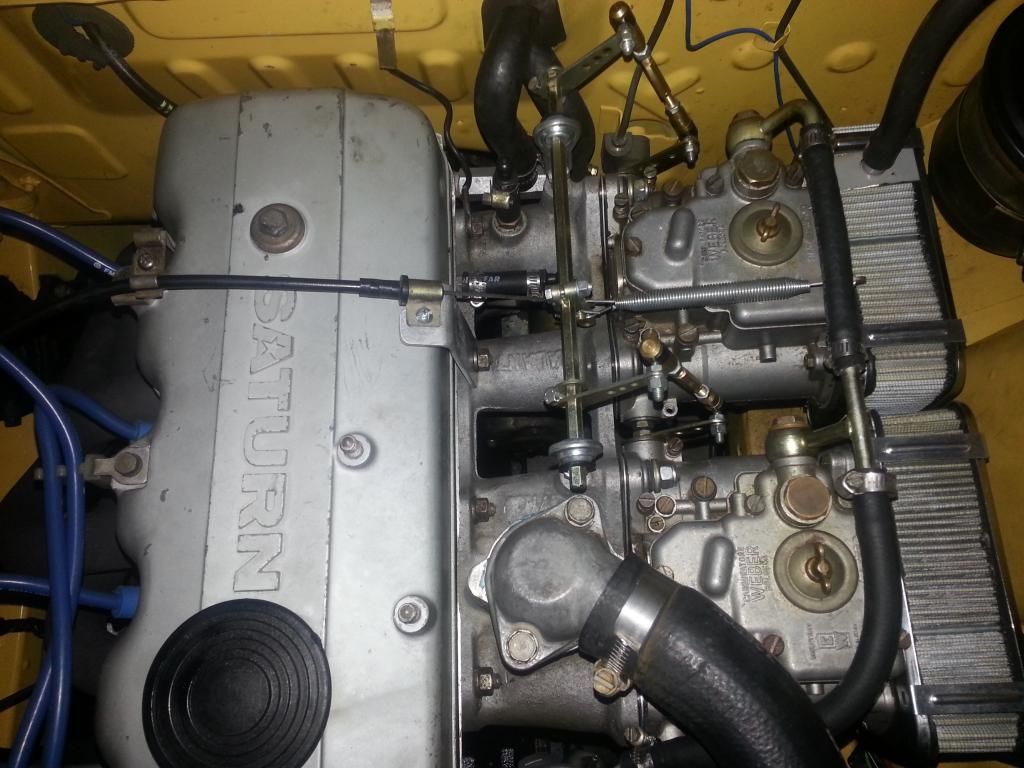
So thanks to KHRONY, i picked up the 4g32 he had running in his la lancer minus the delorttos, a 4 into one header and a couple of cams. To this i added the twin weber manifold and 40mm weber dcoes i had bought to one day run in the coupe, and the 5 spd manual that originally came with the car.
Pretty much all of this.
Image
Webers are a pain in the arse, but i think they are awesome. My charger was a totally different animal when i put them on, so i was determined to get them right on my galant. I set up the redline linkages, soft mounts and made up my own choke block off plate to clear the thermostat outlet. I also made a throttle bracket that allowed me to use the standard throttle cable and return spring bracket.
Image
User avatar
wheelbarrow
Posts: 52
Joined: Thu Mar 26, 2009 5:30 pm

Re: Wheelbarrows builds

Post by wheelbarrow »

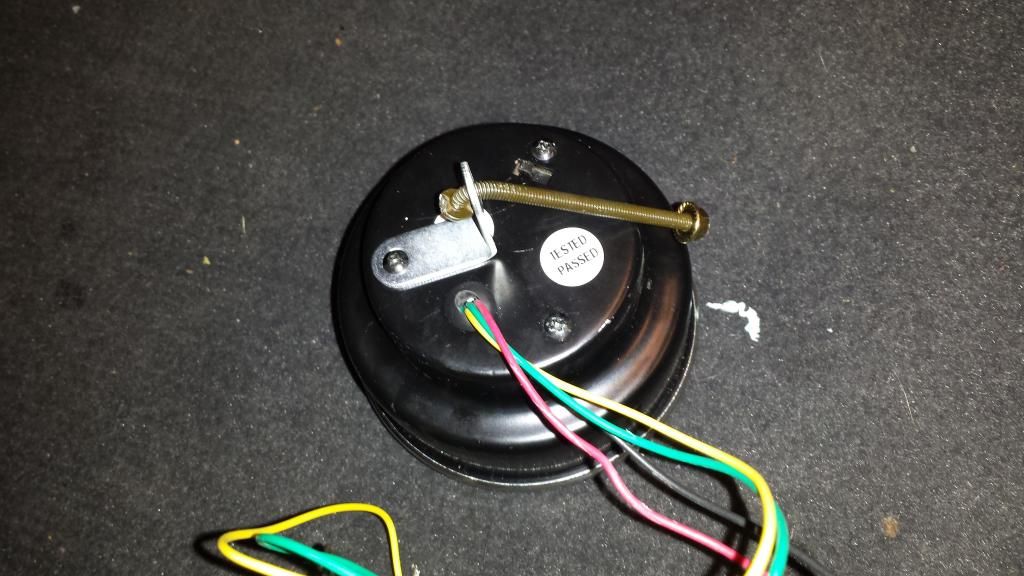
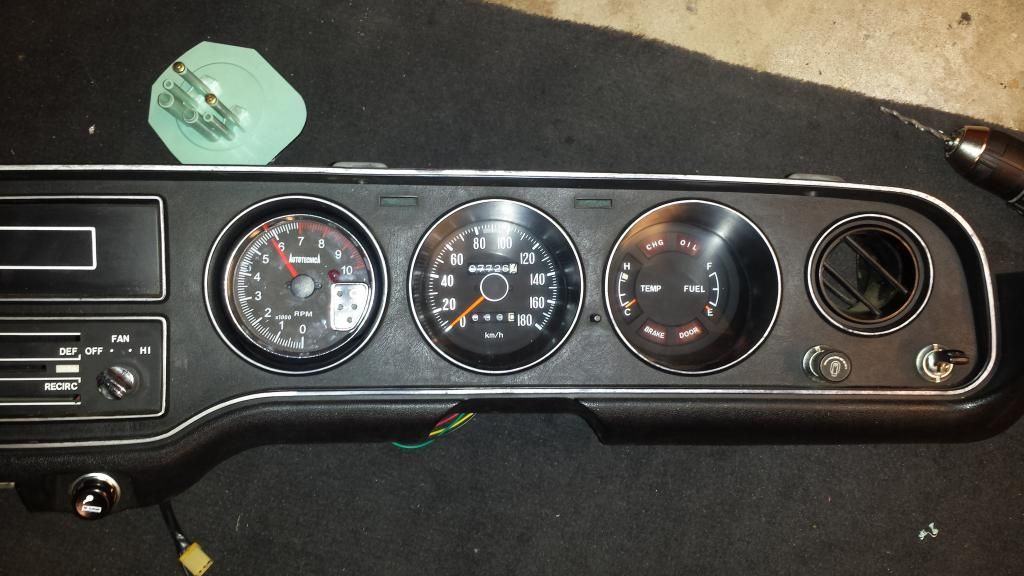
To keep a track of how much grief i was giving the engine i decided that i needed a tacho, so instead of using the factory tacho dash out of the coupe, i bought a autotechnica tach and made it fit in the blank hole in the cluster.
One bent bolt, a 90 degree bracket and removal of the clear plastic from the cluster was all it took
Image
assembled and wired up it works great, albeit, heaps brighter than the rest of the dash.
Image
User avatar
wheelbarrow
Posts: 52
Joined: Thu Mar 26, 2009 5:30 pm

Re: Wheelbarrows builds

Post by wheelbarrow »

Sadly that motor soon developed a miss, and was found to have low comp in no 1 cyl... :(
So off came the head, to have a look see... nothing visibly wrong with the head, so i pulled down the bottom end... nothing visible there either... oh well... time to give it a refresh... what an exercise in frustration that became. there are no easy to source performance parts for a 4g32. affordable forged pistons... no, big valves... no. heavy duty valve springs...nope.
But my mechanic came through for me on most counts...
Image
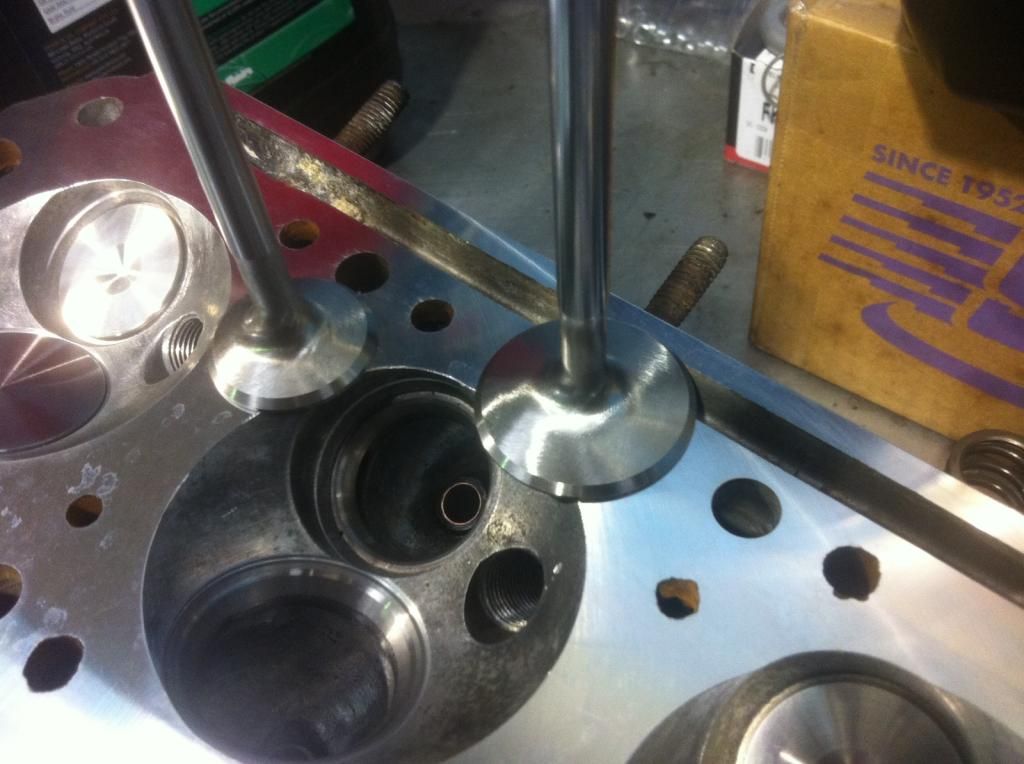
big valves.. custom stainless ,3 week wait, plus wait for retainer grooves to be cut deeper. Heavy duty spring to suit clive cam grind, again mix and match, i think they are off a ford or something. Pistons... no i didnt go forged, but used the smallest dish we could find.
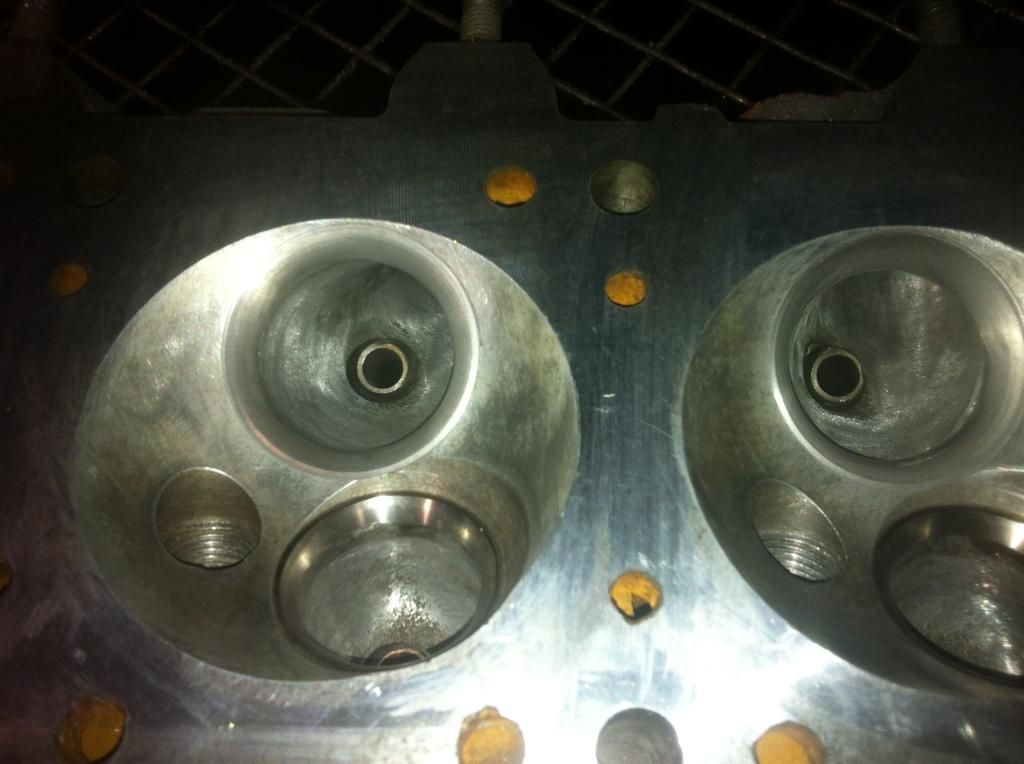
The head was found to have a crack under the cam and was also slightly warped, so the GC sedan motor gave its head to the machine shop where the
head was ported and the valve seats cut to suit the O/S valves
Image. It also had 40 thou taken off to bump up compression.
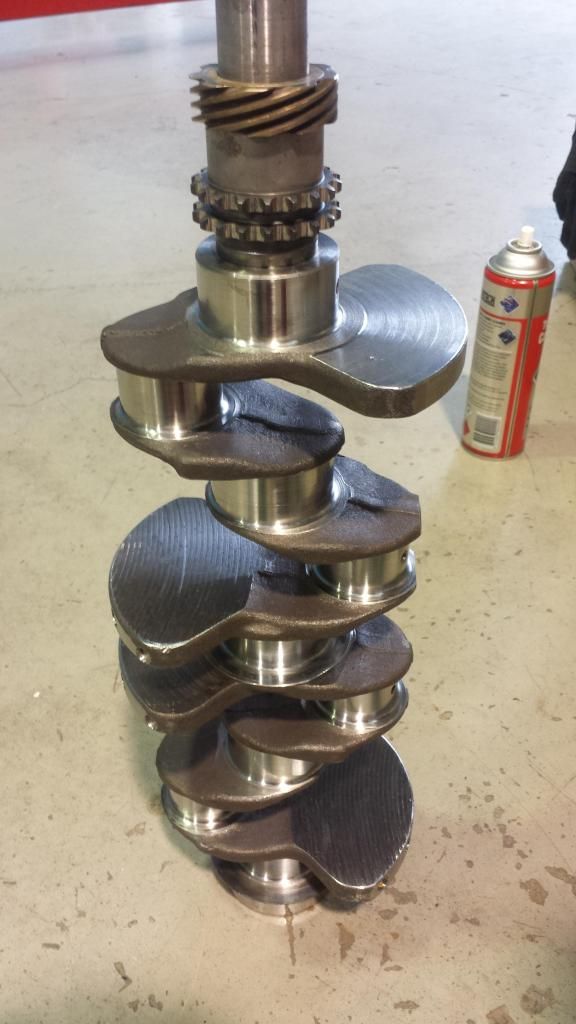
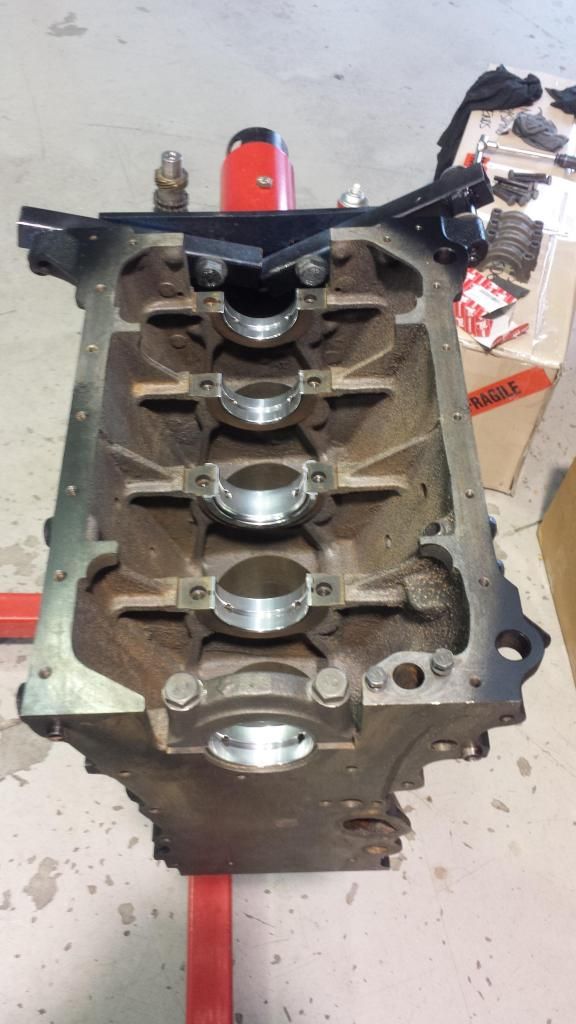
The block was checked out and was found to be 40 thou over with good bores, the bottom end was 10/10 under and also in good condition and the deck had been milled by 30/ 40 thou, so all that was done was to give it a quick hone and a hot wash.
Image
Image
Post Reply